
Related Manuals for Sealer Sales W Series


Summary of Contents for Sealer Sales W Series
- Page 1 Pneumatic Pass Through Foot Sealers WNC2-Series Distributed By: Version 1.0 Last Updated: 6/19/2020...
- Page 2 For permission requests, write to the publisher, addressed “Attention: Permissions Coordinator,” at the address below. Sealer Sales, Inc. 8820 Baird Avenue Northridge, Ca 91324 www.sealersales.com...
-
Page 3: General Information
No part of this manual may be duplicated, reproduced, stored in a retrieval system, translated, transcribed, or transmitted in any form without the express prior written permission of Sealer Sales. E Q U I P M E N T I N F O R M A T I O N ... -
Page 4: Safety Instructions
W N C 2 I N S T R U C T I O N M A N U A L Safety Instructions WARNING! Below are general safety precautions and warnings that should be understood prior to setting up or operating your equipment. Read and fully understand all instructions and warnings prior to using this unit. - Page 5 W N C 2 I N S T R U C T I O N M A N U A L Never touch the heating elements with bare hand while the sealer is plugged into a power source, in operation or just finished operation. Touching heated areas may cause fire and/or severe burns. ...
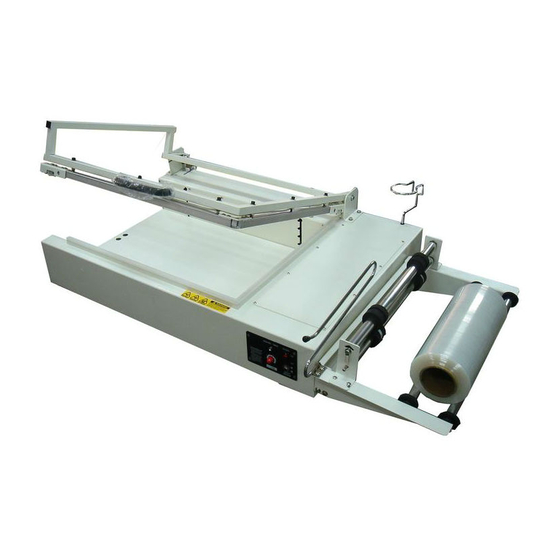
- Page 6 W N C 2 I N S T R U C T I O N M A N U A L Introduction W-Series WNC2 pass-through sealers are foot sealers ideal for high volume poly bag and other thermoplastic sealing. The sealer allows you to keep both hands free for quicker and more accurate sealing.
- Page 7 W N C 2 I N S T R U C T I O N M A N U A L Single Impulse Model #s 5mm Seal Width 10mm Seal Width 12" Seal Length WNC2-305 WNC2-3010 18" Seal Length WNC2-455 WNC2-4510 24"...
- Page 8 W N C 2 I N S T R U C T I O N M A N U A L Electric Diagram - Double Impulse...
- Page 9 W N C 2 I N S T R U C T I O N M A N U A L Getting to Know your Foot Sealer W-Series Pneumatic Sealers are simple and efficient sealing machines. Emergency Stop Seal Area Place material to be sealed on top of the lower jaw...
- Page 10 W N C 2 I N S T R U C T I O N M A N U A L Operating your Sealer Important Read this manual carefully, and make it available to everyone involved with the supervision, maintenance, and/or operation of this machine.
- Page 11 W N C 2 I N S T R U C T I O N M A N U A L 2. In the package, your sealer will include a. Operation manual b. Sealer c. One (1) heating element d. One (1) Zone PTFE e.
- Page 12 W N C 2 I N S T R U C T I O N M A N U A L 3. Connect the sealer to the power source. Standard 120 Volt A.C. outlet or 220-240 Volt A.C. if your unit is made for this higher voltage. Look at the power cord tag to confirm the correct voltage.
- Page 13 W N C 2 I N S T R U C T I O N M A N U A L Tips for Successful Sealing 1. If the seal is broken or damaged, decrease the sealing time. 2. If the seal is not fully welded, increase the sealing time. 3.
-
Page 14: Maintenance
W N C 2 I N S T R U C T I O N M A N U A L Maintenance The following maintenance procedures should be followed to ensure the longevity of your W-Series sealer. Inspection and Cleaning 1. - Page 15 W N C 2 I N S T R U C T I O N M A N U A L To install your replacement kit on your sealer, turn off power and unplug sealer. Removing Worn Parts. 1. Loosen the screws on the PTFE cover plate. 2.
- Page 16 W N C 2 I N S T R U C T I O N M A N U A L Figure 10. Lift latch on heating block to secure element in place. Figure 9. Screw element in place. 4. Replace worn PTFE cover and tighten the screws to affix to the PTFE cover plate.
-
Page 17: Troubleshooting
W N C 2 I N S T R U C T I O N M A N U A L Troubleshooting Problem Possible Causes Solution 1. Disconnected power cord 1. Check or change plug 2. Power cord is broken 2.
Need help?
Do you have a question about the W Series and is the answer not in the manual?
Questions and answers