
Related Manuals for Dvico TViX HD M-7000A


Summary of Contents for Dvico TViX HD M-7000A
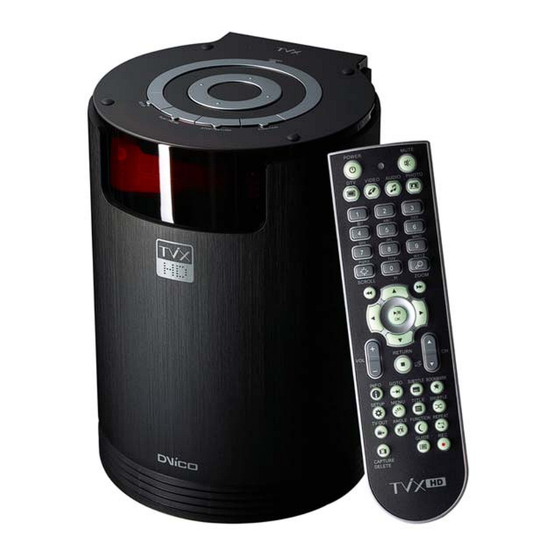
- Page 1 User Manual TViX HD M-7000A All specifications and information are subject to changes without further notices.
-
Page 2: Safety Notice
Safety Notice Keep your TViX Kit away from heated areas, such as direct sunlight exposure, heaters etc. Place it in well ventilated location. Ensure that a free airflow is maintained around the appliance. Do not set the TViX up in places that are exposed to oil, water, dust, humidity or rain and wind. -
Page 3: Usage Precautions
Usage Precautions Please read the following usage precautions before using your TViX HD. Make sure the power is off when you connect the A/V cable between the TViX and the TV. When cleaning the TViX product, pull out the power cord and then wipe it with a soft piece of dry cloth. When connected to the computer through the USB cable the TViX HD acts as an external USB storage device (In this state, there is no video/audio output displayed on the TV Screen a USB ON icon will be displayed on the center of the TV screen and on the VFD. -
Page 4: Table Of Contents
Table of Contents Safety Notice ............................2 Usage Precautions ..........................3 Introduction....................5 Multimedia Player ........................5 Audio Player .......................... 6 External Storage ........................6 Specifications ........................7 Name of Each Part ..................8 Unit Control ........................... 8 Front VFD ..........................8 Cable Connection ........................ -
Page 5: Introduction
1 Introduction Multimedia Player TViX HD is a standalone, multimedia hard disk player which plays digital videos, digital music, digital still images and DVD files to a TV display and home entertainment system. You can enjoy digital contents in your living room without having to burn discs or having to play it back on a DVD or CD player anymore. -
Page 6: Audio Player
Audio Player TViX HD can play a variety of audio files such as FLAC, MP3, Ipod, AAC/M4A, Ogg Vorbis or WMA (Windows Media Audio) through the TV speaker and any other audio systems. You can listen to your favorite music files nonstop, by organizing a custom winamp playlist. Now you can enjoy music all day without changing CDs. -
Page 7: Specifications
Specifications Main Sigma Design SMP8635 Chipset 7 Alpha-Numeric Character Display 5 Digit Numeric Display Format :.wmv, .avi, .mpg, .vob, .mp4, .asf, .tp, .trp , .IFO, .ISO, .m2t,.m2ts ,.mov(H.264) Codec : MPEG 1 / 2 / 4, AVI, XVID, WMV9(MP@HL), H.264/ AVC , VC-1(MP@HL, Video AP@L3), MKV Resolutions up to 1920*1080P... -
Page 8: Name Of Each Part
2 Name of Each Part Unit Control Basic functions can be done without the remote control. POWER button Function button STOP button HDD COVER PLAY button SETUP button Front VFD Information will be displayed on the VFD. Video out mode Play mode and information VFD displays current Folder/Filename while navigation. -
Page 9: Cable Connection
You can connect the TViX kit to a TV display or audio Amplifier using the A/V cable. There is detail instruction for tuner box on the quick guide of optional tuner box package. Package Contents TViX HD M-7000A Remote Control A/V Cable... -
Page 10: Installation And Connection
3 Installation and Connection Video Connection We support HDMI, Component, S-Video, Composite video output for connecting to the TV and each output needed to be chosen and Selected on the settings menu, depending on the cable used. The highest quality expected by the cables used is in the following order: HDMI >... - Page 11 Connection to S-Video Output Connection to Component Output Connect the TViX kit and your TV .using the S-Video Connect the TViX kit and your TV. By using the cable. component cables. Turn on the TViX Kit and the TV. On the SET UP Turn on the TViX Kit and the TV.
-
Page 12: Audio Connection
Audio Connection Connection to 2 CH Normal TV Connection to 5.1CH Amplifier (Digital) Connect the audio cables from the left (white) and If you have a multi-channel decoder/amplifier with an right (red) of TViX to the appropriate terminal of your optical/coaxial input, you can enjoy 5.1 CH high TV or Hi - Fi system for sound output. -
Page 13: Hdd Installation/Exchange
HDD Installation/Exchange Warning: If you change the HDD of a TViX with another HDD, the warranty will be voided. Assembling the TViX HD is very easy. Just follow the instructions below: Use a Screwdriver and Tighten the Bolts by attaching the guide board to the Hard disk. - Page 14 Connect the power cable and the DATA cable. When inserting the HDD, take precautions to protect the DATA cable from being damaged. Connect the cable to cross direction Close the case by pushing the cover towards the direction of the arrow and then lock it. LOCK OPEN...
-
Page 15: Initial Setting
Initial Setting Connect the TViX Kit with HD to your TV using the Cable and then turn on the TViX HD. On the TV Display . Press OK button then user can see the TViX Logo as shown below. Then User can Select the preferred language from the Screen displayed as shown below TViX SETUP screen will be displayed. -
Page 16: Tvix Hd Setup Menu
4 TViX HD Setup Menu Audio/Video Setting This section indicates the Audio/Video settings. You can set password to enter into setup menu. Setup password protection is available. on MISC menu Within SET UP menu. Safety lock feature need to be enabled. This will block children changing setup accidentally. - Page 17 * The 4:3 Pan & Scan will adjust the image of the 16:9 multimedia file to the 4:3 of the TV screen by scaling the image. (Currently, not support this mode) * 16:9 can adjust any ratio of the multimedia file to the TV screen with the original image. * Video Port : If you fail to see the initial TViX HD screen after turning the unit and TV on, make sure you have chosen the right TV out option by repeatedly pressing the TV Out button on the remote control.
-
Page 18: Misc Setting
MISC Setting This section indicates the MISC settings. Slide Show Effect : Fade In/Out Slide Show Delay : Date / Time Setting : FAN Speed : Normal Language : English English Korean Autorun : OSD Display : Normal Safety Lock: Disable Enable Subtitle/Outline:... -
Page 19: Network Setting
Network Setting This section indicates the Network settings. Default Network : Wi-Fi Wired IP Setting : DHCP Wi-Fi IP Setting : DHCP Search Wi-Fi Network TViX Network Info Network Disk1 : Normal(NFS) Slow(SAMBA) Normal(NFS) Network Disk2 : Slow(SAMBA) Network Disk3 : Slow(SAMBA) Network Disk4 : Slow(SAMBA) -
Page 20: Easy Usage Of Tvix Hd
5 Easy Usage of TViX HD Making an HDD Folder As shown in the picture below, one end of the USB cable should be connected to the USB connector of the TViX and the other end to the computer. CAUTION! The USB cable has a different shape on both ends.
Need help?
Do you have a question about the TViX HD M-7000A and is the answer not in the manual?
Questions and answers