
Related Manuals for Denver MCI-100


Summary of Contents for Denver MCI-100
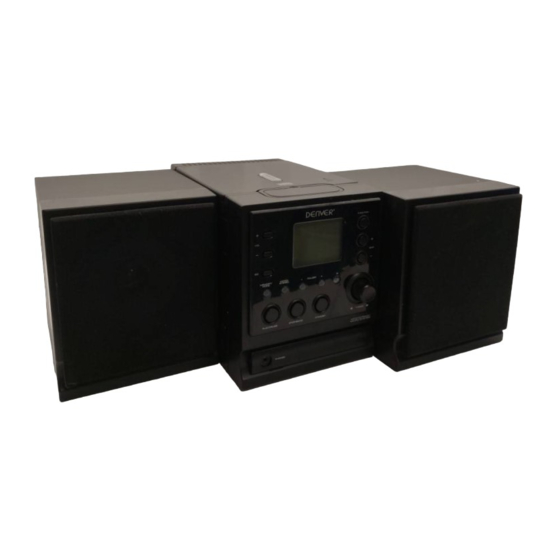
- Page 1 MCI-100 MP3/CD/Radio Micro System with iPod Docking I N S T R U C T I O N M A N U A L...
- Page 2 WARNING 1. WARNING:Please refer the information on exterior bottom enclosure for electrical and safety information before installing or operating the apparatus. 2. WARNING : To reduce the risk of fire or electric shock, do not expose this apparatus to rain or moisture.
- Page 3 WARNING TO PREVENT FIRE OR SHOCK HAZARD DO NOT EXPOSE THIS APPLIANCE TO RAIN OR MOISTURE. CAUTION RISK OF ELECTRIC SHOCK DO NOT OPEN WARNING : SHOCK HAZARD-DO NOT OPEN LIGHTNING FLASH WITH ARROWHEAD SYMBOL - EXCLAMATION POINT - within an equilateral triangle, within an equilateral triangle, is intended to alert the is used to indicate that a specific component shall be u s e r t o t h e p r e s e n c e o f u n i n s u l a t e d...
-
Page 4: Safety Instructions
SAFETY INSTRUCTIONS 1. READ INSTRUCTIONS - All the safety and operating instructions should be read before the appliance is operated. 2. RETAIN INSTRUCTIONS - The safety and operating instruction should be retained for future reference. 3. HEED WARNINGS - All warnings on the appliance and in the operating instructions should be adhered to. 4. -
Page 5: Location Of Control
LOCATION OF CONTROL 1.) LCD DISPLAY 2.) VOLUME + 3.) VOLUME - 4.) EQ 5.) MONO / STEREO 6.) MEMORY / MODE 7.) FOLDER - 8.) FOLDER + 9.) PLAY / PAUSE 10.) STOP / BAND 11.) STANDBY 12.) PHONES JACK 13.) TUNING CONTROL 14.) REMOTE SENSOR 15.) SKIP -... -
Page 6: Remote Control
REMOTE CONTROL 1. STANDBY 2. TIMER 3. CLOCK 4. 0 - 9 5. MENU 6. ENTER 7. SKIP + 8. STOP / BAND 9. SKIP - 10. RANDOM 11. BASS 12. SLEEP 13. VOL + 14. VOL - 15. FOLDER - / SCROLL - 16. -
Page 7: Radio Operation
RADIO OPERATION GENERAL OPERATION 1. Press the “FUNCTION” button to select “TUNER” mode. 2. Press the “STOP / BAND” button to select AM or FM. 3. Adjust radio frequency to your desired station by using the “TUNING” control. 4. Adjust the “VOLUME” control to the desired level. MONO / STEREO Press the “MONO / STEREO”... - Page 8 CD / MP3 OPERATION GENERAL OPERATION PLAY / PAUSE Press to start playing CD / MP3 disc. Press again to stop playing CD / MP3 operation temporarily. Press again to resume playback. SKIP + & Press to go to the next track or back to the previous track. SKIP - Press and hold while playing until you find the point of the sound.
- Page 9 CD / MP3 OPERATION PROGRAM Be sure to press the “STOP” button before use. 1. Press the “MEMORY / MODE” button, the display will show “P01” and flash. 2. Select desired track by using the “SKIP +” or “SKIP -” button. ( You may select a desired album by pressing “FOLDER +”...
- Page 10 iPOD DOCK GENERAL OPERATION PLAY / PAUSE Press to start playing tracks from the iPod. Press again to stop playing iPod operation temporarily. Press again to resume playback. SKIP + & Press to go to the next track or back to the previous track. SKIP - Press and hold while playing until you find the point of the sound.
-
Page 11: Other Features
OTHER FEATURES Press the “EQ” button on remote control, each press switch the EQ function as follows: 1 - CLASSIC 2 - ROCK 3 - POP 4 - JAZZ 5 - FLAT (NORMAL) Notes: - The player not responsible for playability of MP3 in any case. Due to recording condition such as PC performance, writing software, media ability or etc. -
Page 12: Clock Setting
OTHER FEATURES SLEEP 1. Press the “SLEEP” button on remote control, display will show “SLEEP 90”. That means, after 90 minutes, appliance will automatically turn to standby mode. 2. Press the “SLEEP” button again to select the automatically turn off time, from 90, 80, 70, 60, 50, 40, 30, 20, 10 minutes. - Page 13 Additional information is available at the technical department of your city. ALL RIGHTS RESERVED DENVER ELECTRONICS A/S WWW.DENVER-ELEC TR ONICS.COM...
Need help?
Do you have a question about the MCI-100 and is the answer not in the manual?
Questions and answers