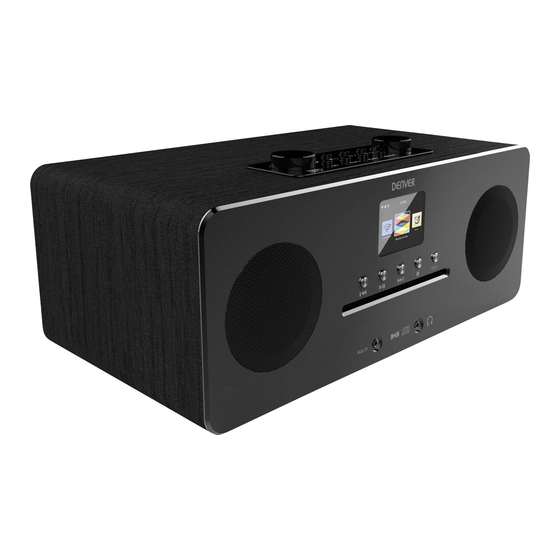
Denver MIR-260 Quick Start Manual
Hide thumbs
Also See for MIR-260:
- User manual ,
- Instruction manual (123 pages) ,
- Instruction manual (9 pages)
Advertisement
Denver MIR-260 Quick Start Guide
Peelable front fascia layer
There is a peelable layer on the front fascia of your stereo – on initial inspection it is not obvious and
just looks like your stereo has a scratched appearance! Peel back the layer using a fingernail from
the edge of the players front fascia to lift an edge and then peel it away to reveal a shiny, pristine
front.
Recommended first steps:
1. Remove peelable film from front of stereo
2. Get your Wi-Fi password to hand (usually printed on the back of your internet router).
Power up the stereo and setup WiFi access for the stereo
3. Choose the EQ setting that makes the audio sound best to you
Browsing the menu system
Use the MENU button on the top of the stereo to take you to the menu system for the stereo.
Use the -SCROLL+ wheel control on the top of the stereo to scroll through lists / options in the
stereos menu system
Press down on the -SCROLL+ wheel control on the top of the stereo to choose any highlighted option
on the stereos menu system
Use the LEFT button on top of the stereo to go back an option on the stereos menu system
Setting up Wi-Fi on your new Denver MIR-260
When first switching your new Denver MIR-260 stereo on, the stereo will boot up and eventually
after a minute or so ask you "Configure Network?".
If you say yes then this will take you straight to the option "ADD/REMOVE A/P".
Hit ENTER to choose "ADD/REMOVE A/P" and then choose option 1, "ADD A/P(SCAN)". This will now
take you to step 2 below.
If you don't initially set up the network on first switching on your MIR-260 you can go back to add
the network details via the below:
1. Go in to the MENU option on your MIR-260 and choose the options: CONFIGURATION >
NETWORK > WI-FI NETWORK > ADD/REMOVE A/P > ADD A/P(SCAN)... hit enter on this option "ADD
A/P(SCAN)".
by 3wisemonkeys
Advertisement
Table of Contents

Related Manuals for Denver MIR-260


Summary of Contents for Denver MIR-260
- Page 1 Hit ENTER to choose “ADD/REMOVE A/P” and then choose option 1, “ADD A/P(SCAN)”. This will now take you to step 2 below. If you don’t initially set up the network on first switching on your MIR-260 you can go back to add the network details via the below: 1.
- Page 2 Adjust the EQ settings for improved audio Your MIR-260 comes with pre-set equalizer settings. Denver have set the default as FLAT, but we think if you change this setting immediately you will see improved audio. Our favourite is ROCK whether we are listening to classical, pop or rock.
- Page 3 MY FAVOURITES My Favourites is accessed either using the FAVO button on the top of the stereo or in the menu system: MENU > MY FAVOIURITES When on any radio station that you want to save to MY FAVOURITE just press and hold the FAVO button for 3-4 seconds (a small downward pointing arrow will be displayed after this time at the top left of the screen) to save the station to My Favourite area.
Need help?
Do you have a question about the MIR-260 and is the answer not in the manual?
Questions and answers