
Related Manuals for Marvel MLFZ224-IS01A


Summary of Contents for Marvel MLFZ224-IS01A
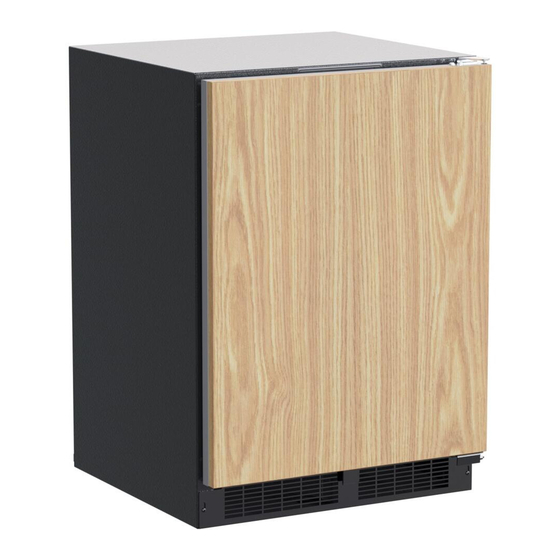
- Page 1 OWNER’S GUIDE & SERVICE MANUAL M A R V E L U N D E R C O U N T E R R E F R I G E R AT I O N Model: MLFZ224-IS01A...
-
Page 2: Warranty Registration
The serial number can be found on the serial plate which is located inside the cabinet on the left side near the top. We would love to see how your Marvel product looks in its new home. You can send us photos of your installed product at marketing@marvelrefrigeration.com, and we... - Page 3 TABLE OF CONTENTS Tip: Click on any section below to jump directly there Installation Integrated Panel Dimensions Integrated Panel Installation...
-
Page 4: Integrated Panel Dimensions
INTEGRATED PANEL DIMENSIONS NOTE • Panel thickness may be 5/8" or 3/4" • Center the unit in the 24" opening • If the hinge side of the product is pressed against the adjacent cabinet, use a 5/8" thick panel • The window cutout is for glass door models only •... - Page 5 INTEGRATED DOOR PANEL INSTALLATION Step 2: Remove the Door Gasket Cut and prepare panels according to the information provided in the Integrated Panel Dimensions section. With the door laying on a flat surface and starting at a corner of the door, remove the magnetic door gasket from the interior side of the door.
- Page 6 INTEGRATED DOOR PANEL INSTALLATION Step 4: Install the Door If reversing the door swing, reinstall hinges per Door Reversal Instructions. Carefully slide lower hinge bushing over bottom hinge pin. Install the new upper hinge bushing into adaptor plate. Align hinge bushing with top hinge and reinstall upper hinge pin using 1/8”...
Need help?
Do you have a question about the MLFZ224-IS01A and is the answer not in the manual?
Questions and answers