Table of Contents
Advertisement
Quick Links
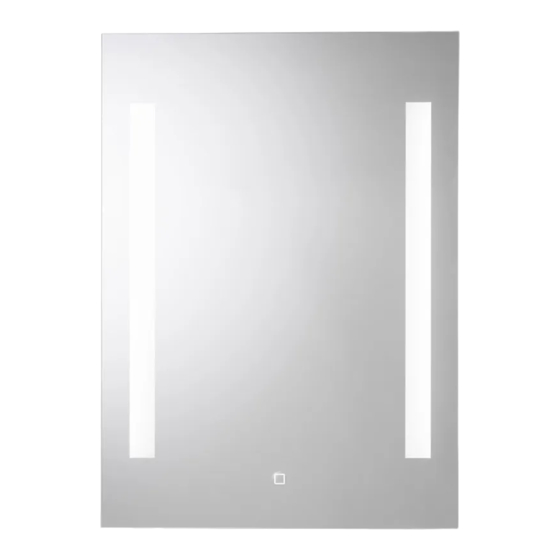
MM720200E
MM720300E
MM720400E
ALL ILLUSTRATIONS OF THE PRODUCT ARE FOR REFERENCE ONLY. COMPONENTS
SUPPLIED WITH INDIVIDUAL PRODUCTS MAY DIFFER
ALL PRODUCT DIMENSIONS DETAILED IN THIS INSTALLATION AND MAINTENANCE
CONTACT DETAILS (UK)
Croydex
Central Way
Andover
Hampshire
SP10 5AW
UK
ALWAYS CHECK THE PACKAGING FOR FIXINGS AND PARTS BEFORE RECYCLING OR
PLEASE READ THROUGH AND FULLY UNDERSTAND THE INSTRUCTION LEAFLET BEFORE
ENSURE YOU HAVE ALL THE FIXINGS AND PARTS BEFORE ATTEMPTING TO ASSEMBLE OR FIT
SECTION 1 - INTRODUCTION
Thank you for purchasing this Croydex product. Please follow the fixing and care instructions to
ensure that your product is fitted safely and that it retains its high quality finish.
THIS MANUAL FOR FUTURE REFERENCE.
IMPORTANT WARRANTY INFORMATION
In some circumstances the Building Regulations 2010 require the installer to give the occupier
of the premises in which this product has been installed a certificate to confirm that the
requirements of regulations 4 and 7 have been satisfied, or the installation of this product must
be inspected and tested by the Local Authority Building Control Department who will issue a
compliance certificate.
A copy of this certificate may be required for certain warranty claims. Failure to provide a copy
of the certificate may invalidate the warranty. This does not affect your statutory rights. We
recommend that you make yourself aware of the Regulations before you undertake any work and
if you require clarification you should contact your Local Authority Building Control Department.
TOOLS REQUIRED
MM720600E
MM720700E
MM720800E
MANUAL ARE APPROXIMATE
Tel: +44 (0)1264 365881
Email: info@croydex.co.uk
Web: www.croydex.com
DISPOSAL.
STARTING THE INSTALLATION OF THIS MIRROR.
THIS PRODUCT.
8
6
mm
mm
1
CONTACT DETAILS (EU)
MIL
Unit 8 Purcellsinch Ind Est
Dublin Road
Kilkenny
R95 HP71
Ireland
PLEASE RETAIN
MIR 034 R04
Advertisement
Table of Contents

Related Manuals for Croydex MM720200E


Summary of Contents for Croydex MM720200E
- Page 1 ENSURE YOU HAVE ALL THE FIXINGS AND PARTS BEFORE ATTEMPTING TO ASSEMBLE OR FIT THIS PRODUCT. SECTION 1 - INTRODUCTION Thank you for purchasing this Croydex product. Please follow the fixing and care instructions to ensure that your product is fitted safely and that it retains its high quality finish. PLEASE RETAIN THIS MANUAL FOR FUTURE REFERENCE.
- Page 2 Keep DIY tools out of the reach of children. The wall plugs supplied are for use MM720200E on solid walls only. For cavity walls or Electrical Supply: 220-240Vac 50Hz 56W...
- Page 3 POSITIONING THE MIRROR fig. 1 The mirror is rated IP44 and must only be installed with the connection to the domestic mains electrical supply in the Outside Zones, as shown in Fig. Ensure that the access to the domestic mains electrical supply is located behind the intended mounting position for the mirror and unobstructed by the mounting brackets.
- Page 4 Place the bottom edge of the Hang ’n’ Lock fig.5 bracket onto the lower reference line and mark a screw hole position in each cam hole recess. Remove the bracket from the wall. (See Fig. 5) Drill holes to a depth of 45mm and insert fig.
- Page 5 (See Fig. 9) SECTION 3 - LANDSCAPE MOUNTING STEP 9: If hanging the following products in landscape, proceed to MM720200E - Chilcombe Illuminated Mirror MM720400E - Chawston Illuminated Mirror MM720300E - Henbury Illuminated Mirror MM720700E - Rookley Illuminated Mirror The mirrors that can be mounted in landscape fig.
- Page 6 SECTION 4 - SECURING THE MIRROR Place the L bracket over the threaded hole fig. 12 located at the bottom of the mirror. Using a pencil mark the position of the L bracket onto the wall. (See Fig. 11) Remove the mirror and place the bracket on the mark and drill a hole in the centre of the slot on the wall.
- Page 7 This product has been designed so that electrical components can be easily removed by the consumer for recycling at end of life. A detailed Electronic and Electrical Waste Recycling Guide can be downloaded from www.croydex.com or requested from info@croydex. co.uk.
Need help?
Do you have a question about the MM720200E and is the answer not in the manual?
Questions and answers