Table of Contents
Advertisement
Quick Links
BIOCHROM ANTHOS MULTIREAD 400 MICROPLATE READER
QUICK START GUIDE
1. Turn on the instrument. Connect instrument to a power source using the appropriate power cord.
Check user's manual for important safety information.
2. The display will show the main menu.
3. To measure a plate, first define a method.
4. In main menu select DEFINE Method by pressing button 4. A new method can be defined at this
point or an existing method can be edited.
5. Select START a new method.
6. Select the measurement and reference wavelengths by scrolling through filters using the right
and left arrow keys.
Note: A reference reading is recommended to account for optical interference that
may result from the plate. For reference reading, select a wavelength that the
sample of interest does not absorb.
7. Shaking or kinetics can be selected in the filters method definition window.
For shaking: Press F2. A new window will open, select time in seconds using the
number key pad. Select mode (slow, medium, fast and intensive) using the up and
down arrow keys to move the cursor and the right/left arrow to scroll through the
mode options. Press F4 to confirm choices or F3 to discard.
July 2010
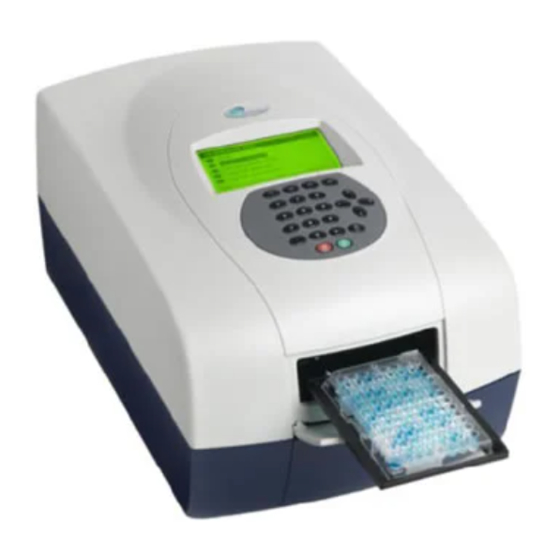
Figure 1. MultiRead 400 Display and Keypad
To select options on the screen use the arrow keys to position
cursor and the green button to confirm your selection. The red
button can be used to return to the main menu or to return to
the previous screen.
MR400 Quick Start Guide
Version 1.0
Advertisement
Table of Contents

Related Manuals for biochrom ANTHOS MULTIREAD 400


Summary of Contents for biochrom ANTHOS MULTIREAD 400
- Page 1 BIOCHROM ANTHOS MULTIREAD 400 MICROPLATE READER QUICK START GUIDE 1. Turn on the instrument. Connect instrument to a power source using the appropriate power cord. Check user’s manual for important safety information. 2. The display will show the main menu.
- Page 2 8. Next, define the plate layout. For controls, standards and samples, replicate direction can be selected under F3, Options. F1 selects the type, F3 selects horizontal or vertical replicates and F4 positions control in the plate. Press place to select the well of choice. Continue until the plate layout is completed.
- Page 3 If controls must meet set criteria for a test is to be considered to be Validation valid. 14. Next, configure printout. Press enter to confirm choices. 15. Name and save method. Using replace (to replace existing method) or insert (to add to method menu).
Need help?
Do you have a question about the ANTHOS MULTIREAD 400 and is the answer not in the manual?
Questions and answers