Table of Contents
Advertisement
Available languages
Available languages
Quick Links
Item # 1007 248 795
Model # DSHD33258B
USE AND CARE GUIDE
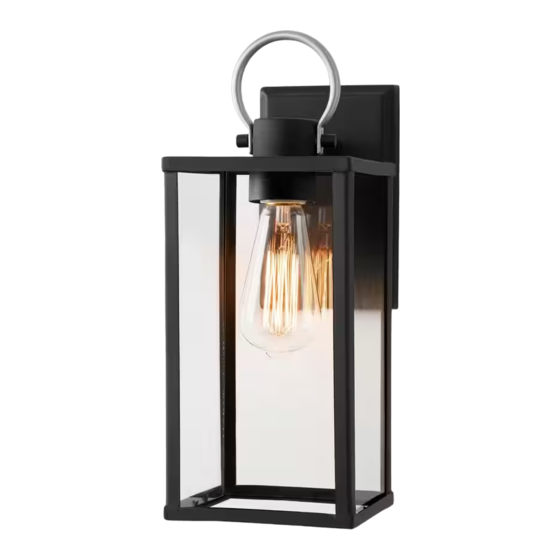
1-LIGHT WALL LANTERN
Questions, problems, missing parts? Before returning to the store,
call Hampton Bay Customer Service
8 a.m. - 7 p.m., EST, Monday – Friday, 9 a.m. – 6 p.m., EST, Saturday
1-855-HD-HAMPTON
HAMPTONBAY.COM
THANK YOU
We appreciate the trust and confidence you have placed in Hampton Bay through the purchase of this outdoor wall lantern . We strive to
continually create quality products designed to enhance your home. Visit us online to see our full line of products available for your home
improvement needs. Thank you for choosing Hampton Bay!
Advertisement
Chapters
Table of Contents

Subscribe to Our Youtube Channel
Related Manuals for HAMPTON BAY DSHD33258B


Summary of Contents for HAMPTON BAY DSHD33258B
- Page 1 THANK YOU We appreciate the trust and confidence you have placed in Hampton Bay through the purchase of this outdoor wall lantern . We strive to continually create quality products designed to enhance your home. Visit us online to see our full line of products available for your home...
-
Page 2: Table Of Contents
Table of Contents Table of Contents ............2 Hardware Included ..............3 Safety Information ............2 Package Contents ..............4 Warranty ................. 2 Installation ..............5 Three (3) Year Warranty ............. 2 Care and Cleaning ............8 What is Covered ............... 2 Troubleshooting ............. -
Page 3: Pre-Installation
Pre-Installation PLANNING INSTALLATION □ Read all instructions before installing. □ To avoid damaging this product, place it on a soft, non-abrasive surface, such as carpet or cardboard. IMPORTANT: Inspect the wire insulation for any cuts, NOTE: This product requires one 60W maximum abrasions, or exposed copper that may have occurred medium base (E26) type "S"... -
Page 4: Package Contents
Pre-Installation (continued) PACKAGE CONTENTS Part Description Quantity Fixture body Cage Glass panel... -
Page 5: Installation
Installation Adjust the ring Installing the crossbar assembly □ Rotate the ring to the top of the fixture. NOTE: Prior to installation, close or cover the sink drain and/or any vents near the installation site to prevent loss of mounting hardware if dropped. □... - Page 6 Installation (continued) Making the electrical connections □ Ground Wire: 1. Wrap the supply ground wire around the green ground screw on the crossbar (AA), no less than 2 in. from the end of the wire. Tighten the ground screw. 2. Connect the fixture ground wire to the supply ground wire with a wire connector (CC).
- Page 7 Installation (continued) Installing the cage and the light bulb □ Remove the socket collar (2) from the socket on the fixture body (A). □ Then, place the cage (B) over the socket on the fixture body (A) as shown. □ Secure by threading the socket collar (2) onto the socket.
-
Page 8: Care And Cleaning
Check the wire connections. □ Contact a qualified electrician or call the Customer Care Service Team at 1-855-HD-HAMPTON. Service Parts MODEL: DSHD33258B Part Description Crossbar assembly Outlet box screw Wire connector Fixture body... - Page 9 Questions, problems, missing parts? Before returning to the store, call Hampton Bay Customer Service 8 a.m. – 7 p.m., EST, Monday – Friday, 9 a.m. – 6 p.m., EST, Saturday 1-855-HD-HAMPTON HAMPTONBAY.COM Retain this manual for future use.
- Page 10 GRACIAS POR TU COMPRA. Apreciamos la confianza que has depositado en Hampton Bay al comprar esta farol de pared. Nos esforzamos para continuamente crear productos de calidad diseñados para mejorar tu hogar. Visítanos por Internet para ver nuestra línea completa de productos disponibles para las...
-
Page 11: Índice
ÍNDICE Índice................2 Aditamentos incluidos..............3 Información de seguridad..........2 Contenido del paquete..............4 Garantía................2 Instalación..............5 Tres (3) años de garantía............. 2 Cuidado y limpieza............8 Lo que está cubierto..............2 Solución de problemas..........8 ¿Qué no está cubierto?..............2 Piezas de recambio............ -
Page 12: Antes De La Instalación
Antes de la instalación Planificación de la instalación □ Lea todas las instrucciones antes de realizar la instalación. □ Coloque este producto sobre una superficie suave y no abrasiva, como una alfombra o una base de cartón, para evitar dañarlo. IMPORTANTE : Revisa que el aislamiento de los NOTA: Este producto necesita uno bombilla de cables no haya sufrido ningún corte, abrasión ni tenga... -
Page 13: Contenido Del Paquete
Antes de la instalación (continuación) CONTENIDO DEL PAQUETE Pieza Descripción Cantidad Cuerpo de la lámpara Estructura Paneles de vidrio... -
Page 14: Instalación
Instalación Instalación del eensamble de la Ajuste del anilla barra transversal □ NOTA: antes de la instalación, cierre o cubra el Gire la anilla hacia la parte superior de la lámpara. desagüe del fregadero o cualquier abertura cercana al lugar de instalación para evitar perder la tornillería de montaje si se cae. - Page 15 Instalación (continuación) Realizar las conexiones eléctricas □ Conductor de puesta a tierra: 1, Coloque el conductor de tierra alrededor del tornillo verde de puesta a tierra en el barra transversal (AA), a no menos de 5,08 cm del extremo del conductor. Apriete el tornillo de puesta a tierra.
- Page 16 Instalación (continuación) Instalación de la estructura y de la bombilla □ Retire el cuello del casquillo (2) del propio casquillo del cuerpo de la lámpara (A). □ A continuación, coloque la estructura (B) sobre el casquillo del cuerpo de la lámpara (A) como se muestra. □...
-
Page 17: Cuidado Y Limpieza
Contacte a un electricista calificado o llame al equipo de Servicio al Cliente al 1-855-HD-HAMPTON. Piezas de recambio Modelo: DSHD33258B Pieza Descripción Ensamble de la barra transversal Tornillo para la caja de salida Conector de cables Cuerpo de la lámpara... - Page 18 ¿Preguntas, problemas o piezas faltantes? Antes de regresar a la tienda, llama al Servicio al Cliente de Hampton Bay, de 8 a.m. a 7 p.m., hora estándar del Este, de Lunes a Viernes, y de 9 a.m. a 6 p.m., hora estándar del Este, Sábados.
Need help?
Do you have a question about the DSHD33258B and is the answer not in the manual?
Questions and answers