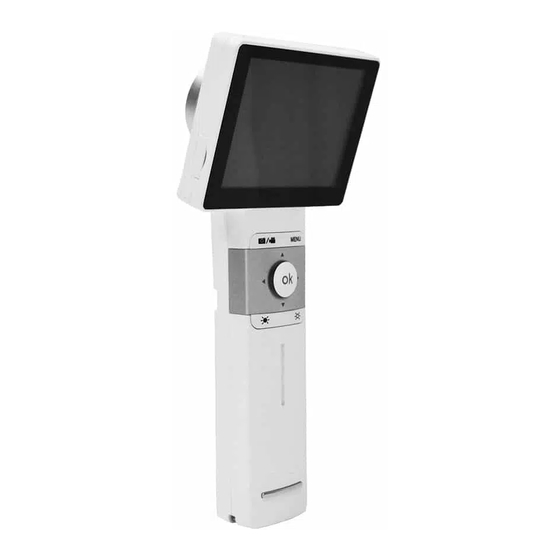
Table of Contents
Advertisement
Quick Links
Reference
Step 1
Slide upward from charging base OR
remove from USB charger.
Step 2
Ensure the device is adequately charged
(solid blue light on power indicator/handle
when the device is powered on).
Step 3
Attach appropriate viewing lens as follows:
Ensure the device is powered off.
Find and match the lens alignment marks
(small black circles).
Insert the lens into the Horus Scope
connector interface.
Rotate the lens attachment gently clockwise
until it stops.
Ensure the white position bars are in the
appropriate horizontal position.
Step 4
Connect device to Telehealth unit as follows:
Connect the AV (out) cord with the converter.
Connect the converter to the Telehealth unit.
Some units may require an additional cable to connect
the Telehealth unit to the converter (e.g., SX20).
December 2018
Quick
Guide
H O R U S
S C O P E
Page 1
Advertisement
Table of Contents

Subscribe to Our Youtube Channel
Summary of Contents for Jedmed Horus Scope
- Page 1 Ensure the device is powered off. Find and match the lens alignment marks (small black circles). Insert the lens into the Horus Scope connector interface. Rotate the lens attachment gently clockwise until it stops. Ensure the white position bars are in the appropriate horizontal position.
- Page 2 Orange light means battery is less than 100% full when connected to charger. Tips Horus Scope will not display an image if there is no lens attached. Do not touch the lens. Images/videos are not stored/recorded during Telehealth appointments.


Need help?
Do you have a question about the Horus Scope and is the answer not in the manual?
Questions and answers