Table of Contents
Advertisement
Quick Links
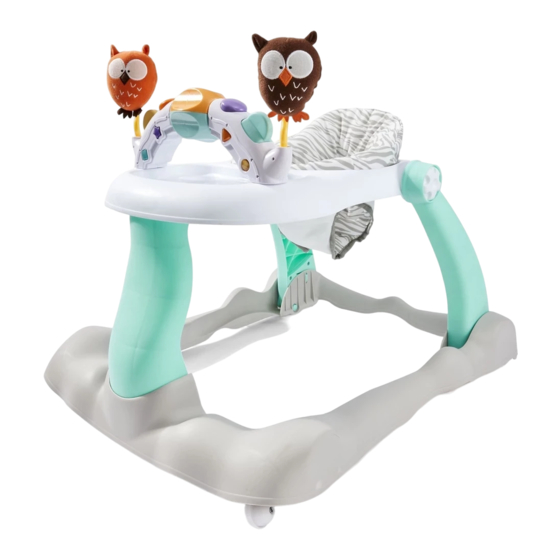
Owl Baby Walker
Instruction Manual
6-12
12
months
kg
MAXIMUM
WEIGHT OF CHILD
THE ILLUSTRATIONS SHOWN IN THIS MANUAL ARE FOR REFERENCE ONLY. THE MANUFACTURER
RESERVES THE RIGHT TO CHANGE ANY SPECIFICATION OR FEATURE WITHOUT FURTHER NOTICE.
IMPORTANT! PLEASE READ CAREFULLY BEFORE USE AND KEEP FOR FUTURE REFERENCE.
Advertisement
Table of Contents

Subscribe to Our Youtube Channel
Related Manuals for anko Owl Baby Walker


Summary of Contents for anko Owl Baby Walker
- Page 1 Owl Baby Walker Instruction Manual 6-12 months MAXIMUM WEIGHT OF CHILD THE ILLUSTRATIONS SHOWN IN THIS MANUAL ARE FOR REFERENCE ONLY. THE MANUFACTURER RESERVES THE RIGHT TO CHANGE ANY SPECIFICATION OR FEATURE WITHOUT FURTHER NOTICE. IMPORTANT! PLEASE READ CAREFULLY BEFORE USE AND KEEP FOR FUTURE REFERENCE.
-
Page 2: Safety Notes
1 Safety Notes CAUTION: READ THESE INSTRUCTIONS CAREFULLY BEFORE ASSEMBLY AND USE AND KEEP FOR FUTURE REFERENCE. THE CHILD MAY BE HURT IF YOU DO NOT FOLLOW THESE INSTRUCTIONS. WARNING: THE WALKER IS NOT INTENDED FOR BABIES THAT CAN ALREADY WALK UNASSISTED. WARNING: DO NOT USE THE WALKER IF IT IS DAMAGED OR BROKEN. - Page 3 1 Safety Notes (continued) IMPORTANT: Adult assembly required. Read all instructions before assembly and use of the product. This baby walker is intended to be used by children who can sit up • unaided, from approximately 6 months. It is not intended for children •...
-
Page 4: Battery Safety
2 Battery Safety ATTENTION! BATTERY SAFETY: KEEP FOR FUTURE REFERENCE The electronic toy tray requires “3 x AAA” 1.5 Volt alkaline type batteries (not included). To fit and / or replace batteries: loosen the screw on the battery compartment cover with a suitable screwdriver. Press the tab and remove the battery compartment cover. -
Page 5: Parts List
3 Parts List walker seat backrest seat cushion back wheels electronic toy bar front wheels wheel pin bolts... - Page 6 4 Wheels Assembly Unpack all contents and check that all parts are present before starting assembly. Please refer to the parts list. 1. Insert the directional front wheels (E) by aligning the pins of the wheels into their housing located at the front of the walker. Press until they reach the white lip.
-
Page 7: Frame Assembly
5 Frame Assembly 1. Pull up the rear of the walker (A) until it “clicks” into position. 2. Lift the tray and seat into position. 3. Lift the front leg of walker and insert into the base. A “click” will signal when secure. - Page 8 6 Seat Unit Assembly 1. Attach the seat backrest (B) to the seat ring within the frame of the walker. Insert the clips into the allocated slots. Push firmly until they “click” into place. 2. With the pattern side facing up, place the seat cushion (C) over the seat backrest and ring.
- Page 9 6 Seat Unit Assembly (continued) 3. Turn the walker upside down. Hook the seat cushion tabs onto the notches located along the edge of the seat ring in the frame of the walker. WARNING! Ensure all 8 tabs are securely fastened.
-
Page 10: Seat Height Adjustment
7 Seat Height Adjustment WARNING! Always remove the child before adjusting the walker. The walker has 2 height positions. Fasten the buckle to adjust the seat height to the desired height position. -
Page 11: Battery Installation
8 Battery Installation The electronic toy bar (D) requires “3 x AAA” 1.5 Volt alkaline type batteries (not included). To fit and /or replace batteries: loosen the screw on the battery compartment cover with a suitable screwdriver and remove the battery compartment cover by pressing the tab. - Page 12 9 Toy Bar Assembly 1. Assemble toy bar (D) to the upper tray. Insert the ends of the toy bar into their corresponding holes. 2. Secure the toy bar to the walker with bolts (H).
- Page 13 10 Folding 1. Remove the toy bar from the walker by unscrewing the bolts (H). Remove the ends of the toy bar (D) from their corresponding holes. 2. Press the button on the front leg of the walker and pull out the front leg from the base.
- Page 14 11 Care Maintenance The correct use and maintenance of this walker is essential. This product requires regular maintenance to keep it in good working order. Regularly check all parts of the product to ensure that they are operating correctly and for signs of wear or damage.
- Page 15 KEYCODE: 43140992 MADE IN CHINA FOR AU / NZ: IMPORTED FOR KMART STORES IN AUSTRALIA AND NEW ZEALAND. KMART CUSTOMER SERVICE: AU: 1800 124 125 NZ: 0800 945 995...
Need help?
Do you have a question about the Owl Baby Walker and is the answer not in the manual?
Questions and answers