Sign In
Upload
Download
Table of Contents
Contents
Add to my manuals
Delete from my manuals
Share
URL of this page:
HTML Link:
Bookmark this page
Add
Manual will be automatically added to "My Manuals"
Print this page
×
Bookmark added
×
Added to my manuals
Manuals
Brands
Quantum Manuals
Network Hardware
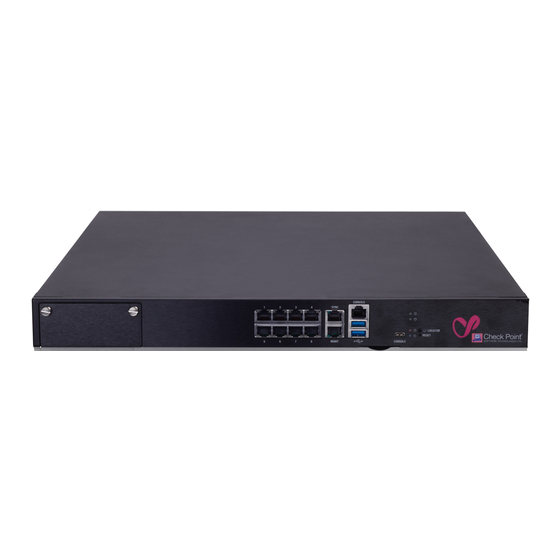
SMART-1 6000-L
Replacing
Quantum SMART-1 6000-L Replacing
Appliances replacing san cards
Hide thumbs
1
2
3
Table Of Contents
4
5
6
7
8
9
10
11
12
13
14
15
16
page
of
16
Go
/
16
Contents
Table of Contents
Bookmarks
Table of Contents
Table of Contents
Safety Instructions
Hardware Components
Procedure
Preparing the Appliance
Replacing the Bracket on a SAN Card
Removing the Riser
Installing an Expansion SAN Card into the Riser
Removing an Expansion SAN Card from the Riser
Installing the Riser
Reassembling the Appliance
Replacing a Transceiver
Attaching Cables
Viewing Leds on the SAN Card
Advertisement
Quick Links
Download this manual
17 February 2022
QUANTUM SMART-1
6000-L/6000-XL
APPLIANCES
REPLACING SAN CARDS
Table of
Contents
Previous
Page
Next
Page
1
2
3
4
5
Advertisement
Table of Contents
Need help?
Do you have a question about the SMART-1 6000-L and is the answer not in the manual?
Ask a question
Questions and answers
Related Manuals for Quantum SMART-1 6000-L
Network Hardware Quantum Lattus S20 Replacing Manual
Replacing decommissioned disks in storage node (16 pages)
Network Hardware Quantum CHECK POINT SPARK 1500 Series Administration Manual
(300 pages)
Network Hardware Quantum SPARK 1500 Administration Manual
(461 pages)
Network Hardware Quantum CHECK POINT SPARK 1530 Administration Manual
(300 pages)
Network Hardware Quantum CHECK POINT SPARK 1550 Administration Manual
(300 pages)
Network Hardware Quantum CHECK POINT SPARK 1570 Administration Manual
(300 pages)
Network Hardware Quantum CHECK POINT SPARK 1590 Administration Manual
(300 pages)
Network Hardware Quantum SMART-1 6000-XL Replacing
Appliances replacing san cards (16 pages)
Network Hardware Quantum SPARK 1900 Administration Manual
(461 pages)
Network Hardware Quantum SPARK 2000 Administration Manual
(461 pages)
Network Hardware Quantum DXi4800 Quick Start
(2 pages)
Network Hardware Quantum DX Series User Manual
(158 pages)
Network Hardware Quantum DDS-4/DAT 72 User Manual
(82 pages)
Network Hardware Quantum DXi8500 Upgrade Instructions
Array and expansion module (116 pages)
Network Hardware Quantum CHECK POINT FORCE 9000 Quick Start Manual
(6 pages)
Network Hardware Quantum FORCE 3900 Getting Started Manual
(52 pages)
This manual is also suitable for:
Smart-1 6000-xl
Table of Contents
Print
Rename the bookmark
Delete bookmark?
Delete from my manuals?
Login
Sign In
OR
Sign in with Facebook
Sign in with Google
Upload manual
Upload from disk
Upload from URL


Need help?
Do you have a question about the SMART-1 6000-L and is the answer not in the manual?
Questions and answers