Advertisement
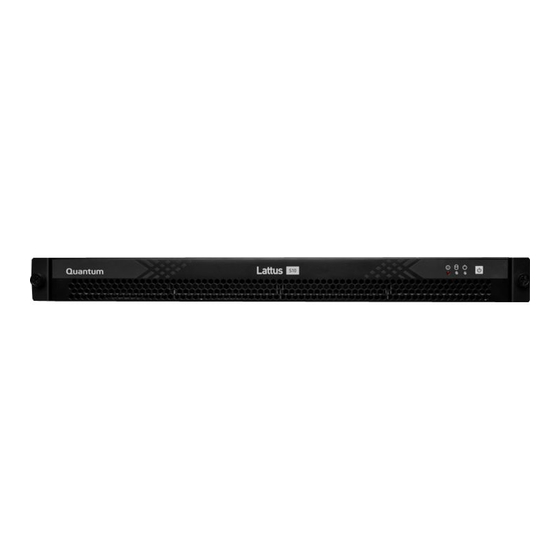
Each Lattus Storage Node contains the following customer replaceable units (CRUs):
12 hard disk drives
l
2 power supplies
l
The instructions in this document describe how to replace decommissioned hard disk drives in a Lattus
storage node.
© 2017 Quantum Corporation. All rights reserved. Your right to copy this manual is limited by copyright law. Making copies
or adaptations without prior written authorization of Quantum Corporation is prohibited by law and constitutes a punishable
violation of the law. Artico, Be Certain (and the Q brackets design), DLT, DXi, DXi Accent, DXi V1000, DXi V2000, DXi
V4000, DXiV-Series, FlexTier, Lattus, the Q logo, the Q Quantum logo, Q-Cloud, Quantum (and the Q brackets design), the
Quantum logo, Quantum Be Certain (and the Q brackets design), Quantum Vision, Scalar, StorageCare, StorNext,
SuperLoader, Symform, the Symform logo (and design), vmPRO, and Xcellis are either registered trademarks or trademarks
of Quantum Corporation and its affiliates in the United States and/or other countries. All other trademarks are the property of
their respective owners. Products mentioned herein are for identification purposes only and may be registered trademarks
or trademarks of their respective companies. All other brand names or trademarks are the property of their respective
owners. Quantum specifications are subject to change.
6-68540-02 Rev A, March 2017
Replacing Decommissioned Disks
in a Lattus Storage Node
Advertisement

Related Manuals for Quantum Lattus S20


Summary of Contents for Quantum Lattus S20
- Page 1 The instructions in this document describe how to replace decommissioned hard disk drives in a Lattus storage node. © 2017 Quantum Corporation. All rights reserved. Your right to copy this manual is limited by copyright law. Making copies or adaptations without prior written authorization of Quantum Corporation is prohibited by law and constitutes a punishable violation of the law.
- Page 2 Locating Lattus Storage Nodes Locating Lattus Storage Nodes When you're ready to replace CRUs in your Lattus Storage Nodes, you can physically locate the storage nodes in your data center by doing the following in the Lattus CMC to illuminate the nodes' Location LEDs: 1.
- Page 3 4. You can now locate the selected Lattus S10 or original S20 Storage Node at the data center by its illuminated Location LED. For Lattus S20 Model 2, S30 or S50 storage nodes, the Location LED is located on the left side of the front panel.
-
Page 4: Table Of Contents
Removing the Lattus Storage Node from the Rack on page 7 Replacing Disks in the Lattus S10 or S20 on page 9 Replacing Disks in the Lattus S20 Model 2, S30 or S50 on page 11 Reinstalling a Lattus Storage Node in a Rack on page 14... - Page 5 Locating Lattus Storage Nodes 3. Switch on the node. 4. When the node is fully operational, wait at least five minutes before turning off the next node. Prerequisites A Philips screwdriver. A number of new storage disks equal to the number of disks that need to be replaced. The new disk must meet the following properties: The spare disk has to be clean (no partitions) The disk size of the new disk has to be the same or higher than the original one.
- Page 6 Locating Lattus Storage Nodes email. Note: To use this “Mail details” option, an smtp server must be configured. This is typically configured when the management controller node is initialized. For more information about configuring the smtp server, refer to “Finalizing the Cloud Service Setup” in the Lattus Installation and Configuration Guide.
-
Page 7: Shutting Down The Lattus Storage Node
Locating Lattus Storage Nodes Note: After replacing the failed component, turn off the Location LED by clicking the Location LED OFF radio button. d. You can now physically locate the selected Lattus Storage Node at the data center by finding the storage node whose Location LED is illuminated. - Page 8 Figure 1: Location LEDs on a Lattus S10 or S20 Figure 2: Location LEDs on a Lattus S20 Model 2, S30 or S50 2. Detach the safety on the power cables and unplug them from the Lattus Storage Node's power supplies.
-
Page 9: Replacing Disks In The Lattus S10 Or S20
Once you have removed the Lattus Storage Node from the rack, follow these steps to replace the decommissioned disk(s) in a Lattus S10 or S20. Note: If you are replacing disks in a Lattus S20 Model 2, S30 or S50, see Replacing Disks in the Lattus S20 Model 2, S30 or S50 on page 11 1. - Page 10 Locating Lattus Storage Nodes 2. Unscrew the disk from the Lattus Storage Node and slide it out by pulling the handle towards the front of the storage node. Do not pull upwards on the handle. 3. Remove the disk from its drive sled by unscrewing the screw holding the drive to the sled. 4.
-
Page 11: Replacing Disks In The Lattus S20 Model 2, S30 Or S50
For example, do not install a 3 TB, 6 TB or 10 TB replacement drive into a Lattus S20 Model 2 Storage Node. Also do not install a 3 TB,4 TB or 10 TB replacement drive into a Lattus S30, and do not install a 3 TB, 4 TB or 6 TB replacement drive into a Lattus S50 Storage Node. - Page 12 Locating Lattus Storage Nodes you disconnect the drive connector cable. 5. Disconnect the SATA power and signal cables from the failed hard drive. To help you identify the correct drive cable, the cable is numbered both where it connects to the drive and where it connects to the drive controller.
- Page 13 Locating Lattus Storage Nodes The following illustration shows which cable to disconnect from the hard drive. Lattus Replace Decommissioned Disks...
-
Page 14: Reinstalling A Lattus Storage Node In A Rack
Locating Lattus Storage Nodes 6. Lift up the failed hard drive and remove it from the chassis. Note: The drive can be removed by simply lifting it from the chassis. There are no screws to loosen or remove. 7. Insert the replacement drive into the vacated HDD space. Note: The new drive should rest on the protective foam pieces. -
Page 15: Repurposing A Disk
3. If the disks fail to initialize, contact Quantum support and ask them for assistance. Click the failed job to display its details in the Job Details screen; technical support will need this information to help determine the cause and resolution for the failed disk initialization. -
Page 16: What To Do When You're Finished Replacing Disks In The Lattus Storage Node
Locating Lattus Storage Nodes What to Do When You're Finished Replacing Disks in the Lattus Storage Node If you have additional Lattus Storage Nodes with decommissioned disks that need to be replaced, repeat the process for each of those nodes. Caution: Replace the decommissioned disks in one Lattus Storage Node at a time.
Need help?
Do you have a question about the Lattus S20 and is the answer not in the manual?
Questions and answers