Table of Contents
Advertisement
Advertisement
Table of Contents

Subscribe to Our Youtube Channel
Related Manuals for Harman JBL SB-0204A


Summary of Contents for Harman JBL SB-0204A
- Page 1 AURA-CUBE COMPACT WALL MOUNT STEREO SB-0204A OWNER’S MANUAL...
-
Page 2: Important Safety Instructions
IMPORTANT SAFETY INSTRUCTIONS CAUTION: TO REDUCE THE RISK OF ELECTRIC SHOCK, DO NOT REMOVE COVER (OR BACK). NO USER SERVICEABLE PARTS INSIDE. REFER SERVICING TO QUALIFIED SERVICE PERSONNEL. DANGEROUS VOLTAGE: The lightning flash with arrowhead symbol within an equilateral triangle is intended to alert the user to the presence of uninsulated dangerous voltage within the product`s enclosure that may be of sufficient magnitude to constitute a risk of electric shock to persons. - Page 3 12. Severe weather Before using the unit, be sure to read all In extreme weather such as lightning storm, operating instructions carefully. Please note hurricane, unplug it from the wall outlet and that these are general precautions and may not disconnect the antenna or cable system.
-
Page 4: Table Of Contents
TABLE OF CONTENTS IMPORTANT SAFETY INSTRUCTIONS 12 HDMI ARC OPERATION INTRODUCTIONS 13 BLUETOOTH OPERATION WHAT'S IN THE BOX OPERATION PRODUCT OVERVIEW 15 RESTORE FACTORY SETTINGS SPEAKER/POWER WIRE SOCKET 16 TROUBLESHOOTING DIAGRAM REMOTE CONTROL 17 PRODUCT SPECIFICATIONS MOUNTING PLACEMENT GENERAL OPERATION FM OPERATION 10 AUX OPERATION 11 OPTICAL IN OPERATION... -
Page 5: Introductions
1 INTRODUCTIONS Thank you for purchasing the JBL AURA-CUBE Wall Mount Stereo which is designed to bring an extraordinary sound experience to your entertainment system. We encourage you to take a few minutes to read through this manual, which describes the product and includes step-by-step instructions for setting up and getting started. -
Page 6: Product Overview
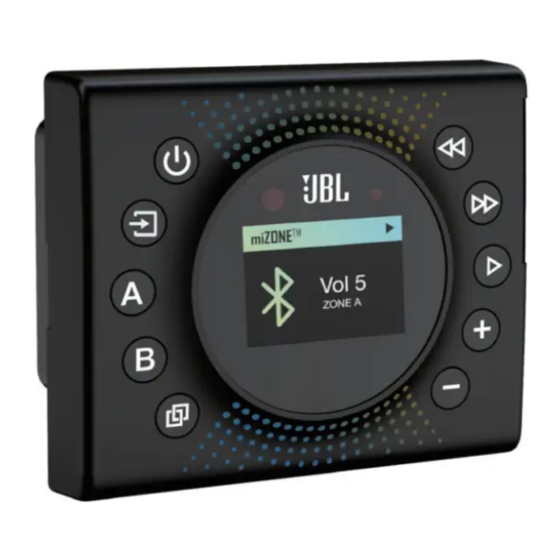
3 PRODUCT OVERVIEW Controls and Features Connectors Antenna Connector Power Button AUX Jacks Source Button HDMI (ARC) Port Audio Zone A OPTICAL IN Jack Audio Zone B Speaker/Power Wire Sockets Pair Button Reset Hole (inside) Remote Sensor CUBE Parametric Lighting Feature Light Sensor for Display Brightness Previous Button Next Button... -
Page 7: Speaker/Power Wire Socket Diagram
4 SPEAKER/POWER WIRE SOCKET DIAGRAM... -
Page 8: Remote Control
5 REMOTE CONTROL Power Button Mute Button VOL+ Button Previous Button Next Button Play/Pause, Memory/Preset/ VOL- Button Preset Play Button EQ Button Light Effect Button Zone B Button Pair Button ARC Button Zone A Button AUX Button FM Button BT Button OPT Button... - Page 9 REMOTE CONTROL BATTERY INSTALLATION 1. Slide and lift the battery door. 2. Install 2 (two) AAA size batteries into the battery compartment as indicated by the polarity markings. 3. Replace the battery door. Battery Precautions: Follow these precautions when using a battery in this device: 1.
-
Page 10: Mounting
6 MOUNTING min. cutout min. cutout 1. Grasp the front cover, and pull it off the main unit. 2. Predrill 4 mounting holes as shown in Fig. A. Select fasteners (not included) suitable for the mounting materials. 3. Cut out opening size as shown in Fig. B. 4. -
Page 11: Placement
7 PLACEMENT When placing the media center in any type of enclosed space, be sure to allow space around it for ventilation. If placing in a tight space without ventilation, heat generated from the unit could produce a potential heat hazard. 8 GENERAL OPERATION 1. -
Page 12: Fm Operation
9 FM OPERATION BEFORE OPERATION Before operation, Insert the Antenna into the ANTENNA Jack on rear panel. Cable from FM antenna (not supplied) SEARCHING STATION Power ON the CUBE Wall Mount Stereo. Press the button repeatedly until FM appears on the display. Or press FM button on the Remote Control. -
Page 13: Aux Operation
10 AUX OPERATION Connect one end of the audio cable to the AUX IN jacks on the back of the CUBE Wall Mount Stereo. Connect the other end of the audio cable to the LINE OUT jacks on the TV / DVD player, etc. -
Page 14: Hdmi Arc Operation
12 HDMI (ARC) OPERATION Before connecting, please disconnect power. Connect as illustrated above and power on the unit. Press the ARC button on remote control or press the button on unit repeatedly until "ARC" appears on display. Select AUDIO RECEIVER or turn to ARC in the SETUP menu on the TV. The audio will play through the CUBE Wall Mount Stereo. -
Page 15: Operation
OPERATION Enjoy your own music via Bluetooth device outside while the other family members are playing other sources or watching TV inside! Press and hold the Zone B button on the front panel or the Remote control for 2 seconds and release, then the displayed text "ZONE *-***"... -
Page 16: Troubleshooting
• The FM antenna is not plugged in. 16 TROUBLESHOOTING Remote Control Never try to repair the product yourself. If you have problems using this product, check the The Remote Control does not work. following before you request services. • Check if the batteries are drained. - Page 17 www.riverparkinc.com 2021 RIVERPARK Inc. V. 112021...
Need help?
Do you have a question about the JBL SB-0204A and is the answer not in the manual?
Questions and answers
My main (living room) speakers are ""B"". My bedroom speakers are "A". This seems backwards, but oh well. When I power on, bedroom speaker always comes on, no living room. Have to constantly change this after power up. How can I make "B" or even both come up when power on?
To power on the living room speakers instead of the bedroom speakers on the Harman JBL SB-0204A:
1. Use the Remote Control or front panel.
2. Press the "A" or "B" button to switch ON or OFF the corresponding audio zone:
- Zone A = Living room
- Zone B = Bedroom
Press the "A" button to turn on the living room speakers and the "B" button to turn off the bedroom speakers.
This answer is automatically generated
@Mr. Anderson But. When you turn off power, then back on, it returns to the original: Living room off, bedroom on. Again, B is my living room, and A is the bedroom, which seems totally backwards to me, and to your description. Thank you.
Can you connect Pandora Bluetooth to radio ?