Table of Contents
Advertisement
Quick Links
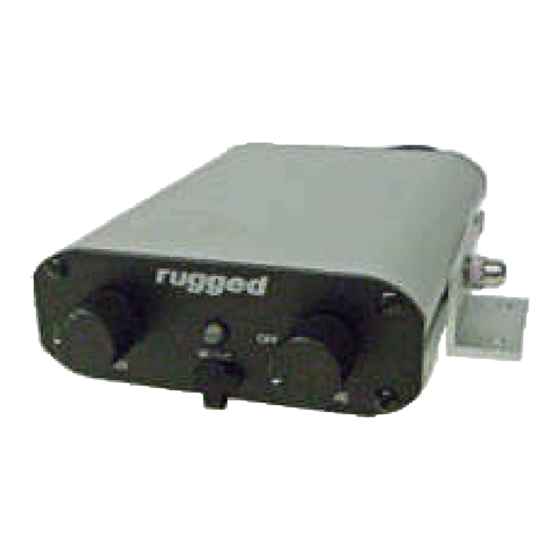
Installation instructions for RRP660 ntercom and mobile radios
Step #1: Location for intercom and radio
Find a good location to mount intercom and mobile radio. If possible mount mobile radio
no more than 3 feet from intercom. Standard mobile radio to intercom interface cables are
3 ft. long. Extensions are available when mounting requires more than 3 feet apart. PN#
CS-RADIO-EXT
Note: Be sure to mount away from ignition boxes to avoid RF interference.
Step #2 Mount intercom and radio
Mount intercom with L bracket mounts. Be sure to allow enough room behind the
intercom for the cables to be connected. The unique RRP600 mounting design allows you
to easily slide intercom out of the mounting brackets for plugging in cables and adjusting
radio transmit levels.
Mount mobile radio with the U bracket mounting supplied by manufacturer.
Step #3 Headset to intercom cables
Route the headset cables from the intercom to each seat. Be sure
to run cables in a location where there is not excessive heat or
they may get damaged. Always route cables away from ignition
boxes or coils as RF interference may occur. After routing
cables plug headset cables into the correct position into the
intercom. Be sure the driver cable is plugged into the driver
position on the intercom. If the co-driver and driver are reversed
the co-drivers mic will turn on when the driver pushes their
push to talk for car to car transmitting. Plug cables into back of
1
the intercom.
Advertisement
Table of Contents

Subscribe to Our Youtube Channel
Related Manuals for Rugged Computing RRP660


Summary of Contents for Rugged Computing RRP660
- Page 1 Installation instructions for RRP660 ntercom and mobile radios Step #1: Location for intercom and radio Find a good location to mount intercom and mobile radio. If possible mount mobile radio no more than 3 feet from intercom. Standard mobile radio to intercom interface cables are 3 ft.
- Page 2 Step #4 Push to talks If you’re using headset direct cables the push to talk on the headset will be active for car to car transmitting. If you’re using the intercom cables with Nexus style blue jack, remote push to talks will need to be installed.
- Page 3 Step #6 Antenna and coax cable Find a good location for the antenna. For best performance mount the antenna on a metal or aluminum roof in the center. The ½ wave NGP antennas do not require a ground plane but it is always best to have enough metal surface area over 2’x 2’...
- Page 4 Step #9 Car to car radio operation Turn on car to car radio and select the channel you wish to transmit on. The incoming volume of the other cars is controlled by the radio. If the incoming car to car audio is too loud or too low simply adjust the volume control on the radio.
- Page 5 Optional accessory cable The RRP600 has the ability to connect cell phones, in car cameras, and stereo systems with the rear 9 pin detachable Molex plug. When not installing these devices this cable will not be used. But if you are using these devices simply plug in the accessory cable into the AUX post on the back of the intercom.
Need help?
Do you have a question about the RRP660 and is the answer not in the manual?
Questions and answers