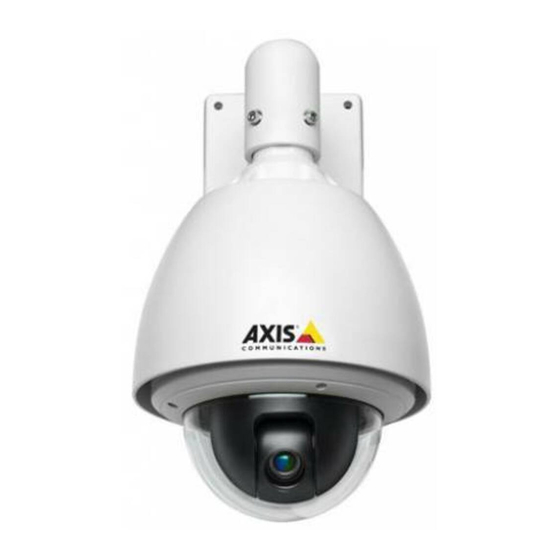
Axis 215 PTZ-E How To Install
Hide thumbs
Also See for 215 PTZ-E:
- Installation manual (85 pages) ,
- Datasheet (2 pages) ,
- User manual (56 pages)
Advertisement
How to install audio and I/O cables in AXIS
215 PTZ-E Network Camera
AXIS 215 PTZ-E Network Camera is delivered without hardware support for audio and I/O. However it
is possible to install cables for these.
Important!
• Installing the cables for audio and I/O must be done only by an authorized technician.
• Installing audio and I/O cables will nullify the IP-66 rating and AXIS 215 PTZ-E Net-
work Camera will no longer be suitable for outdoor use.
Follow these steps to install the audio and I/O cables:
1. Remove the wall bracket.
2. Remove the sunshield.
3. Unscrew the cable gland;
cut and remove the rubber gasket.
Caution: Make sure not to damage the cables
while removing the rubber gasket. The rubber
gasket is now no longer usable, and the IP-66 rating
is no longer valid.
4. Remove the top by
unscrewing 3 screws.
ADDENDUM AXIS 215 PTZ-E Network Camera r1.0
.
Part no: 34142
Advertisement
Table of Contents

Summary of Contents for Axis 215 PTZ-E
- Page 1 How to install audio and I/O cables in AXIS 215 PTZ-E Network Camera AXIS 215 PTZ-E Network Camera is delivered without hardware support for audio and I/O. However it is possible to install cables for these. Important! • Installing the cables for audio and I/O must be done only by an authorized technician.
- Page 2 For more information on how to connect I/O and audio, please refer to the AXIS 215 PTZ Network Camera’s user manual delivered with this pack. 9. Work backwards from step 6 to re-assemble the parts.


Need help?
Do you have a question about the 215 PTZ-E and is the answer not in the manual?
Questions and answers