Advertisement
Quick Links
Advertisement

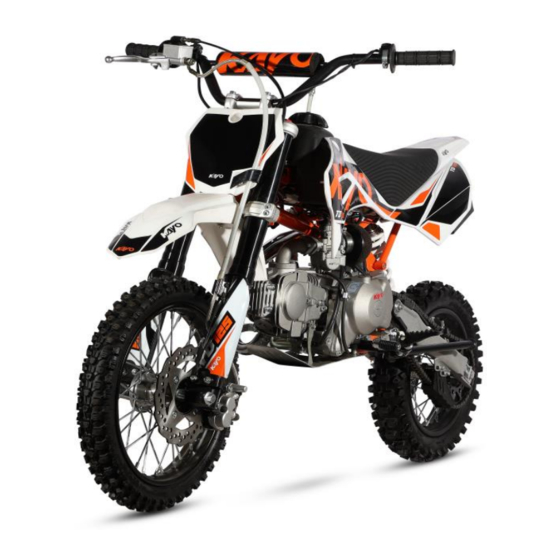
Summary of Contents for KAYO MOTO TD125
- Page 1 KAYO MOTO TD125 Assembly Manual WWW.KAYOMOTO.COM...
- Page 2 ① Torque wrench ② Phillips screwdriver ③ Socket extension rod ④ 8mm hexagon socket ⑤ 6mm hexagon socket ⑥ 10mm socket ⑦ 12mm socket ⑧ 13mm socket ⑨ 19mm socket ⑩ Needle nose pliers ⑪ No. 17-19 wrench ⑫ No. 12-14 wrench ⑬...
- Page 3 Name Quantity Fuel tank cover One-way air valve Pipe clamp User’s manual Upper raiser Bolt Lower raiser Bolt Spark plug sleeve Battery belt Battery box Bolt Brake pedal 6. Install D to the upper clamp, use tool ① ④ to Left/right footpeg assy.
- Page 4 10. Use tool ① ③ ⑧ ⑫ to install the lower shock- 9.Put the vehicle on the stand for easy installation of other accessories. absorbing screws (torque requirement 49-59N.m) 11. Use tool ⑮ to remove the screws on the 12. Remove the plastic clip of the front disc brake lower clamp, cover the screws to J and install it for subsequent installation of the front wheel.
- Page 5 15. Install the front disc brake lower pump back 16. Install H to the frame as shown above, use tool on the shock absorber, use tool ① ⑥ to tighten ⑩ to install the spring to the pedal. the fixing screws (torque requirement is 10- 12N.m) (after the front wheel is assembled, remove the vehicle to the ground).
- Page 6 21. Paste K to Gas above. 22. Put the battery in G and fix it with F, use tool ① ③ ⑦ ⑫ to tighten the fixing screws (torque requirement 25-30N.m) 23. Use tool ② to install the battery screws. then 24.
- Page 7 27. Please read the user’s manual (B) carefully before riding to better understand the performance of the vehicle.


Need help?
Do you have a question about the TD125 and is the answer not in the manual?
Questions and answers