Table of Contents
Advertisement
Quick Links
Advertisement
Table of Contents

Summary of Contents for Force1 UFO5000
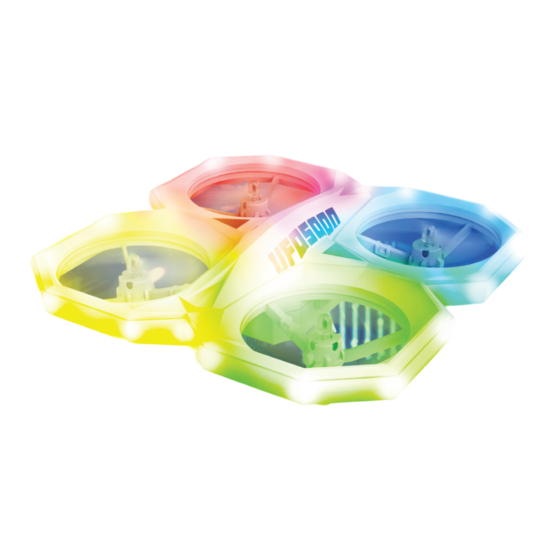
- Page 1 3-SPEED LED STUNT DRONE USER MANUAL...
-
Page 2: Warnings And Safety Precautions
Learning how to pilot a drone 10. Force1 and resellers or distributors of this drone successfully takes time and practice. are not responsible for physical loss, damage or injury caused. -
Page 3: Battery Care
14. In order to comply with the command of the 15. Always fly the drone back when the battery is magnetic environment requirements of the Aviation running low. Radio Administration and related departments, stop using drones when there are control orders during the control period in certain areas. -
Page 4: Drone Battery Charging
DRONE BATTERY CHARGING 1. Attach the USB cable to the battery then plug the 2. When the battery is charging, the USB indicator USB into your preferred charging source. light will be on. When the battery is fully charged, the USB indicator light will turn off. The battery charging time is approximately 120 minutes. -
Page 5: Box Contents
BOX CONTENTS UFO5000 DRONE 2 x MODULAR BATTERIES 4 x PROPELLERS SPANNER (2 x A & 2 x B) SCREWDRIVER TRANSMITTER USB CHARGER INSTRUCTION MANUAL DRONE OVERVIEW FRONT PROPELLER A PROPELLER B CLOCKWISE COUNTER CLOCKWISE MOTOR (FORWARD) MOTOR (REVERSE) MOTOR (REVERSE) -
Page 6: Transmitter Overview
TRANSMITTER OVERVIEW ON/OFF SPEED MODE BUTTON LED MODE BUTTON LONG PRESS: AUTOROTATION LONG PRESS: 360° FLIP THROTTLE FORWARD/BACKWARD ROTATE LEFTWARD/RIGHTWARD LEFT/RIGHT 1-KEY LIFT/LAND HEADLESS MODE (LONG PRESS DIRECTION TRIM) (LONG PRESS: EMERGENCY STOP) Open the battery cover and insert 3 AAA batteries as shown below (not included). -
Page 7: Drone Assembly
DRONE ASSEMBLY BATTERY INSTALLATION BATTERY REMOVAL Place the battery on the center underside of the Turn off the drone before removing the battery. drone and slide the battery into place (Fig.1). Press and hold the tab circled in (Fig.2). Slide the Ensure the battery is firmly installed so it won’t fall battery to the right side to release it from the drone. - Page 8 QUICK-START GUIDE • Insert the drone battery and turn the drone on by pressing and holding the power button on the bottom of the drone. • The transmitter will beep once to indicate it’s turned on and beep a second time when it’s paired with the drone.
-
Page 9: Flight Controls
FLIGHT CONTROLS HOVER UP AND DOWN FLY FORWARD OR FLY LEFT OR RIGHT ROTATE LEFT OR RIGHT BACKWARD Push the THROTTLE Push the DIRECTION Move the DIRECTION Move the THROTTLE STICK up to fly the CONTROL STICK up to CONTROL STICK to STICK to the left to drone up and pull the fly the drone forward... -
Page 10: Trim Adjustments
TRIM ADJUSTMENTS Long press the button pointed out on the FORWARD/BACKWARD TRIM transmitter in (Fig.9) to adjust trim. When your When the drone drifts forward while flying press drone drifts in an unwanted direction, long press and hold the DIRECTION TRIM button and push the the DIRECTION TRIM button (Fig.9/10) and move direction stick on the right downward. - Page 11 FUNCTIONS ONE KEY LIFT/LAND Place the drone on a flat surface. Press the 1-Key Lift/Land Button (Fig.11)-the drone propellers will start spinning, and it is ready to fly. Push the left stick up to fly the drone upwards. Press the 1-Key Lift/Land button while the drone is aloft to land it (Fig.11).
- Page 12 FUNCTIONS Fig.13 ROTATION Long press the rotation button to start the automatic rotation function (Fig.13). If you want to end the rotation, just push the direction control stick. Note: • Only execute rotations when you have plenty of airspace. The drone can only perform rotations when it is at least 7 feet in the air.
- Page 13 FUNCTIONS HEADLESS MODE Headless Mode allows you to fly your drone without knowing its orientation, because it will be fixed in the direction you set it. Press the Headless Mode button to enter Headless Mode before take off (Fig.15). The remote control will beep continuously and the drone lights will begin to flash to indicate mode selection.
-
Page 14: Troubleshooting Guide
TROUBLESHOOTING GUIDE Problem Reason Solution The LED indicator on the drone The remote control and the Refer to page 8 to pair again. flashes continuously after drone are not paired. connecting the battery, there is no response from the remote control. - Page 15 Problem Reason Solution The drone shakes or tilts The propellers are damaged. Replace the damaged sideways during flight. propeller(s). The drone continues to spin 1. The propellers are damaged. 1. Replace the damaged after making trim adjustments or propeller(s). 2. The drone battery level is too the left/right yaw speed is not low.
- Page 16 3-SPEED LED STUNT DRONE LEARN MORE ABOUT FORCE1 www.force1rc.com...


Need help?
Do you have a question about the UFO5000 and is the answer not in the manual?
Questions and answers