Maytag Gemini MER6741BA Use And Care Manual
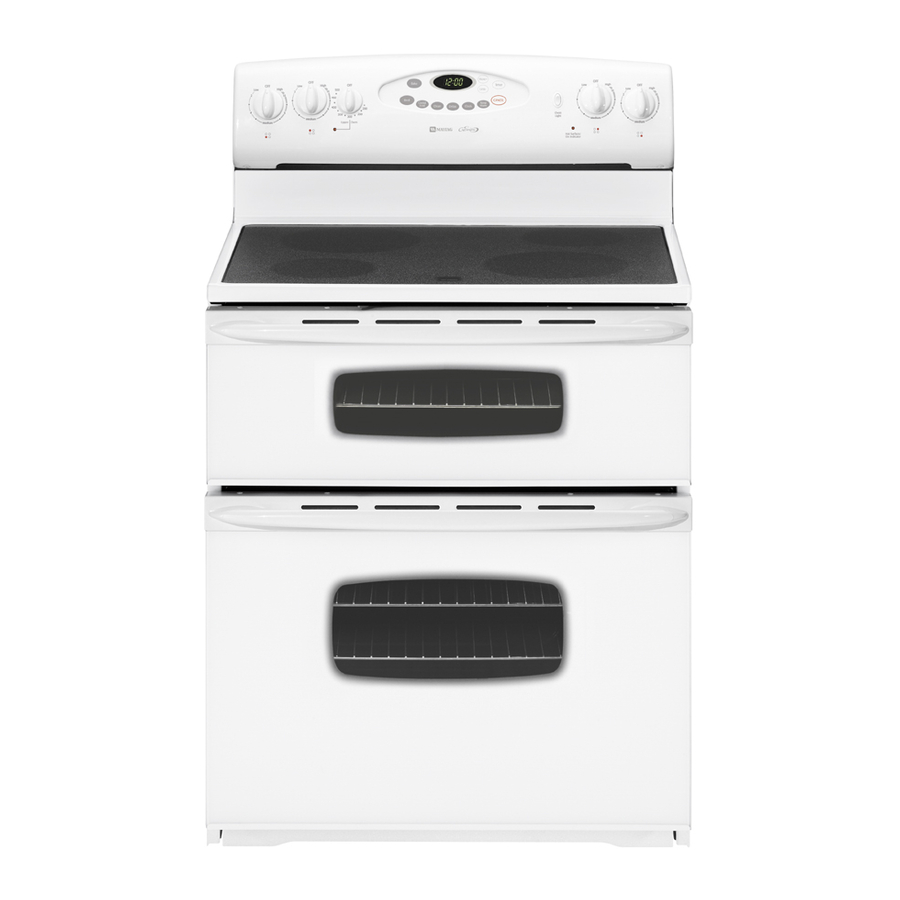
Electric smoothtop and electric coil double oven range
Hide thumbs
Also See for Gemini MER6741BA:
- Installation instructions manual (14 pages) ,
- Dimensions (1 page)
Table of Contents
Advertisement
®
Table of Contents
Instructions ............................... 1-4
Surface Cooking ...................... 5-7
Controls
Oven Cooking ......................... 8-15
Upper Oven Control (Manual Clean)
Part No. 8113P719-60
Form No. A/01/08
Electric Smoothtop and Electric
Precision Touch 500 Series
Use and Care Guide
Care & Cleaning ................... 16-19
Maintenance ............................... 20
Troubleshooting ................... 21-22
Warranty & Service ..... Back Page
Coil Double Oven Range
Oven Doors and Windows
Oven Lights
©2006 Maytag Appliances Sales Co.
Litho U.S.A .
Advertisement
Table of Contents
Troubleshooting

Subscribe to Our Youtube Channel
Related Manuals for Maytag Gemini MER6741BA


Summary of Contents for Maytag Gemini MER6741BA
-
Page 1: Table Of Contents
Use and Care Guide Care & Cleaning ... 16-19 Self-Clean Oven (Lower Oven Only) Cleaning Procedures Maintenance ... 20 Oven Doors and Windows Oven Lights Troubleshooting ... 21-22 Warranty & Service ... Back Page ©2006 Maytag Appliances Sales Co. Litho U.S.A . -
Page 2: Important Safety Instructions
To check if device is properly installed, look underneath range with a flashlight to make sure one of the rear leveling legs is properly engaged in the bracket slot. The anti-tip device secures the rear leveling leg to the floor when properly engaged. -
Page 3: Glass-Ceramic Cooktop
Important Safety Instructions If appliance is installed near a window, precautions should be taken to prevent curtains from blowing over surface elements. NEVER use appliance to warm or heat the room. Failure to follow this instruction can lead to possible burns, injury, fire, or damage to the appliance. -
Page 4: Heating Elements
Important Safety Instructions Coil Elements To prevent damage to removable surface heating elements, do not immerse, soak or clean in a dishwasher or self-clean oven. A damaged element could short, resulting in a fire or shock hazard. Make sure drip bowls are in place as absence of these bowls during cooking could damage wiring. -
Page 5: Instructions
Children should not be allowed to play with controls or other parts of the unit. Ventilating Hoods Clean range hood and filters frequently to prevent grease or other flammable materials from accumulating on hood or filter and to avoid grease fires. -
Page 6: Surface Cooking
• Do not use oversized cookware. Pans should not extend more than 1-2 inches beyond the element. • When home canning or cooking with big pots, use the Canning Element (Model CE1). Contact your Maytag dealer for details or call 1-877-232-6771 USA or 1-800-688-8408 Canada to order. -
Page 7: Hot Surface Light
This is normal and will disappear when the surface cools. Cooking Areas The cooking areas on your range are identified by permanent circles on the smoothtop surface. For most efficient cooking, fit the pan size to the element size. -
Page 8: Surface Cooking
Surface Cooking • Do not slide aluminum pans across a hot surface. The pans may leave marks which need to be removed promptly. (See Cleaning, page 18.) • Make sure the surface and the pan bottom are clean before turning on to prevent scratches. •... -
Page 9: Upper Oven Knob Control
When the oven is in use the area near the vent may become hot enough to cause burns. Never block the vent opening. The oven vent is located below the backguard vent shield on your range. OVEN VENT LOCATION Do not place... -
Page 10: Clock
Oven Cooking Lower Oven Control The control panel is designed for ease in programming. The display window on the control shows time of day, timer and oven functions. Control panel shown includes model specific features. (Styling may vary depending on model.) Broil Use for broiling and top browning. -
Page 11: Locking Controls
Oven Cooking To cancel the Clock display: If you do not want the time of day to display: Press and hold the CANCEL and Clock pads for three seconds. The time of day will disappear from the display When the clock display is canceled, press the Clock pad to briefly display the time of day. -
Page 12: Cook & Hold
Oven Cooking 6. Check cooking progress. Cook longer if needed. 7. When cooking is finished, press CANCEL. 8. Remove food from the oven. Notes: • To change the oven temperature during cooking, press the Bake pad and then the More+ or Less- pad until the desired temperature is displayed. -
Page 13: Keep Warm
Oven Cooking 5. Press More+ pad to set the baking time. • The Delay time, DELAY, BAKE and HOLD light in the display. When the Delay time has expired: • DELAY will turn off. • Baking time is displayed. • BAKE and HOLD are displayed. To set a Delay when Cook &... -
Page 14: Adjusting The Oven Temperature
Oven Cooking Automatic Shut-Off/ Sabbath Mode The oven will automatically turn off after 12 hours if you accidentally leave it on. This safety feature can be turned off. To cancel the 12-hour shut-off and run the oven continuously for 72 hours: 1. -
Page 15: Broiling (Lower Oven Only)
Oven Cooking Broiling (Lower Oven Only) To set Broil: 1. Press the Broil pad. • BROIL flashes. • SEt is displayed. 2. Press the More+ pad to set HI broil or press the Less- pad to set LO broil. • HI or LO will be displayed. •... -
Page 16: Oven Cooking
Oven Cooking Oven Racks CAUTION • Do not attempt to change the rack position when the oven is hot. • Do not use the oven for storing food or cookware. All racks are designed with a lock-stop edge. Upper Oven •... -
Page 17: Care & Cleaning
Self-Clean Oven (Lower Oven Only) CAUTION • It is normal for parts of the range to become hot during a self-clean cycle. • To prevent damage to oven door, do not attempt to open the door when LOCK is displayed. - Page 18 Care & Cleaning 3. Press the Clean pad while DELAY is displayed. • CLEAN will flash. If the door is not closed within 25 seconds, the self-cleaning operation will be canceled and the display will return to the time of day. 4.
-
Page 19: Cleaning Procedures
• When cool, wash with soapy water, rinse and dry. • Never wipe off a warm or hot surface with a damp cloth. This may cause cracking or chipping. • Never use oven cleaners, abrasive or caustic cleaning agents on exterior finish of range. Broiler Pan and Never cover insert with aluminum foil as this prevents the fat from draining to the pan below. - Page 20 Care & Cleaning PART PROCEDURE Drip Bowls – Chrome will discolor if overheated. This is normal and will not affect cooking performance. Chrome • When cool, wash after each use, rinse and dry to prevent staining or discoloration. May be washed in the dishwasher.
-
Page 21: Maintenance
To replace: 1. Grasp door at each side. 2. Align slots in the door with the hinge arms on the range. 3. Slide the door down onto the hinge arms until the door is completely seated on the hinges. Push down on the top corners of the door to completely seat door on hinges. -
Page 22: Troubleshooting
• Make sure the oven vent has not been blocked. See page 8 for location. • Check to make sure range is level. • Temperatures often vary between a new oven and an old one. As ovens age, the oven temperature often “drifts”... -
Page 23: Troubleshooting
• This is normal when cooking foods high in moisture. • Excessive moisture was used when cleaning the window. • This is normal for a new range and will disappear after a few uses. Initiating a clean cycle will “burn off” the odors more quickly. - Page 24 If you need service, first see the “Troubleshooting” section of the Use & Care Guide. After checking “Troubleshooting,” you may find additional help by checking the “Assistance or Service” section or by calling Maytag. In the U.S.A., call 1-800-688-9900. In Canada, call 1-800-807-6777.
Need help?
Do you have a question about the Gemini MER6741BA and is the answer not in the manual?
Questions and answers