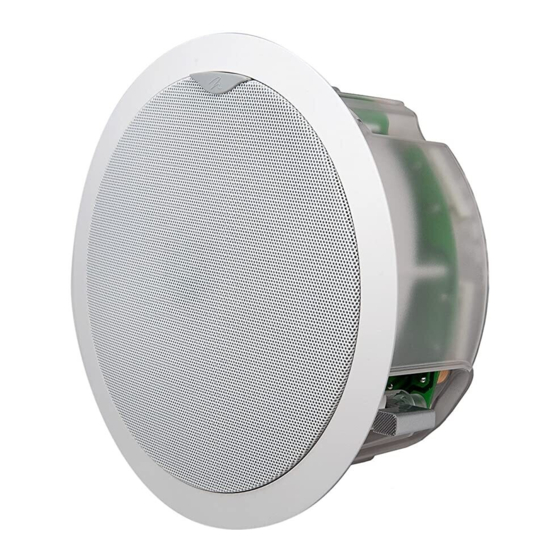
Summary of Contents for MartinLogan HELOS100
- Page 1 e l o s ™ u s e r ’ s m a n u a l a r t i n o g a n ® the loudspeaker technology company...
-
Page 2: Table Of Contents
WEEE directive, require spe- cial reuse and recycling processing. For this reason MartinLogan has arranged with our dis- tributors in European Union member nations to collect and recycle this product at no cost to you. To find your local distributor please contact the dealer from whom you purchased this product, email info@martinlogan.com or... -
Page 3: Placement
— Point the tweeter of all speakers towards the primary listening position. — Set the acoustic contour switch to 'spot'. After listen- ing to the Helos 100, if the high-frequencies from a speaker seem weak, adjust the acoustic contour switch to 'wide'. 12” Min. -
Page 4: Installation
nstallatIon NOTE: These instructions must be carefully followed to assure that your Helos 100 is safely installed. Study them thoroughly before installing your Helos 100. NOTE: The following instructions assume the mounting surface is of standard wood frame and standard sheet rock construction. - Page 5 Figure 6 . Installation steps 1–3. Using a stud finder, locate the final speaker position between ceiling joists. WARNING! Absolutely no part of the template should overlap a joist. Insert a push pin in the template center. Mark cutout through slots in template. Remove Template.
- Page 6 Figure 8 . Installation step 5. Connect speaker cable. Be consistent when connecting speaker leads to the terminals on the Helos 100. Take great care to assign the same color to the (+) terminal on both the speaker and the amplifier.
- Page 7 Helos 100, if the high-frequencies seem weak adjust the acoustic contour switch to 'wide'. Figure 11 . Installation step 9. IMPORTANT! Orientate the MartinLogan logo badge towards the front of tweeter. Gently press the grill cover into place.
-
Page 8: Painting And Customizing
5 Gently press the scrim and logo badge back into place before reinstalling the speaker grill. Removing the Logo Badge The MartinLogan logo badge on the Helos 100 is remov- able. To do this, gently depress the tabs on the back of the logo badge (see figure 14). -
Page 9: Frequently Asked Questions And Troubleshooting
Just use a dust free cloth or a soft brush to remove the dust from your speakers. We recommend a specialty cloth (available at the Xtatic shop at www.martinlogan. com) that cleans your speakers better than anything else we have tried. Do not spray any kind of clean- ing agent on or in close proximity to the drivers . -
Page 10: General Information
5 Year Warranty coverage you need to complete and return the Certificate of Registration, included with your speakers, and provide a copy of your dealer receipt to MartinLogan within 30 days of purchase. For your convenience MartinLogan also offers online warranty registration at www.martinlogan.com. -
Page 11: Glossary Of Audio Terms
It is a combination of resistance and reactance and is measured in ohms. Remember that a speaker’s imped- ance changes with frequency, it is not a constant value. - Page 12 Drive units in two-way systems are not true woofers but are more accurately described as being mid/bass drivers. ® a r t i n o g a n the loudspeaker technology company tel 785.749.0133 fax 785.749.5320 ©2008 MartinLogan. All rights reserved. www.martinlogan.com Rev. #122607...


Need help?
Do you have a question about the HELOS100 and is the answer not in the manual?
Questions and answers