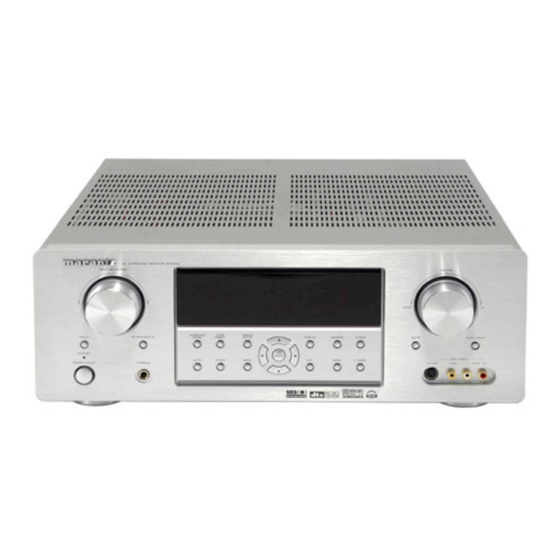
Marantz SR5500 Supplementary Manual
Part 4-5
Hide thumbs
Also See for SR5500:
- Service manual (100 pages) ,
- User manual (42 pages) ,
- Full line catalog (36 pages)
Advertisement
Quick Links
4. SERVICE MODE
Microprocessor (IC28), DSP(IC20 )Version and FLD Segment
Check Mode.
1.
While the power is on, MULTI, EXIT and 7.1CH INPUT
buttons simultaneously more than 3 seconds.
The FL display shows "SERVICE MODE" for 2 seconds
then shows the model name.
S
E
R
V
I
C
S
R
2.
Press MULTI button, The software version of the
microprocessor (IC28) is displayed in the format below.
V
0
4
0
6
Year
Month
3.
Press MULTI button again, The software Type Number is
displayed.
S
O
F
T
T
4.
Press MULTI button again, The Code Group Type Number
is displayed.
C
O
D
E
5.
Press MULTI button again, The left half, right half and
center of the label area in the FLD light on and off each
other.
6.
Press MULTI button again, The segments of the character
area in the FLD flick in checker pattern.
7.
Press MULTI button again, All the FL segments turns off.
8.
Press MULTI button again. Every time MULTI button is
pressed, DSP code is indicated in turn from NO.1 to NO.10.
C
D
0
1
0
No.
No. : DISP CODE ID Dev. : Device ID SIG. : CODE SIG ID
TYP. : CODE TYPE ID Ver. : Version
9.
Press MULTI button again to quit this mode.
E
M
O
D
5
5
0
0
2
4
I
U
Date
Dest.
(Dest. : Destination)
Y
P
E
(XX is displayed in Hex)
T
Y
P
E
X
X
(XXXX is displayed in Hex)
1
0
2
0
1
Dev.
SIG
TYP
4. SERVICE MODE
Microprocessor (IC28), DSP(IC20 )の Version 表示及び FL
点燈を確認するモードです。
1. セットの電源を入れます。 MULTI、 EXIT、 7.1CH INPUT
のボタンを同時に約 3 秒以上押します。
"SERVICE MODE"と表示が出ます。更に約 2 秒後に機
種名が表示されます。
E
S
E
R
2. MULTI ボタンを押します。マイコン(IC28)のバージョ
ンが次のように表示されます。
V
0
4
Year
3. MULTIボタンを押します。 マイコン (IC28) のSoftware
Type が表示されます。
X
X
S
O
F
4. MULTI ボタンを押します。Code Group Type が表示さ
れます。
X
X
C
O
D
5. MULTI ボタンを押します。 FL 表示の右、 左、 中央部分が
交互に点燈を繰り返します。
6. MULTI ボタンを押します。FL の Character 部分が点滅
します。
7. MULTI ボタンを押します。FL が全消灯します。
8. MULTIボタンを押します。 MULTIボタンを押す度にDSP
Code ID が NO.1 から NO.10 まで順に表示されます。
0
1
C
D
0
Ver.
No.
No. : DISP CODE ID Dev. : Device ID SIG. : CODE SIG ID
TYP. : CODE TYPE ID Ver. : Version
9. MULTIボタンを押します。 サービスモードは解除されま
す。
6
V
I
C
E
M
S
R
5
5
0
0
0
6
2
4
I
Month
Date
Dest.
(Dest. : 仕向け)
T
T
Y
P
E
E
T
Y
P
E
(XXXX: Hex数字表示)
1
0
1
0
2
Dev.
SIG
O
D
E
U
X
X
(XX: Hex数字表示)
X
X
X
X
0
1
0
1
TYP
Ver.
Advertisement

Subscribe to Our Youtube Channel
Related Manuals for Marantz SR5500


Summary of Contents for Marantz SR5500
-
Page 1: Service Mode
4. SERVICE MODE Microprocessor (IC28), DSP(IC20 )Version and FLD Segment Check Mode. While the power is on, MULTI, EXIT and 7.1CH INPUT buttons simultaneously more than 3 seconds. The FL display shows “SERVICE MODE” for 2 seconds then shows the model name. Press MULTI button, The software version of the microprocessor (IC28) is displayed in the format below. - Page 2 Note: Step4, 5 is to check if CPU software is capable of DSP code. “Software Type No” is to show what “DSP Code Group” CPU is capable of. And vice versa. Step 8 is to manage the 16 codes for DSP. •...
-
Page 3: System Error
5. SYSTEM ERROR When the microcomputer detects a trouble, the following information is displayed on the FLD. • After the error contents indication, Surround Mode is initialized and returned Factory mode. • The contents of the ERROR indication are the followings. Trouble in DSP If communication with DSP is troubled more than 2 seconds. -
Page 4: Update Firmware
6. UPDATE FIRMWARE Software for CPU and DSP can be updated. Have update application software. (“UpgradeDSP.exe” and “H8Download.exe”) There are two mode of download, regarding to the target of software as bellow. Mode 1: Update DSP’s software to 4M Flash-ROM. This mode is to update the software for DSP. - Page 5 Launch “UpgradeDSP.exe” on PC. Note: yy_mm_dd is release date of software. Click Port setting, and select the COM Port No. Set the Baud Rate to 38400 then click Start communication button.
- Page 6 If the connection is made successfully, a dialog box saying “Success to connect” appears and “CONNECTED” is displayed on FLD. 10. Click Send the DSP codes button on the dialog box. Progress status of updating will be shown on PC and LOADING is displayed on FLD.
- Page 7 Connect PC and the unit with the RS-232C cable. Insert a thin rot to the hole and push the switch (SW10) inside to turn on the switch. Turn on the power of the unit. Note: When the unit is into boot mode, stand-by LED is not lights up. Launch “H8Download.exe”...
- Page 8 Click other files... button in the dialog box to specify the file (SR5500_yymmdd.mot) to be uploading. yymmdd in filename is release date of software. Click Connect button. If the connection with the H8 µ-P is successfully made, a dialogue box saying “Success to the H8 micro processor connection”...
- Page 9 11. Click CLOSE button to close the application. 12. Disconnect Mains power cord. 13. Turn off the internal switch that has been turned on at step 3. 14. Turn on the unit. Firmware Version Check To check the versions of the firmware, see “Microprocessor (CPU), DSP Version and FLD Segment Check Mode” in “SERVICE MODE”...
Need help?
Do you have a question about the SR5500 and is the answer not in the manual?
Questions and answers