VIBIA Brisa Assembly Instructions Manual
Hide thumbs
Also See for Brisa:
- Assembly instructions manual (9 pages) ,
- Assembly instructions (4 pages) ,
- Aassembly instructions (4 pages)

Related Manuals for VIBIA Brisa


Summary of Contents for VIBIA Brisa
- Page 1 Assembly instructions / Instructions de montage Brisa Design by Lievore, Altherr, Molina Version U01...
- Page 2 - Do not disassemble, modify or try to repair this fitting. In order to get technical assistance contact VIBIA. Any change or - Nous vous recommandons de lire le manuel avant de modification to the light fitting can null the manufacturer’s commencer l'installation du luminaire.
- Page 3 Index Step 1 Product Spec Sheet Step 2 Supplied Materials Step 3 Installation Preparation Step 4 Electrical Connection Step 5 Product Assembly Step 6 Adjustments & Maintenance 3/15...
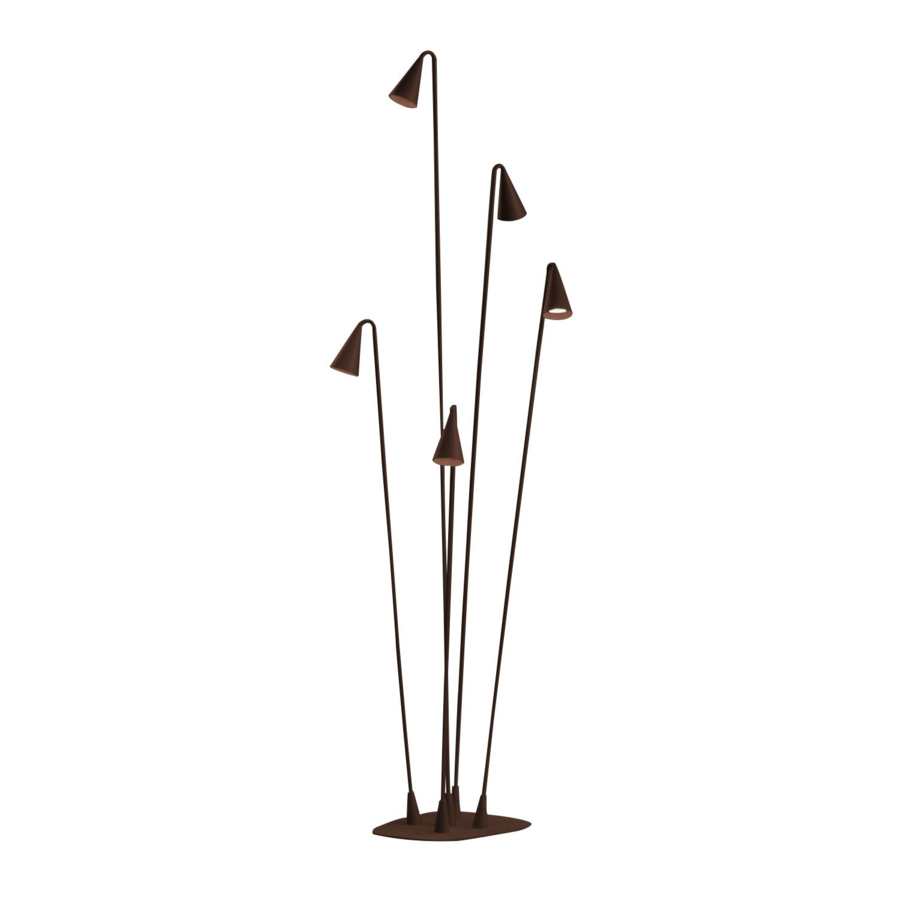
- Page 4 Step 1/6 Product Spec Sheet Technical specifications / Caractéristiques techniques 4635 IP65 Bi-volt Wet Location 3 X LED 2.1 W 700 mA. Net Weight / Poids net 8.37 lbs. 50/60 Hz. Bi-volt Wet Location IP65 This lamp can be used in Voltage range: Dust-tight product.
-
Page 5: Supplied Materials
2. Components Bag / Sachet d’accessoires 3 un. 3. Screws / Des vis 4. Lighting fixture / Structure du luminaire 1 un. 5. Inset casing / Pièce encastrée 1 un. 6. Acces.VIBIA - Wiring box / Boîte de connexion 1 un. 5/15... -
Page 6: Installation Preparation
Step 3/6 Installation Preparation Ø 7/8" -Mains power cable -Câble d'installation électrique 1/4" -Gravel for drainage -Gravier de drainage 7/8" 13/16" 30 min. -Extra drain pipe -Tube de drainage complémentaire 30 min. Make a hole in the ground to set the casing into, and provide a Faites un trou pour installer la pièce à... - Page 7 Step 3/6 Installation Preparation THE LIGHT FITTING CAN BE INSTALLED LE MONTAGE DE CE LUMINAIRE PEUT ÊTRE IN TWO WAYS RÉALISÉ DE DEUX MANIÈRES OPTION A IMPORTANT: Direct current (DC) with an intensity of 700mA. IMPORTANT: Entrée de courant électrique continu d'une intensité...
- Page 8 Step 3/6 Installation Preparation -Cable must be type SJTW , thickness be- twen 1/4" - 1/2" -Modèle câble SJTW électrique obligatoire, de diamètre compris entre 1/4" - 1/2" 16" 8/15...
-
Page 9: Electrical Connection
Step 4/6 Electrical Connection Option A VERY IMPORTANT: DO NOT CONNECT DIRECTLY TO -Components Bag MAINS CURRENT WITH A VOLTAGE OF 100V TO 240V. -Sachet d’accessoires TRÈS IMPORTANT: NE PAS CONNECTER DIRECTEMENT AU COURANT AVEC UNE TENSION DE 100V À 240V. -VERY IMPORTANT: Make sure before making the connection that the power supply to your... - Page 10 -TRÈS IMPORTANT: Assurez-vous que le courant électrique de votre installation est coupé avant de connecter. IMPORTANT: Alternating current (AC) with a voltage of 100V to 240V. -Accessory VIBIA IMPORTANT: Entrée de courant électrique alter- -Accessoire natif avec une tension de 100 à 240V. 6 mm.
-
Page 11: Product Assembly
Step 5/6 Product Assembly Option A x 3 uts. 11/15... - Page 12 Step 5/6 Product Assembly Option B Option B 12/15...
- Page 13 Step 5/6 Product Assembly Option B x 3 uts. Option B 13/15...
-
Page 14: Adjustments & Maintenance
Step 6/6 Adjustments & Maintenance 360° -Each rod can be rotated separately as indi- cated by the arrow. -Chaque tige est indépendante et peut être dirigée comme l'indique la flèche. - Rotation center - Centre de rotation 14/15... - Page 15 In case of malfunction or damage, please contact the distributor who sold the lamp. En cas d’incident ou de non fonctionnement du luminaire, con- tactez directement l’établissement où vous l’avez acheté. VIBIA. INC. 272 Fernwood Ave. Edison, NJ 08837 . USA Phone 732 417 1700.
Need help?
Do you have a question about the Brisa and is the answer not in the manual?
Questions and answers