Table of Contents
Advertisement
Quick Links
Meraki Go Quick Start
Welcome to the Meraki Go family! Meraki Go is a fast, secure and reliable networking solution designed with small businesses in mind. With your first Meraki Go
hardware in hand, this onboarding process will help you install your hardware and configure your network quickly.
This guide is for Meraki Go products only. Meraki enterprise product information can be found at
This setup process should take around 30-60 minutes to complete and consists of three main steps:
1. Setting up your account and logging in
2. Adding hardware to your account and connecting it correctly
3. Configuring your network
Step 1: Set up your account
You can create an account either on
This QR code can be used find the Meraki Go app in your app store.
If you have an existing account with dashboard.meraki.com, you will need to use a new email address for Meraki Go.
Once your account is registered, you will need to verify your email address before logging in for the first time.
Start and Log In to the Meraki Go app
If you do not already have the app installed, please download the software from your mobile app store and open the Meraki Go app once it is successfully
installed.
If you've already created an account on meraki-go.com, you'll use the same credentials to log into the app.
meraki-go.com
or through the app on iOS or Android (preferred).
documentation.meraki.com
Expand All
1
Advertisement
Table of Contents

Related Manuals for Cisco MERAKI Go


Summary of Contents for Cisco MERAKI Go
- Page 1 Once your account is registered, you will need to verify your email address before logging in for the first time. Start and Log In to the Meraki Go app If you do not already have the app installed, please download the software from your mobile app store and open the Meraki Go app once it is successfully installed.
- Page 2 After logging into the Meraki Go app you will be prompted to begin adding hardware to your account. Every Meraki Go device has a QR code near the serial number. Scanning this QR code is the fastest way to add hardware to your account.
- Page 3 If you are unable to scan the QR code, you may need to select Enter serial number instead, to manually add the serial number on your Meraki Go hardware. The serial number can be found on the back of the hardware or on the side of the box it came in.
- Page 4 Once your hardware has been scanned and added to your account, you will be prompted to connect the hardware to the internet. Proceed to follow the Meraki Go device section that relates most to the hardware you just added to your account. If you have multiple Meraki Go products, connect them in the order specified below: •...
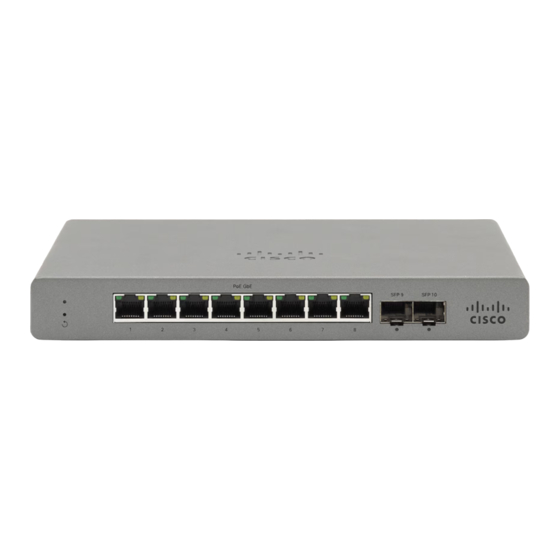
- Page 5 The Meraki Go Switch hardware must be powered by the power supply included within the box. An internet connection must be provided via an ethernet cable plugged into any one of the ports. This may be a connection from the Meraki Go GX router firewall or optionally directly to another device that provides internet service.
- Page 6 Once the LED stops flashing and is a solid white light (GX, GS Series) or solid green (GR Series) this means that the Meraki Go device is fully operational. If your hardware does not successfully find an internet connection and display a solid white light (GX, GS Series) or solid green (GR Series) after 30...
Need help?
Do you have a question about the Go and is the answer not in the manual?
Questions and answers