Advertisement
Quick Links
Advertisement

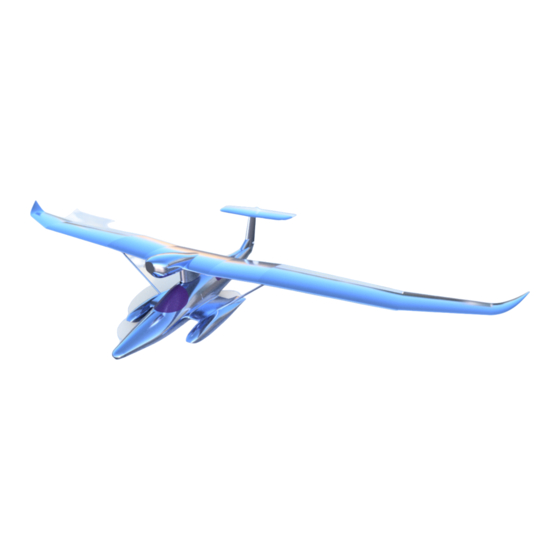
Summary of Contents for rc3Dprint SkiGull
- Page 1 P R I N T I N G A N D A S S E M B L Y M A N U A L...
- Page 2 T H A N K Y O U Thank you for purchasing the Micro SkiGull. These models take many hours of work to make available to you so please don’t share the STL files with others. Send them to www.rc3print.com so they can purchase them at a reasonable price. This enables us to keep making improvements and bring you new aircraft.
-
Page 3: Parts List
P A R T S L I S T R E Q U I R E D I recommend UMX electrics, specifically from the UMX Cessna 182, for this model however you can use any lightweight rx/esc and servos you like. The fit in the fuselage is very tight! RX ESC - EFLA5864 SPMA3065 Programming cable... - Page 4 I N C L U D E D S T L . F I L E S F U S E L A G E W I N G T A I L C A R B O N S P A R S A N D T P U H I N G E S...
-
Page 6: Specifications
S P E C I F I C A T I O N S Wing Span 720 mm Flying Weight (280mAh 2S): 113g Wing Loading 28.6 g/dm2 9.4oz/ sq.ft Wing Cube Loading 14.5 Channels 4 Channel Centre of Gravity Located at the wing strut... - Page 7 P R I N T I N G P R O F I L E Load a generic PLA profile into Cura for your printer, then change or check the following from the default options. With LW-PLA it is definitely worth doing the calibration as suggested by ColorFabb, my settings for temp and flow should be used only as a guide.
- Page 8 A S S E M B L Y 1. After printing all of the parts they should be carefully cleaned up with a craft knife and or some sanding paper. Make sure to carefully remove all of the brims. 2. Fuselage 1 and Fuselage 2 can be glued together, GENERAL NOTES ON GLUING PARTS: I prefer not to use tabs and other guide for gluing parts together.
- Page 9 6. Glue the vertical stab onto Fuselage 3. It is wise at this stage to run the control wires for the elevator and rudder through the vertical stab Fuselage 3. It may be the case that the holes are not visible on the build plate end of the piece. I use a drill attached to the wire running at a slow speed to gently poke out the hole.
- Page 10 and servos connected, re position the tail section for gluing to the fuselage. Once glued you can screw down the servo’s once again. I also add some hot glue to hold it all in place (caution needed!). 11. The Pylon connects the wing to the fuselage along with the wing struts.
- Page 11 A N O T E O N W A T E R U S E Although designed with water use in mind when scaled up I DO NOT recommend using your micro model on water. UMX kit is expensive and unlikely to survive a drenching. IF you really want to try it on water you MUST waterproof your model using a fixative spray.
- Page 12 C U R A C O M P O N E N T P L A C E M E N T F U S E L A G E 1 F U S E L A G E 2...
- Page 13 F U S E L A G E 3 A F T H A T C H C A N O P Y...
- Page 14 C O W L I N G Tick the spiralize outer contour box N A C E L L E P Y L O N...
- Page 15 L & R A I L E R O N 1 L & R A I L E R O N 2 E L E V A T O R L & R...
- Page 16 L & R H O R I Z I O N T A L S T A B L & R W I N G 1 L & R W I N G 2...
- Page 17 L & R W I N G 3 L & R W I N G 4 R U D D E R B O T T O M...
- Page 18 R U D D E R T O P V E R T I C A L S T A B T P U H I N G E S Use manufacturers TPU recommended profile for the hinges. Be sure to use the lay flat function as the hinges will import to Cura at a slight angle.
- Page 19 PLA MOTOR MOUNT Print in a standard PLA profile.


Need help?
Do you have a question about the SkiGull and is the answer not in the manual?
Questions and answers