Advertisement
Quick Links
Advertisement

Related Manuals for rc3Dprint PIAGGIO AVANTI 2


Summary of Contents for rc3Dprint PIAGGIO AVANTI 2
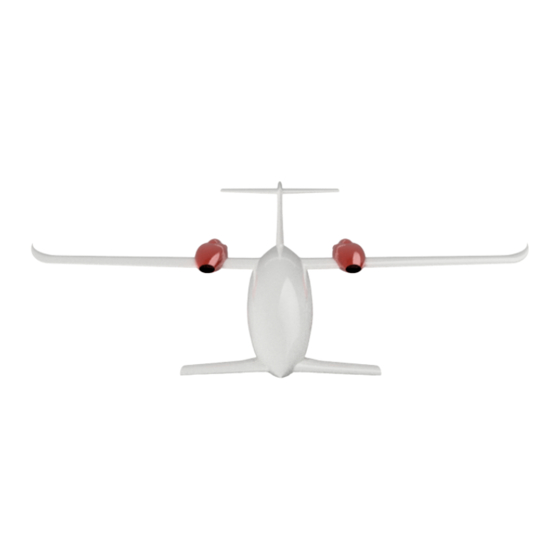
- Page 1 P R I N T I N G A N D A S S E M B L Y I N S T R U C T I O N B O O K...
- Page 2 As you are printing and assembling the model yourself we take no liability for damage or loss resulting from your use of these files. Please fly responsibly and follow all local laws. Share your results on instagram and tag @rc3dprint for discount codes on future orders.
-
Page 3: Parts List
P A R T S L I S T R E Q U I R E D Motor - 2 X 2217 motor minimum (or similar) - 2 X ESC and LIPO as required - 3S battery minimum 4 - Channel radio kit minimum. 4 x 9g servo + 2 x servo extension Pultruded Carbon tubes for Spars and Hinges: (See schematic later in manual) 710mm of 8mm dia (suggested 1 x 1m lengths) - Page 4 I N C L U D E D S T L . F I L E S F U S E L A G E W I N G...
- Page 5 N A C E L L E S E M P E N N A G E...
- Page 6 F O R W A R D W I N G P U L T R U D E D C A R B O N T U B E S...
-
Page 7: Specifications
S P E C I F I C A T I O N S Wing Span & Area 1488mm Weight of Printed Parts Flying Weight (2200mAh 3S): ~1100g Wing Loading Wing Cube Loading Channels 4 Channel Centre of Gravity 47 to 70mm in front of wing... - Page 9 P R I N T I N G P R O F I L E S Please save the following profiles in Cura, ready to be used as required for the selected part to be printed. Load a generic 0.2mm layer height PLA profile into Cura for your printer, then change the following from the default options Profile 1.
- Page 10 P L A P R O F I L E 2 - L & R N A C E L L E S 0.4mm Wall Thickness Wall line count Bottom Thickness Lines Top/Bottom Pattern Infill Density Cubic Infill Pattern 205 -220C Printing Temperature 60C (optional) Build Plate Temperature...
- Page 11 A S S E M B L Y 4 M U S T R E A D P O I N T S 1. T H E E L E V A T O R ( I N T H E F O R W A R D W I N G ) N E E D S T O B E A S S E M B L E D A T T H E S A M E T I M E A S T H E C A N A R D I S A T T A C H E D T O T H E F U S E L A G E .
- Page 12 • Glue together the sections of the fuselage with the longitudinal (8mm dia) spar. The two middle spiralled versions will gain their strength once glued together. W I N G S Assemble the wings around the forward wing spar (6mm dia). Be sure to assemble the aileron with the associated hinge (3mm dia) before gluing the wing tip on.
- Page 13 The canards are fitted to Fuselage 1. There is canard spar to provide strength against accidental knocks. The elevator needs to be assembled in place at the same time as fitting the canard. The servos are mounted in the underside of Fuselage 1 for the elevator. E M P E N N A G E The empennage is simply glued together.
-
Page 14: Component Placement
C U R A C O M P O N E N T P L A C E M E N T N O S E C O N E Profile 1 Adhesion: Skirt or Brim Unique settings: None F U S E L A G E 1 Profile 1 Adhesion: Brim Unique settings: May... - Page 15 F U S E L A G E 2 Profile 1 Adhesion: Brim Unique Settings: Tick Spiralize Outer Contour F U S E L A G E 3 Profile 1 Adhesion: Brim Unique settings: As Above, Spiralize Outer Contour...
- Page 16 F U S E L A G E 4 Profile 1 Adhesion: Brim Unique Settings: No more than 2% infill is needed. F U S E L A G E 5 Profile 1 Adhesion: Brim...
- Page 17 F U S E L A G E 6 T A I L Profile 1 Adhesion: Brim Unique Settings. Can be printed with 0% infill. H O R I Z O N T A L S T A B ( L E F T & R I G H T ) Profile 1 Adhesion: Brim Unique Settings: Print with 2%...
- Page 18 V E R T I C A L S T A B B O T T O M Profile 1 Adhesion: Brim 2% infill. V E R T I C A L S T A B T O P Profile 1 Adhesion: Brim or Skirt 2% infill...
- Page 19 N A C E L L E Profile 2 Adhesion: Brim Unique Settings: Bottom thickness 2mm M O T O R C O W L I N G Profile 1 Adhesion: Brim...
- Page 20 N A C E L L E F R O N T Profile 1 Adhesion: Brim Unique Settings: Spiralize Outer Contour H A T C H Profile 1 Adhesion: Brims 1% Infill...
- Page 21 A I L E R O N 1 Profile 1 Adhesion: Brim 0-1% infill A I L E R O N 2 Profile 1 Adhesion: Brim 0-1% infill...
- Page 22 W I N G 1 Profile 1 Ahesion: Brim 1.5%-2% infill W I N G 2 Profile 1 Adhesion: Brim 1.5%-2% infill...
- Page 23 W I N G 3 Profile 1 Adhesion: Brim 2% infill Note hole for spar is on printed. W I N G 4 Profile 1 Adhesion: Brim 1%-2% infill Supports may be needed, depending on your printer.
- Page 24 S E R V O T R A Y Profile 1 Adhesion: Brim 5% Infill For best results on the small parts reduce the printing temperature to 180 and increase the cooling fan to 100% S T E E R I N G S T R E N G T H E N I N G D I S C S Profile 1...
- Page 25 C A N A R D Profile 1 Adhesion: Brim 2% infill E L E V A T O R Profile 1 Achesion: Brim 2% infill A F T G E A R...
- Page 26 Profile 1 Brim 10% infill...
Need help?
Do you have a question about the PIAGGIO AVANTI 2 and is the answer not in the manual?
Questions and answers