Table of Contents
Advertisement
Quick Links
PIONEER
BAGGER
®
Setup Instructions
For Serial Nos. 316,000,000 & Higher
(To fit Pioneer E-Series Units Serial Nos. 920,000 & Higher)
WARNING
CALIFORNIA
Proposition 65 Warning
This product contains a chemical or chemicals known to the State of California to
cause cancer, birth defects, or reproductive harm.
Literature Pack
Manual, Operator's
Recommended Bagger Blades
Recommended High Lift Blades
109-6391 — Fits 48 inch decks
109-6392 — Fits 52 inch decks
These blades are recommended to obtain maximum air flow to the bag.
© 2015—Exmark Mfg. Co., Inc.
All Rights Reserved *4502-771* A
Part No. 4502-771 Rev. A
P.O. Box 808
Printed in the USA.
Beatrice, NE 68310
Advertisement
Table of Contents

Subscribe to Our Youtube Channel
Related Manuals for Exmark PIONEER BAGGER


Summary of Contents for Exmark PIONEER BAGGER
- Page 1 109-6391 — Fits 48 inch decks 109-6392 — Fits 52 inch decks These blades are recommended to obtain maximum air flow to the bag. © 2015—Exmark Mfg. Co., Inc. All Rights Reserved *4502-771* A Part No. 4502-771 Rev. A P.O. Box 808 Printed in the USA.
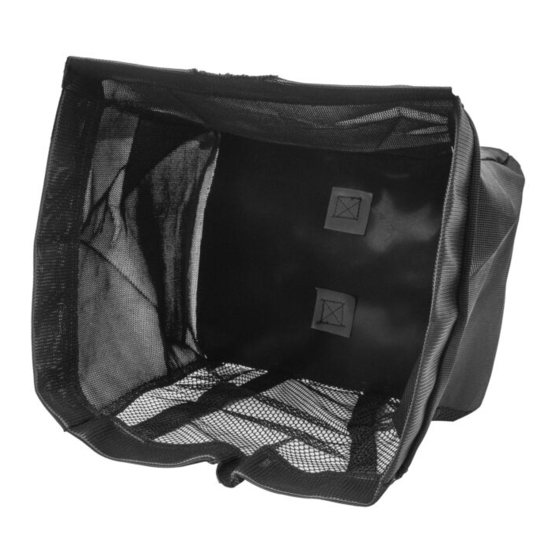
- Page 2 Assembly Diagram Description Asm, Hopper Pin, Hair Bracket, Boot Mount (52 inch) Bracket, Boot Mount (48 inch) Pin, Retaining Tube, Upper Asm, Bag & Frame Baffle, Discharge Large (52 inch only) Bolt, Carriage 5/16-18 x 3/4 short neck Asm, Lower Tube Bracket, Hopper Mount LH Bracket, Hopper Mount RH Frame, Hopper...
- Page 3 Figure 1...
- Page 4 Adjusting the Parking Brake Note: If the hopper frame does not seat properly in the mount brackets, carefully use the hopper frame to Re-adjust the parking brake on your mower as outlined slightly adjust the alignment of the brackets. in the “Adjusting the Parking Brake” procedure in the Maintenance section of the tractor Operator's manual.
- Page 5 Installing the Weight Assembly 1. Remove and retain the three retaining pins, three 3/8-16 x 1 inch screws, and three 3/8 inch nyloc nuts that are fastened to the weight mounting plate. 2. Align the two upper outside holes of the weight mounting plate to the front panel of the toe board.
- Page 6 position. Adjust the tension on the latch to hold the assembly up to the deck, yet allow for release by hand. Tension can be adjusted by tightening or loosening the hardware that retains the latch. 3. Insert the upper tube into the hopper seal – push in then pull out so that the seal is extended outward.
Need help?
Do you have a question about the PIONEER BAGGER and is the answer not in the manual?
Questions and answers