Advertisement
Advertisement
Table of Contents

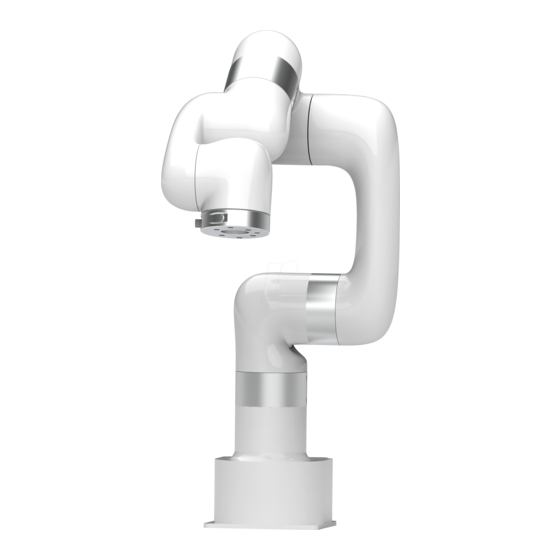
Summary of Contents for UFactory LITE 6
- Page 3 Fix the Lite 6 robotic arm on the base using 4 M5 screws. Connect the DC input cable to the integrated control box of Lite 6 robotic arm, The con- nector is error proof, please do not unplug and plug it violently.Adjust the voltage selec- tor switch according to local voltage, connect the AC power cable to power supply.
- Page 4 192.168.1.1 and 192.168.1.255 (the end number of IP address shall be different from that of the Control Box); the factory IP address of the Lite 6 has been marked on the integrated Control Box; The configuration steps on PC are shown in Figure 4.1-4.5;...
- Page 5 Figure 4.2 Figure 4.1 Figure 4.3 Figure 4.4 Figure 4.5...
- Page 6 192.168.1.XXX, which can send and receive data packets successfully (as shown in Figure 5.2); Figure 5.1 Figure 5.2 3. Enter ‘IP+:18333’ in the browser to access to UFACTORY Studio. For example, the IP of control box is 192.168.1.185, enter 192.168.1.185:18333 in the Google Chrome browser, as shown in Figure 6:...
- Page 7 Figure 6 Note: The IP of the control box is attached on the base of Lite 6 robotic arm, as shown in Figure 6.1. IP:192.168.1.XXX Figure 6.1 At this point, all installation steps have been completed. If you need to modify the network seg- ment of the Control Box to adapt to the LAN segment, please check Appendix 1.
- Page 8 Control Box. The IP settings on the PC are shown in Figure 4.1 -4.5; (2) Use UFACTORY Studio to connect to the Control Box, and change the network segment of the Robotic Arm to the LAN segment in the network settings under the setting options of UFACTORY Studio, after clicking save,restart UFACTORY Studio (see Figure 7.1-7.2).


Need help?
Do you have a question about the LITE 6 and is the answer not in the manual?
Questions and answers