Table of Contents
Advertisement
Quick Links
Installation Manual
Q4800 - Series Quadplex Grinder Systems
Contents
4. QE Quadplex Control Panel
7.
©Copyright 2016 Liberty Pumps Inc. All rights reserved
Features:
48" Diameter Fiberglass Tank
Available in 84", 96", and 120" heights
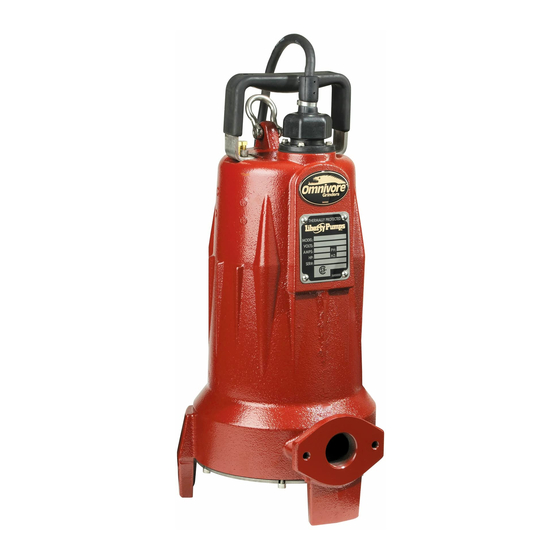
LSG Single or LSGX 2 Stage 2 HP Grinder Pumps
Factory Installed Guide Rail Systems
Pre-mounted float system
NEMA 4X Junction Box
NEMA 4X Quadplex Alternating Control Panel
7759000A
1
Advertisement
Table of Contents

Subscribe to Our Youtube Channel
Related Manuals for Liberty Pumps Q4800 Series


Summary of Contents for Liberty Pumps Q4800 Series
- Page 1 2. Precautions / Pre-Installation 3. Installation Instructions 4. QE Quadplex Control Panel 5. GR20 Assembly 6. Maintenance & Troubleshooting 7000 Apple Tree Avenue Bergen, NY 14416 Phone: (800) 543-2550 Fax: (585) 494-1839 www.libertypumps.com ©Copyright 2016 Liberty Pumps Inc. All rights reserved...
- Page 2 Sump and sewage pumps often handle materials which could cause illness or disease. Wear adequate protective clothing when working on a used pump or piping. Never enter a pump basin after it has been used. Sewage and effluent can emit several gases which are poisonous. ©Copyright 2016 Liberty Pumps Inc. All rights reserved...
- Page 3 If this is not possible or desirable in your application, a vent flange or grommet can be installed in a hole cut into the solid fiberglass cover. Figure A – Inlet Venting ©Copyright 2016 Liberty Pumps Inc. All rights reserved...
- Page 4 The lag3 switch will turn on the final grinder pump. The alarm switch will trigger a high level alarm. The panel comes preset for six-float operation and no jumper wires are required. ©Copyright 2016 Liberty Pumps Inc. All rights reserved...
- Page 5 55" (140 cm) 57" (145 cm) 188 gal 752 gal Q48120 13" (33 cm) 43" (109 cm) 49" (124 cm) 55" (140 cm) 61" (155 cm) 63" (160 cm) 235 gal 940 gal ©Copyright 2016 Liberty Pumps Inc. All rights reserved...
- Page 6 Use another jumper wire to connect terminals 10 and 12 to always operate a separate pare of pumps when a lag pump is triggered. Use another jumper wire to connect terminals 12 to 14 to activate an alarm when the lag pumps are triggered. ©Copyright 2016 Liberty Pumps Inc. All rights reserved...
- Page 7 HERE. EVENLY TIGHTEN BOTH SIDES SO THAT GASKET IS PROPERLY COMPRESSED. ENSURE THAT RUBBER GROMMET IS PROPERLY INSTALLED HERE. 1-1/4" GUIDE RAIL PIPE 1-1/4" DISCHARGE PIPE DISCONNECTED POSITION PIPE GUIDE ASSEMBLY OPERATING POSITION ©Copyright 2016 Liberty Pumps Inc. All rights reserved...
- Page 8 Liberty Pumps, Inc. shall not be liable for any loss, damage or expenses resulting from installation or use of its products, or for consequential damages, including costs of removal, reinstallation or transportation.
Need help?
Do you have a question about the Q4800 Series and is the answer not in the manual?
Questions and answers