Table of Contents
Advertisement
Quick Links
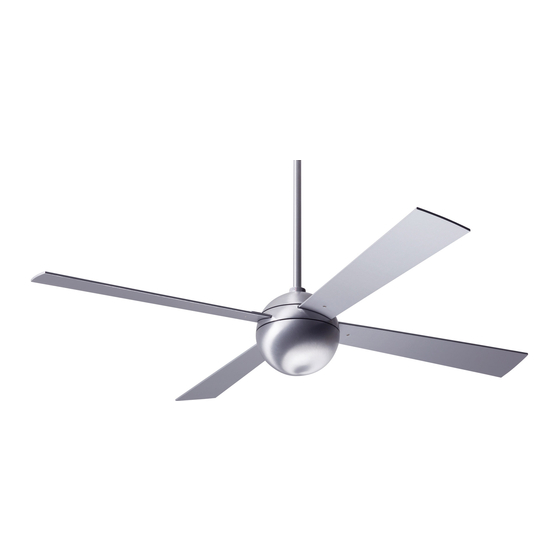
Ball Fan- Installation instructions
Should you have any questions or difficulty installing your new fan,
please contact Modern Fan Co. customer service immediately.
Note: Power supply must be turned off prior to any contact with electrical wires. It is
recommended that a licensed electrician be hired to install your ceiling fan.
(1) Remove and identify contents of carton.
blades
(2) Remove bottom dome by rotating counterclockwise.
You may need to hold the upper portion of the fan body
with one hand as you are removing (unthreading) the
bottom dome with the opposite hand. With bottom dome
removed, place fan body on either piece of packing foam,
with wire bundle facing down and bottom of fan facing up.
(3) Carefully insert blades into rotor slots, and using screws
from hardware package, secure blades to rotor. The
counter sink screws ("blade center screws") are for the single
blade hole outside the rotor and the pan head screws
("blade holder screws") are for the two holes inside the rotor
area for each blade.
fan body
optional control
down rods
half ball
B a l l
THE MODERN FAN COMPANY
Customer Service
M-F 8am - 4pm (PST)
(ph) 888.588.3267
www.modernfan.com
canopy
hardware
package
balancing kit
hanging bracket
Advertisement
Table of Contents

Subscribe to Our Youtube Channel
Summary of Contents for The Modern Fan Company Ball
- Page 1 M-F 8am - 4pm (PST) (ph) 888.588.3267 www.modernfan.com Ball Fan- Installation instructions Should you have any questions or difficulty installing your new fan, please contact Modern Fan Co. customer service immediately. Note: Power supply must be turned off prior to any contact with electrical wires. It is recommended that a licensed electrician be hired to install your ceiling fan.
- Page 2 (4) If your fan was ordered/configured with a light, identify all parts as shown here and follow steps (a) through (g). Otherwise, proceed to step (5). Light kit hardware Trim ring Bridge connector Adapter plate Glass diffuser LED Board LED Cover (a) Remove switch housing screws to access light kit leads.
- Page 3 Set the stopper screw aside for step (8). set screw stopper screw (7) Remove stopper pin and half ball from small down rod by loosening set screw on half ball. Set all parts aside for step (10). stopper pin set screw (8) Run fan wires through selected down rod.
- Page 4 (12) Remove set screws on the sides of the hanging bracket. Lift canopy to ceiling. With slots on side of canopy aligned with set screw holes on hanging bracket, reinstall and tighten set screws to hold canopy in place. (13) Your fan is reversible for summer and winter operation. The reverse switch is located just inside the labeled opening on the upper motor housing.


Need help?
Do you have a question about the Ball and is the answer not in the manual?
Questions and answers