Maxell MXH-BTW1000 - Wireless Earphone Manual
- Quick start manual (2 pages)
Advertisement
Contents of the package
|
|
|


Introduction
About the user manual
- This Instruction Manual may be subject to change without prior notice.
- In order to improve the product, external appearance or part of the specifications may be subject to change without prior notice.
Disclaimer
- Maxell shall not be responsible for any damage caused by fires, earthquakes, action of a third party, any accidents, intended or unintended misuse or other usage under abnormal conditions.
- Maxell shall not be responsible for failure due to any damage caused by usage other than described in the instruction manual.
- This product is not being designed to be any equipment or device which could be concerned with human life such as medical device, nuclear device, astronomical device, transportation device etc., nor equipment or devices which requires high reliability. In case this product is used for the above equipment and/ or systems, Maxell do not responsible for any injuries or fire accident cause by the failure of this product.
- This product is Japanese specification. We assume no responsibility if use outside Japan.
Safety Caution
Please strictly follow
 If it is handled incorrectly, the user may suffer *1 and the urgency is high. death or severe injury |
 If it is handled incorrectly, it is assumed that the user may suffer death or serious injury*1. |
 If it is handled incorrectly, it is assumed that the user may suffer minor injury*2 or there is a possibility that property damage*3 may occur." |
*1: Severe injury is indicated by those that have after effects such as blindness, injury, burns (high temperature burns/low temperature burns, chemical burns), electric shock, fracture, poisoning, etc. and those requiring hospitalization or long-term regular hospital visits for treatment.
*2: Minor injury refers to hurt, burnt, electric shock, etc. which do not result in hospitalization or long-term follow-up consultation.
*3: Property damage refers broad damages to houses or properties and domestic animals/ pets.
| Examples of symbol |  |  stands for caution to fire, explosion, high temperature when handling the product. Details will be illustrated inside the symbol. stands for caution to fire, explosion, high temperature when handling the product. Details will be illustrated inside the symbol. |
 |  stands for prohibited actions when handling the product. Details will be illustrated inside or next to the symbol or with written description next to it. stands for prohibited actions when handling the product. Details will be illustrated inside or next to the symbol or with written description next to it. | |
 |  stands for instruction which must be followed. Details will be illustrated inside or next to the symbol or with written description next to it. stands for instruction which must be followed. Details will be illustrated inside or next to the symbol or with written description next to it. |
| Take power only from the USB port |
| When charging, please use USB port of computer etc. or USB adapter. Using other power exceeding USB rating may result in heat generation, ignition, failure, electric shock or injury. |
| Do not touch leaked liquid |
| Please do not touch the leaked liquid. If liquid leaks from this device and gets into the eye, do not rub. Rinse with plenty of clean water immediately and consult a doctor. It may cause blindness. |
| Do not use while driving a car, motorcycle, a bike, etc. |
| May cause traffic accident as hard to hear surroundings. |
| Do not use at locations where it will be dangerous if surrounding sounds cannot be heard |
| Even while walking, using it in where it will be dangerous if surrounding sounds cannot be heard (such as railway crossings, crosswalks, station platforms, roadways, construction sites, etc.) can cause unexpected serious accidents. |
| Do not use at locations where the use of wireless devices is prohibited |
| Radio waves may affect cardiac pacemakers and medical equipment. Please do not use in areas where use of wireless equipment is prohibited such as in hospitals or priority seat of trains etc. |
| Store properly at places out of children's reach |
| Please make sure that small children will not swallow it by accident In case of accident, seek medical attention immediately. |
| Do not place in direct sunlight or where the temperature is too high |
| The surface of equipment and parts may deteriorate, result in causing fire. Please take extra care in closed automobile in summer, or it is under direct sunlight or near a stove. |
| Do not put into fire |
| This may result in heat generation, ignition, breakage, leakage. |
| Do not put into water |
| This may cause fire or electric shock. |
| Do not repair. alter or disassemble these parts |
 Fire, electric shock, injury may occur. |
| Turn off the power in case of abnormality |
 If smoke or strange smell or sounds comes out, or water or foreign object gets inside, or the product is dropped, please turn off the power immediately. Furthermore, if it is being charged via USB, unplug the USB connection. Continued usage may cause heat generation, ignition, malfunction, electric shock, etc. |
| If the charging is not completed even after exceeding the predetermined charging time, stop charging |
| It may cause leakage, overheating, fire or breakage. |
| Do not increase the volume too much |
| Continuously listening to loud volume can result in overstimulation of ears for an extended period of time. It may affect the hearing. Furthermore, if the volume is raised too much from the beginning, the sudden loud sounds may harm ears. Before using, please reduce the volume of the connected device. |
| Discontinue use when it does not fit your skin |
| Continued usage may cause irritation or rash. If you feel an abnormality, please discontinue use and seek medical attention. |
| Do not force the earphones into your ear |
| It may hurt your ear hole. |
| Charge and use within the temperature range of 5~40C |
| Charging and using at temperatures outside this range may cause leakage, overheating, breakage, or malfunction. |
| ‚Make sure the USB connector does not get dusty |
| Please remove dust and dirt regularly. Otherwise it may cause overheating or fire. |
Note on wireless use
This device uses 2.4 GHz frequency band. This frequency band is also used by internal radio stations (radio stations that requires a license), specific low-power radio stations (radio stations that do not require a license) and amateur radio stations (radio stations that requires a license) for moving object identification that are used in industrial, scientific, and medical equipment such as microwave ovens as well as factory manufacturing lines.
- Before using this device, make sure that any internal radio station, any specific low power radio station or any amateur radio station for moving object identification are not operated nearby.
- In the unlikely event of radio interference to an internal radio station for moving object identification from the device, immediately change the location of use or stop the emission of radio waves.
- In addition, when any troubles arise such as radio interference to a specific low-power radio station or an amateur radio station for moving object identification from this unit happened, please contact our company's "Customer Service Center".
- This unit is certified as a low-power data communication system based on the Radio Law. Therefore, you do not need a wireless station license to use this machine. However, it is prohibited to disassemble, remodel or erase the certification making on the product.
- Please do not use in areas where use of mobile phone and wireless equipment is prohibited such as in hospitals or priority seat of trains etc.

This radio equipment uses the 2.4 GHz band. The FHSS modulation method is adopted as the modulation method, and the interference distance is 10 m.

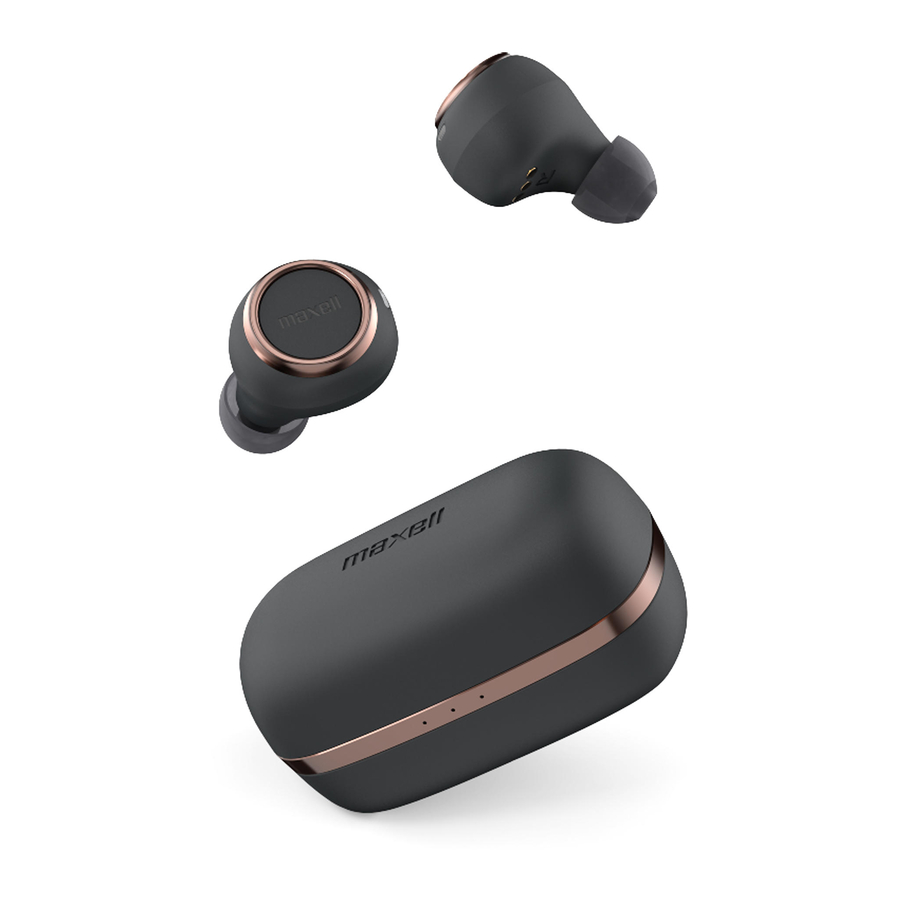
Name of Each Part
Main Unit

Battery Case

Preparation
This product has a built-in lithium ion battery. After purchase, please charge before use.
<Charging the charging case>
- Connect the supplied charging USB cable to the charging case. and to the USB port of PC or USB adapter.
- Charging of the charging case starts and indicator LED ashes.
- Charging is completed when the indicator LED turns o. (Charging time: about 3.5 hrs)
- Remove the charging USB cable.
Connection diagram

<Charging the main units>
- Place the main units into the charging case. Align the L and R display of the main units to the corresponding indication in the charging case for charging.
- The indicator LED on the main units turn red and charging starts. The indicator LED on the charging case shows an indication of the battery level.
- Charging is completed when the indicator lights on the main units go out. (Charging time: approx. 2 hours)

※ Please do not use other cables except attached cable for charging.
※ Connect the charging cable after checking the terminal direction carefully. If you connect incorrectly, the terminals may be damaged.
※ Please use 5V DC power supply based on USB standard for a USB port.
※ If the battery is not used for a long period of time, charge it at least every 6 months.
Self-discharge may cause complete discharge and may become unable to charge.
※ Lithium ion battery is a consumable item. The usage time will reduce with use. If the usage time becomes extremely short, it indicates the end of battery life.
※ It cannot be operated while charging.
※ When the battery level of the main units become low, the guidance sound "battery low" will be announced from the unit.
<Choosing an earpiece>

At the time of purchase, size M earpiece are attached to the main unit.
If size M does not fit your ears, please replace with the size XS, S or size L earpiece in the contents.
If the earpiece does not fit correctly, it will not be possible to seal the ear hole with the earpiece, which may cause sound leakage and no bass to be heard. Also, if you feel that the volume is low, there is a possibility of sound leakage.
How To Use
<Pairing and connecting>
In order to use this product, it is necessary to pair with your Bluetooth device. Once pairing is done, you can connect without pairing again.
- When the main units are removed from the charging case, the main units' power turns on automatically, and the indicator LED starts ashing.
- After a while, the LED of the main unit (L) starts to ash red and blue alternately.
* 1 The main unit (R) ashes in blue slowly. - Activate Bluetooth on your Bluetooth device. *For details on setting, please refer to the instruction manual of the device.
- Please select "MXH-BTW1000" from the list displayed on your Bluetooth device.
- When pairing is completed, the blue indicator LED ashes slowly.
![]()

*1: When pairing is performed for the first time after purchase, it will be in paring mode immediately after the power is turned on. When paring the second device, it will be in pairing mode approximately 30 seconds after the power is turned on.
<Connection after the second time onward>
- When the main units are removed from the charging case, the main units' power turns on automatically, and the indicator LED start ashing.
- Activate Bluetooth on your Bluetooth device.
- The earphone will connect automatically. *2 After connect, the display lamp will ash blue slowly.
*2: If it does not connect automatically, please select "MXH-BTW1000" from the list displayed on your Bluetooth device.
- Pairing mode lasts for approximately 1 minute, and if it is not paired during that time, it will become standby mode.
- Password*3 input may be requested by your Bluetooth device. In that case, you can pair it by entering "0000".
- This product can simultaneously store up to 8 paired Bluetooth devices. When more than 8 pairings are attempted, the information of the 1st stored Bluetooth device is erased and is replaced by the newly paired device. If you want to use a Bluetooth device whose information has been erased, please pair it again.
*3: Password may be called passcode, passkey, PIN code, etc.
<How to operate>
- Common function
| Function | Operation | Display lamp | Guidance sound |
| Power On | Remove the main units from the charging case | Main Unit L Blue light ashes Main Unit R Blue light ashes slowly | Power On Left Channel Right Channel |
| Or, while the power is o, press and hold the multi buttons on the main unit L and R for approximately 3 seconds | |||
| Power OFF | Place the main units into the charging case | Main Unit LR Red light ON | Power OFF |
| Or, press and hold the multi button on the main unit L or R for approximately 3 seconds | Main Unit LR Light OFF | ||
| Pairing Mode | Remove the main units from the charging case | Main unit L: Blue light ashes Blue light and Red light ash alternatively Main unit R: Blue light ashes slowly | Power ON Left Channel Right Channel Paring Mode |
| Or, while the power is o, press and hold the multi buttons on the main unit L approximately 6 seconds | |||
| Pairing complete | Pair this product from your Bluetooth device. Please refer to <Pairing and connecting> | Main unit LR: Blue light ashes slowly | Connected |
| Connect | After pairing is completed, automatically connects if Bluetooth of your Bluetooth device is enabled*4 | Main unit LR: Blue light ashes slowly | Connected |
| Disconnect | Disconnect the product from your device (or disable Bluetooth) | Main unit L Blue light ashes main unit R Blue light ashes slowly | Disconnected |
*4: If it does not connect automatically, please select "MXH-BTW1000" from the list displayed on your Bluetooth device.
- When the Bluetooth connection is not made and about 2 minutes elapses, the powe r turns off automatically.
- Music Playback
| Function | Operation |
| PLAY / PAUSE | Press the multi button on the main unit L or R to operate play and pause |
| Volume UP / DOWN | This operation cannot be done with this product. Operate with the connected device |
| Next song (skip to the next song) | Press the multi button on main unit L or R twice in succession |
| Previous song (return to the beginning of the currently playing song*5) | Press the multi button on main unit L or R three times in succession |
*5: If the button is pressed at the beginning of the song, it will skip to the previous song.
- Depending on your Bluetooth device, the operation may differ or may not be usable.
- Hands free call
| Function | Operation |
| Receiving a call | Press the Multi button on the main unit L or R when receiving a call |
| Ending a call | Press the Multi Button on the main unit L or R during a call |
| The other party disconnects the call |
- Depending on your Bluetooth device, the operation may differ or may not be usable.
Troubleshooting
The power does not turn on |
|
No sound |
|
Sound is distorted or interrupted |
|
Cannot hear the voice on the phone |
|
Unable to charge |
|
If the problem does not improve, please reset the main units. When the main units are reset, all paired device information is erased and it will be in the state at the time of purchase. Please pair again.
- Press and hold the multi button on the main unit L or R for approximately 3 seconds to turn the power off.
- Press and hold the multi buttons of the main units L and R for approximately 15 seconds, and release when the indicator LED flashes twice in purple.
- Set the main units L and R in the charging case.
- Please carry out pairing according to the procedure in How to Use <Paring and connecting>.
Specification
| Headphone specification | Model | Sealed dynamic type |
| Driver unit | Diameter 6mm | |
| Audio frequency response | 20~20,000Hz | |
| Power supply | Built-in rechargeable lithium ion battery | |
| Duration | Continuous playback: approx. 5.5approx. 100 hours. hours, Continuous standby: approx.100 hours | |
| charging case charge main units for approx. 3 times*1 | ||
| Charging time | Main Unit: Approx. 2 hours | |
| Charging Case: Approx. 3.5 hours | ||
| Weight | Main Unit: Approx. 5g x 2 Charging Case: Approx. 45g | |
| Accessories | Earpieces (XS/S/M/L 2 units each) ※ M size are attached to the main units. Charging cable (USB A-Micro B approx. 45cm) x1, instruction manual, Quick start guide | |
| Wireless specification | Communication method | Bluetooth® Ver.5.0 |
| Communication distance | Max. 10m | |
| Supported profile | A2DP, AVRCP, HFP, HSP | |
| Supported codecs | SBC, AAC | |
| Supported content protection | SCMS-T | |
| Multi-paring | Max. up to 8 units |
*1: When the main units and the charging case are fully charged, the playback time is a maximum of 22 hours for a total of 4 times, where 1 time for the main units and 3 times for charging from the charging case.
※Specifications and appearances are subject to change without prior notice for improvement.
※This device has a lithium ion battery built in. Usage time and battery charging time are based on our test results. It depends on the usage environment.
The Bluetooth® word mark and logos are registered trademarks owned by Bluetooth SIG, Inc. and any use of such marks by Maxell Asia, Ltd. is under license.
The names, logos, and service marks are registered trademarks and trade names of maxell or their respective owners.
Maxell, Ltd.
30-13 Motoyoyogi-Cho, Shibuya-Ku, Tokyo 151-8527

Documents / Resources
References
Download manual
Here you can download full pdf version of manual, it may contain additional safety instructions, warranty information, FCC rules, etc.
Advertisement


Need help?
Do you have a question about the MXH-BTW1000 and is the answer not in the manual?
Questions and answers