
Subscribe to Our Youtube Channel
Related Manuals for ATV NBW436


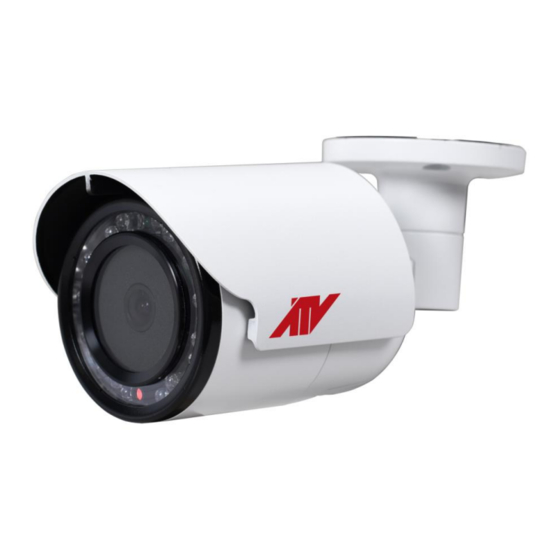
Summary of Contents for ATV NBW436
- Page 1 QUICK GUIDE BULLET NETWORK CAMERA Please read this manual thoroughly before use and keep it handy for future reference.
-
Page 2: Explanation Of Graphical Symbols
WARNING TO REDUCE THE RISK OF FIRE OR ELECTRIC SHOCK, DO NOT EX- POSE THIS PRODUCT TO RAIN OR MOISTURE. DO NOT INSERT ANY METALLIC OBJECT THROUGH THE VENTILATION GRILLS OR OTHER OPENNINGS ON THE EQUIPMENT. CAUTION CAUTION RISK OF ELECTRIC SHOCK DO NOT OPEN WARNING: TO REDUCE THE RISK OF ELECTRIC SHOCK, DO NOT REMOVE COVER (OR BACK). -
Page 3: Fcc Compliance Statement
FCC COMPLIANCE STATEMENT This device complies with Part 15 of the FCC Rules. Operation is subject to the following two conditions: (1) this device may not cause harmful inter- ference, and (2) this device must accept any interference received, including interference that may cause undesired operation. -
Page 4: Important Safety Instructions
IMPORTANT SAFETY INSTRUCTIONS Read these instructions. Keep these instructions. Heed all warnings. Follow all instructions. Do not use this apparatus near water. Clean only with dry cloth. Do not block any ventilation openings. Install in accordance with the manufacturer’s instructions. Do not install near any heat sources such as radiators, heat registers, stoves, or other apparatus (including amplifiers) that produce heat. - Page 5 1 Introduction The network camera supports the network service for a sensor image with progressive scan, which can be monitored on a real-time screen regardless of distances and locations. By using its dedicated program, many users are able to have an access to the network camera at once or a single user can monitor various network cameras at the same time.
-
Page 6: Installation
2 Installation For the operation of the n etwork c amera, it is necessary to connect a network cable for data transmission, power connection from power adapter. Depending on operation methods, it is possible to connect an alarm cable additionally. For its fixation on different locations, please consult with an installer. - Page 7 • Installing Camera To mount the bullet camera, fix the base of the camera with the three screws provided in the accessory kit.
- Page 8 2.2 Connection • Micro SD memory slot on the Bottom Board Remove the cap at bottom of the camera to insert the SD memory card. • Connecting to the RJ-45 Connect a standard RJ-45 cable to the network port of the network camera. Generally a cross-over cable is used for directly connection to PC, while a direct cable is used for connection to a hub.
-
Page 9: Resetting To The Factory Default Settings
2.3 Resetting to the factory default settings To reset the network camera to the original factory settings, go to the Setup > System > Maintenance web page (described in “System > Maintenance” of User Manual) or use the Reset button on the network camera inside the bottom cap. •... -
Page 10: Network Connection & Ip Assignment
2.4 Network Connection & IP assignment The camera supports the operation through the network. When a camera is first connected to the network, it is necessary to allocate an IP address to the device with the “SmartManager” utility on the CD. (Default IP 192.168.30.220) Connect the network camera/device to the network and power up. - Page 12 BULLET NETWORK CAMERA 5030xxxxA...
Need help?
Do you have a question about the NBW436 and is the answer not in the manual?
Questions and answers