Table of Contents
Advertisement
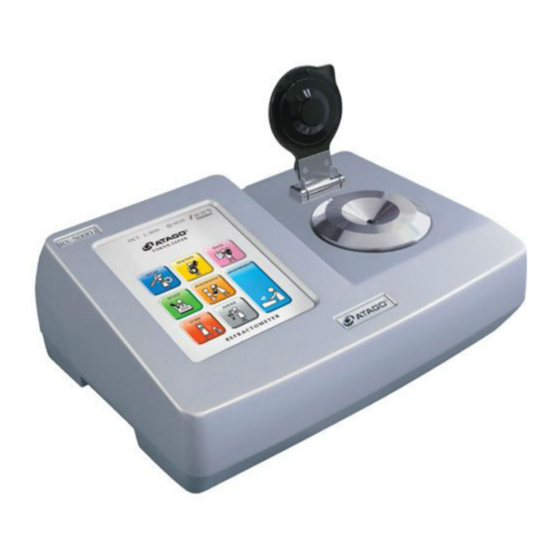
Automatic Digital Refractometer
Instruction Manual
Important Information ........................................................ 3
Use Information .................................................................... 3
Safety Information .............................................................. 3
Setting up the Instrument ............................................... 8
About Touchscreen ......................................................... 11
Home Screen Icons ......................................................... 12
Basic Settings ................................................................... 13
Security Settings ............................................................. 14
Zero-set Reminder Feature ........................................ 18
Printer Settings ................................................................ 19
Sound Settings .................................................................. 21
System Information Settings....................................... 21
Customizing the Home Screen Layout ................... 22
Preparing for Measurements ....................................... 24
Applying and Cleaning off Samples........................... 25
Zero-setting ....................................................................... 26
Measuring Samples .......................................................... 28
Creating, Editing, and Deleting SCALE ................... 31
Reviewing and Recording Measurement Data ...... 37
Connecting to Your Computer ................................... 43
Manual Calibration ........................................................... 50
Supplemental Information ............................................. 52
Tips and Troubleshooting
When Problems Arise ..................................................... 61
Maintenance Tips ............................................................. 63
Instrument Specifications ............................................. 69
3275-E21
Introduction
Preparation
Measurements
Advertisement
Table of Contents


Need help?
Do you have a question about the RX-5000 i-Pius and is the answer not in the manual?
Questions and answers
Hello, Do you guys provide calibration service for RX-5000 i Serial No 130847?