Table of Contents
Advertisement
Quick Links
Advertisement
Table of Contents

Related Manuals for Digitus DA-70820


Summary of Contents for Digitus DA-70820
- Page 1 HIGH RESOLUTION VIDEO GRABBER User´s Manual DA-70820 Rev. 3-0...
- Page 2 _________________________________________________________________________________ FEDERAL COMMUNICATIONS COMMISSION This device complies with Part 15 of the FCC Rules Operation is subject to the following two conditions: this device may not cause harmful interference, and (2) this device must accept any interference received, including interference that may cause undesired operation.
-
Page 3: Table Of Contents
Chapter 1. Overview ---------------------------------------------------------- Introduction ----------------------------------------------------------------- Features --------------------------------------------------------------------- Specifications --------------------------------------------------------------- Package Contents --------------------------------------------------------- Minimal System Requirements ----------------------------------------- Chapter 2. Installation ------------------------------------------------------- Hardware device description ------------------------------------------- Driver Installation ---------------------------------------------------------- Application Software (Video Grabber) Installation ---------------- Chapter 3. Basic Function Operating ---------------- --------------- Chapter 4. -
Page 4: Chapter 1. Overview
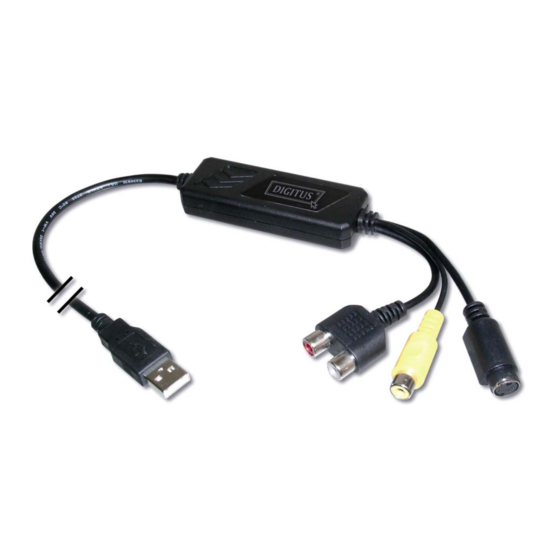
1.1 Introduction Congratulations on your purchase of “Video Grabber”. The “Video Grabber”- New Generation USB2.0 Audio/Video grabber is the best ideal companion for your portable audio/video application. Now with Real-time MPEG 1/2/4 recording, you have a powerful video application on your hand. Video Grabber is the bridge between your computer and analog camera, VCR, camcorder or any other video source. -
Page 5: Specifications
USB 2.0 equipped computer Pentium-4,1G or above 128MB of RAM Win2000 SP3 / WinXP SP2 / Vista Sound card 1.5 Package Contents DA-70820 USB 2.0 Audio/Video Grabber Video Grabber software CD VideoWorks editing software Digital Converter direct burning sof tware User’s manual ____________________________________________________________ Chapter 2. -
Page 6: Chapter 2. Installation
※ Please make sure your computer has USB2.0 port correctly installed and functioning !! ( Please update your WinXP to SP2 or Win2000 to SP3 or Win Vista above and updating USB2.0 host driver before installation to make sure computer’s USB2.0 is functioning correctly) Steps : (1) Install Driver (see 2.2.1) (2) Plug in Video Grabber hardware (see 2.2.3) (3) Install Video Grabber AP software (see 2.3) -
Page 7: Driver Installation
2.2 Driver Installation ※ Do not connect Video Grabber to computer USB port before driver ins tallation 2.2.1. Please insert "Multimedia Installation Kit" CD-ROM into your CD-ROM drive; Run " E:\Vid eo Grabber\Driver\Setup.exe "; (assuming CD-ROM drive in E drive) Click "Next"... - Page 8 2.2.4. After restart co mputer, plug the Video Grabber device into computer’s US B2.0 port; System will detect new device and install completely. 2.2.5. Please check whether the Video Grabber driver was install successfu l in your computer; (Go to My Computer->Control Panel->System ->Hardware->Device Manager”) ______________________________________________________________ Chapter 2.
-
Page 9: Application Software (Video Grabber) Installation
2.3 Application Software (Video Grabber) Installation 2.3.1. Please insert "Multimedia Installation Kit" CD-ROM into your CD-ROM drive; Run " E:\Video Grabber\AP software \Setup.exe "; (assuming CD-ROM drive in E drive) 2.3.2. Welcome to the InstallShield wizard; Click "Next" 2.3.3. Choose destination location; Click “Next” 2.3.4. -
Page 10: Chapter 3. Basic Function Operating
After starting application, you can see video window as below 3.2. Preview : Please move mouse cursor into Preview window and right click, function menu will appear as below Resolution : There are 4 resolution video preview you can select NTSC mode : 352x240, 640x480, 720x480, Full screen PAL mode : 352x288, 640x480, 720x576, Full screen __________________________________________________________... - Page 11 3.3.1. General (a) Hardisk space information (b) Snapshot default storage path : The location to save captured image files (c) Clip default storage path : The location to save recorded video files Video Format : Choose correct vi deo input (e) Set Recording Time : Reco rding length setting 3.3.2.
- Page 12 please choose DVD mode) (b) Profile : Video Size, Frame R ate, Video Quality, Video Bit Rate setting; Information column will show your setting 3.4. Video put : Switch between Composite or S-Video input. 3.5. Slide Bar : Move to any video position during playback. 3.6.
- Page 13 : Month (Jan-> 1, Feb->2….Oct->O, Nov->N, Dec->D) dd : Date hh : Hour mm : Minute ss : Second : Number 3.13. Albu This Album will show all capture files include image and video, please click “Clips” or “Images” to find all list, you can find each file information or preview the recording video in this window 3.14.
-
Page 14: Chapter 4. Trouble Shooting
A1 : (a) Make sure you enable U SB2.0 in the motherboard BIOS setup (b) Please make sure that y our system has the latest USB2.0 host driver. For Win XP, please upgrade to Service Pack 2 or above. For Win2000, please upgrade to Service Pack 3 or above. - Page 15 A7 : The best recording performance depends o n your computer system performance, but you can also take some s teps as below to improve the performance (a) Try lowering the resolution format you record. (b) Enable hard disk drive DMA ; Go to My Computer->Control Pane ->System->Hardware->Device Manager->Disk drives to setup (c) Keep a lar ger free space in the Hardisk.
- Page 16 Note: In the event of incorrect installation and improper use in a residential area, the evice may cause disruptions in radio devices and other electronic devices. roper use means that the device is operated with shielded connector cables as far as po ssible, for network products also with shielded cables of category 5e and higher.
Need help?
Do you have a question about the DA-70820 and is the answer not in the manual?
Questions and answers