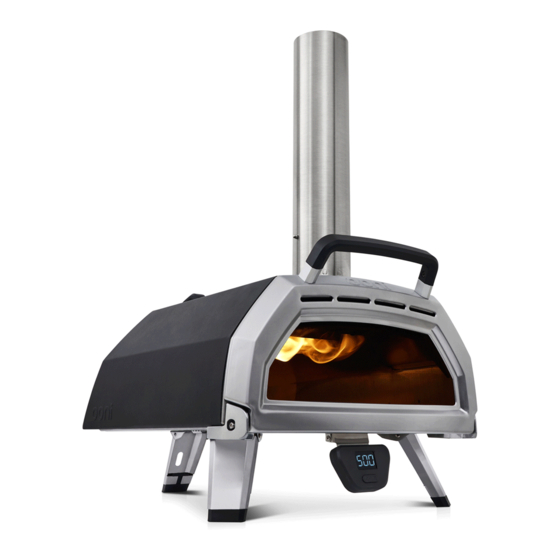
Ooni Karu 16 Assembly Manual
Multi-fuel pizza oven
Hide thumbs
Also See for Karu 16:
- Assembly manual (248 pages) ,
- Essentials manual (54 pages) ,
- Manual (52 pages)
Advertisement
Quick Links
Advertisement

Summary of Contents for Ooni Karu 16
- Page 1 Karu 16 Multi-Fuel Pizza Oven Assembly Manual...
- Page 2 Ooni Karu 16 Pizza Oven UU-P0E400...
- Page 3 Ooni Karu 16 Multi-Fuel Pizza Oven Contents EN ............2 DA ............18 ....................................FR........................NL ............114 ..................................HE ............178 ..................................
- Page 4 The clearances around the oven to any combustible surfaces should be at least 1m from the sides and rear, and 3m from the front and above the oven. Place your Ooni on a sturdy, level, stable and non-flammable surface and keep it clear and free from flammable or combustible materials, gasoline and other flammable vapors and liquids.
- Page 5 MILLIMETRES (mm) DRAWN BY: ZZ CHECKED BY: YY 2020 © OONI LTD. ALL RIGHTS RESERVED Do not use indoors! WARNING! Do not use spirit or petrol for lighting or re-lighting! Use only firelighters complying to EN 1860-3! WARNING! Keep children and pets away Do not use the barbecue in a confined and/or habitable space e.g.
- Page 6 • Once there is a fire going, slowly add more fuel. Replace the hatch and let Ooni Karu 16 to preheat for 30 minutes. Add more fuel as needed. The barbecue shall be heated up and the fuel kept red hot for at least 30 minutes prior to the first cooking.
- Page 7 Thermometer instructions Ooni Karu 16 comes with a battery powered Pizza Oven Digital Thermometer as standard. Use the front mounted Pizza Oven Digital Thermometer for accurate and immediate temperature readings in Celsius (°C) or Fahrenheit (°F). Ooni button Power on Press the Ooni button until ‘888’...
-
Page 8: Exploded View And Parts List
Exploded view and parts list Parts list 1. Main body 2. Door Fixings 3. Cordierite stone baking boards A. Thermometer bracket screw 4. Digital Thermometer B. Thermometer thumb nut 5. Chimney C. Door hinge screw 6. Chimney cap D. Draft defender plate screw 7. - Page 9 Step by step Step 1 - Unfold the legs...
- Page 10 Step 2 - Attach the thermometer bracket to the floor...
- Page 11 Step 3 - Insert the batteries into the Digital Thermometer Remove 4x Phillips head screws counter-clockwise from the battery cover Insert 3x AAA batteries provided and reinsert 4x Phillips heads screws clockwise. Secure but do not over-tighten...
- Page 12 Step 4a - Attach the Digital Thermometer...
- Page 13 Step 4b - Attach the Digital Thermometer...
- Page 14 Step 5 - Insert Cordierite stone baking boards Step 6 -Insert fuel tray and fuel grate The Ooni logo on the grate must face towards the front of the oven...
- Page 15 Step 7a - Attach door Ensure door hook is correctly positioned over the door pins in the oven body.
- Page 16 Step 7b - Attach door Tools required: Allen key Secure but do not over-tighten...
- Page 17 Step 8 - Attach chimney and fuel hatch...
- Page 18 Step 9 - Attach draft defender plate Tools required: Allen key Secure but do not over-tighten...
- Page 19 Step 10 - Open ceiling vent and chimney baffle before lightning Chimney baffle should be vertical. Ceiling vent should be to the right.


Need help?
Do you have a question about the Karu 16 and is the answer not in the manual?
Questions and answers