Advertisement
IMPORTANT SAFETY INSTRUCTIONS

To reduce the risk of injury, read and follow all safety instructions provided with this accessory and your saw. Kickback can occur with any saw chain. Guard against kickback, which may result in severe injury, by using your saw safely at all times. Always wear proper PPE.
READ AND SAVE THESE INSTRUCTIONS
- Follow instructions for lubricating, chain tensioning and changing the bar and chain. Improperly tensioned or lubricated chain may either break or increase the chance for kickback.
- Cut wood only. Do not use pruning saw for purposes not intended. For example: do not use pruning saw for cutting metal, plastic, masonry or non-wood building materials. Use of the pruning saw for operations different than intended could result in a hazardous situation.
Causes and operator prevention of kickback:

Kickback may occur when the nose or tip of the guide bar touches an object, or when the wood closes in and pinches the saw chain in the cut.

Tip contact in some cases may cause a sudden reverse reaction, kicking the guide bar up and back towards the operator.
Pinching the saw chain along the top of the guide bar may push the guide bar rapidly back towards the operator.
Either of these reactions may cause you to lose control of the saw which could result in serious personal injury. Do not rely exclusively upon the safety devices built into your saw. As a pruning saw user, you should take several steps to keep your cutting jobs free from accident or injury.
Kickback is the result of pruning saw misuse and/or incorrect operating procedures or conditions and can be avoided by taking proper precautions as given below:
- Maintain a firm grip on the pruning saw and position your body and arm(s) to allow you to resist kickback forces. Kickback forces can be controlled by the operator, if proper precautions are taken. Do not let go of the pruning saw.
- Only use replacement guide bars and saw chains specified by the manufacturer. Incorrect replacement guide bars and saw chains may cause chain breakage and/or kickback.
- Follow the manufacturer's sharpening and maintenance instructions for the saw chain. Decreasing the depth gauge height can lead to increased kickback.
- Always be aware of what you are doing when using the pruning saw. Use common sense. Do not operate the pruning saw when you are tired, ill, or under the influence of alcohol, drugs, or medication.
- Keep all parts of your body away from the saw chain when the unit is running.
- Maintain the unit with care. Keep the cutting edge sharp and clean for best performance and to reduce the risk of injury. Follow instructions for lubricating and changing accessories.
- Save these instructions. Refer to them frequently and use them to instruct others who may use this product. If you loan someone this product, loan them these instructions also.
- Always use common sense and be cautious when using tools. It is not possible to anticipate every situation that could result in a dangerous outcome. Do not use this tool if you do not understand these operating instructions or you feel the work is beyond your capability; contact Milwaukee Tool or a trained professional for additional information or training.
- Follow the manufacturer's sharpening and maintenance instructions for the saw chain. Decreasing the depth gauge height can lead to increased kickback.
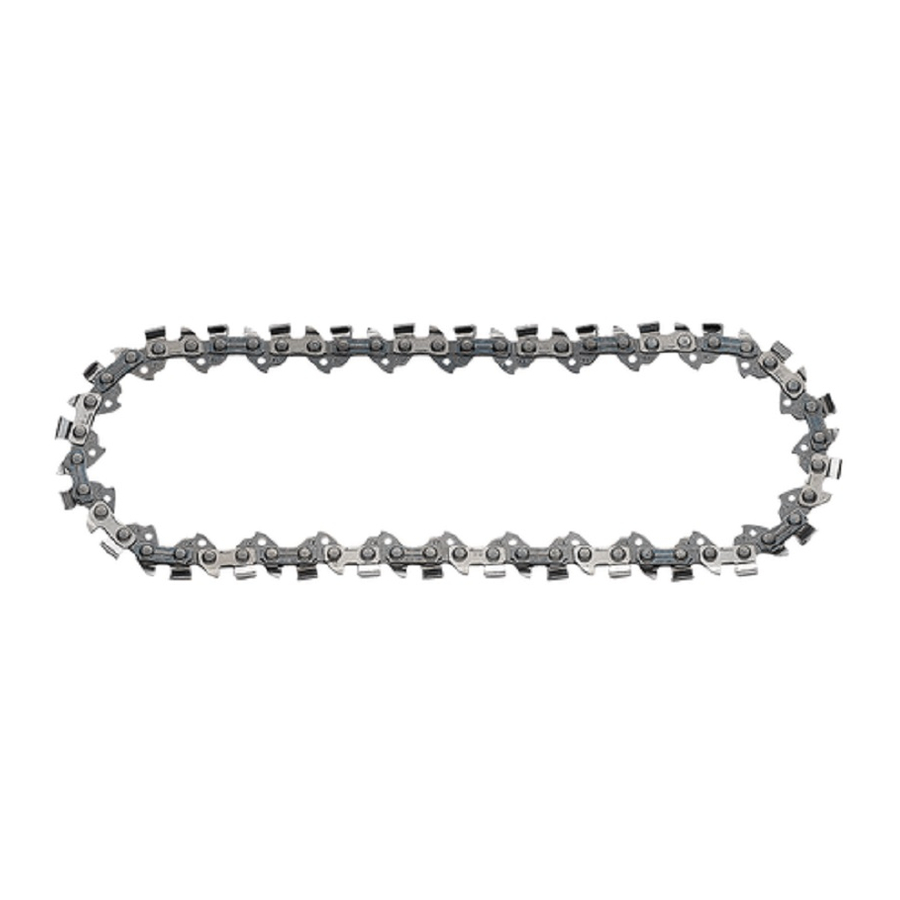
SPECIFICATIONS
For use with: 49-16-2733
Bar Length: 6" (152 mm)
Chain Gauge: 0.043" (1.1 mm)
Chain Type: Low Kickback
Chain Pitch: 3/8" (9.5 mm) Low Profile
Chain Drive Teeth: 28
REPLACING/ADJUSTING THE SAW CHAIN AND BAR
Before use, read manual and labels of the power head. Important assembly and use instructions are provided in the power head manual. Connect the attachment to the power head in accordance with the power head manual.
Always remove battery pack before changing or removing accessories.

Chain is sharp. Always wear protective gloves when handling the chain. Use Low Kickback Saw Chains - The rakers (depth gauges) ahead of each cutter can minimize the force of a kickback reaction by preventing the cutters from digging in too deeply at the kickback zone. Only use replacement chain that is equivalent to original chain or has been certified as low kickback chain per ANSI B175.1.
As saw chains are sharpened during their useful life, they lose some of the low kickback qualities and extra caution should be used.
- Remove the battery pack.
- Place the saw on a flat, firm surface.
- Remove the drive cover by removing the guide bar nuts using the adjustment tool.

- Loosen the chain by turning the chain tensioning screw counterclockwise with the adjustment tool.
- Pull the guide bar off of the guide bar bolts and unloop the chain from the drive hub.
![]()
Saw Chain is sharp. - Remove the chain from the guide bar groove.
![]()
Saw Chain is sharp. Inspect guide bar for cracks or wear; replace if damaged. - Wrap the new or sharpened chain around the guide bar in the direction indicated on the saw
![]() .
.

- Ensure the chain is properly set in the slot around the entire guide bar.
- Loop the chain around the hub and fit the bar around the bolts.

- Replace the drive cover.
- Use the adjustment tool to rotate the chain tensioning screw to increase tension (clockwise) until the chain is snug around the guide bar.
- The tension is correct when the chain snaps back after being pulled 1/8" (3 mm) away from the guide bar. No sag should be visible in the chain.

- Do not over-tension the chain - excess tension will cause excessive wear and will reduce the life of the chain and could damage the bar.
- New chains could stretch and loosen during initial use.
NOTE:
Remove battery pack and check chain tension frequently during the first two hours of use.
- The tension is correct when the chain snaps back after being pulled 1/8" (3 mm) away from the guide bar. No sag should be visible in the chain.
- Tighten the guide bar nuts securely.

 .
.


SHARPENING THE SAW CHAIN
Improper chain sharpening increases the potential of kickback.
Failure to replace or repair damaged chain can cause serious injury.
The saw chain is very sharp, always wear protective gloves when performing maintenance to the chain.

Be careful to file all cutters to the specified angles and to the same length, as fast cutting can be obtained only when all cutters are uniform.
- Wear gloves for protection. Properly tension the chain prior to sharpening. Refer to Chain Tension section earlier in this manual. Do all of your filing at the midpoint of the bar.

- Use a 5/32 in. diameter round file and holder.
- Keep the file level with the top plate of the tooth. Do not let the file dip or rock.
- Using light but firm pressure, stroke towards the front corner of the tooth.
- Lift file away from the steel on each return stroke.
- Put a few firm strokes on every tooth. File all left hand cutters in one direction. Then move to the other side and file the right hand cutters in the opposite direction. Occasionally remove filings from the file with a wire brush.

TOP PLATE FILING ANGLE

- CORRECT 30° - File holders are marked with guide marks to align file properly to produce correct top plate angle.
- LESS THAN 30° - For Cross Cutting.
- MORE THAN 30° - Feathered Edge Dulls Quickly.
Side Plate Angle

- CORRECT - 80° Produced automatically if correct diameter file is used in file holder.
- HOOK - "Grabs" and dulls quickly. Increases potential of KICKBACK. Results from using a file with diameter too small, or file held too low.
- BACKWARD SLOPE - Needs too much feed pressure, causes excessive wear to bar and chain. Results from using a file with diameter too large, or file held too high.
Depth Gauge Clearance
- The depth gauge should be maintained at a clearance of.025 in. Use a depth gauge tool for checking the depth gauge clearances.
- Every time the chain is filed, check the depth gauge clearance.


Use a flat file and a depth gauge jointer to lower all gauges uniformly. Depth gauge jointers are available in.020 in. to.035 in. Use a.025 in. depth gauge jointer. After lowering each depth gauge, restore original shape by rounding the front.

Be careful not to damage adjoining drive links with the edge of the file.
Depth gauges must be adjusted with the flat file in the same direction the adjoining cutter was filed with the round file.
Use care not to contact cutter face with flat file when adjusting depth gauges.

Documents / ResourcesDownload manual
Here you can download full pdf version of manual, it may contain additional safety instructions, warranty information, FCC rules, etc.
Advertisement


Need help?
Do you have a question about the 49-16-2732 and is the answer not in the manual?
Questions and answers