Table of Contents
Advertisement
Quick Links
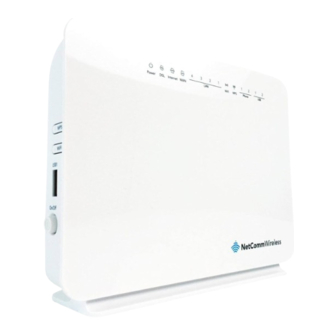
NETCOMM NF10WV - Ethernet
Step 1
Connect your nbn™ equipment and modem using the setup guide provided for
your technology type. If you have not completed this, please refer back to the
nbn™set up guides.
Step 2
Ensure the modem is powered on. Using a pin, reset the modem by pressing and
holding the reset button on the modem until all the lights go off.
Step 3
Using your own device (computer, laptop, tablet or smartphone), connect to the
modem using one of the two options shown below: Ethernet cable directly to the
Ethernet port or WiFi.
Ethernet
Connect the Ethernet cable (this is usually yellow, blue, grey or white) as shown
below from the Ethernet port (LAN port) on the modem to the Ethernet port on
your computer or laptop.
WiFi
Using the wireless security card from your modem (usually located on
the bottom of the modem), connect to the wireless (WiFi) network using
the security code shown.
Advertisement
Table of Contents

Summary of Contents for NetComm NF10WV
- Page 1 NETCOMM NF10WV - Ethernet Step 1 Connect your nbn™ equipment and modem using the setup guide provided for your technology type. If you have not completed this, please refer back to the nbn™set up guides. Step 2 Ensure the modem is powered on. Using a pin, reset the modem by pressing and holding the reset button on the modem until all the lights go off.
- Page 2 Step 4 Open a web browser - E.g. Google Chrome, Firefox, Internet Explorer. Enter the following into the URL address bar: 192.168.20.1 You may see a login page and if the details are not already prefilled, use the below default settings then click OK. Default username: admin Default password: admin Step 5...
- Page 3 Step 7 Select PPP Over Ethernet (PPPoE) and then click Next. Step 8 Enter your NBN Username and Password which was provided by Flip in the welcome email. Click Finish Welcome email example ← User ID ← Step 9 Once the summary page is visible, setup has now been completed. Step 10 1.
- Page 4 2. To change your SSID (broadcasting name) please click Wireless → Basic then editing the SSID tab as shown below. Click Save/Apply once completed. 3. Changing your Wi-Fi password, you would need to click Wireless → Security and then edit “WPA/WAPI Passphrase”. Click Save/apply once completed.
- Page 5 Step 12 If you have a VoIP service, please contact us (contact details are below). Step 13 Congratulations- Your BYO modem set up should now be complete! Please note you may need to wait a few minutes for the settings to apply and/or may also need to reboot/powercycle your modem (turn off...
- Page 6 Step number and description of issue/fault Any relevant pictures etc. which may assist our team in resolving this for you Preferred contact method and/or contact time (we’ll do our best to reach you at the requested time).


Need help?
Do you have a question about the NF10WV and is the answer not in the manual?
Questions and answers