
Related Manuals for Vivitar DVR 4K v3


Summary of Contents for Vivitar DVR 4K v3
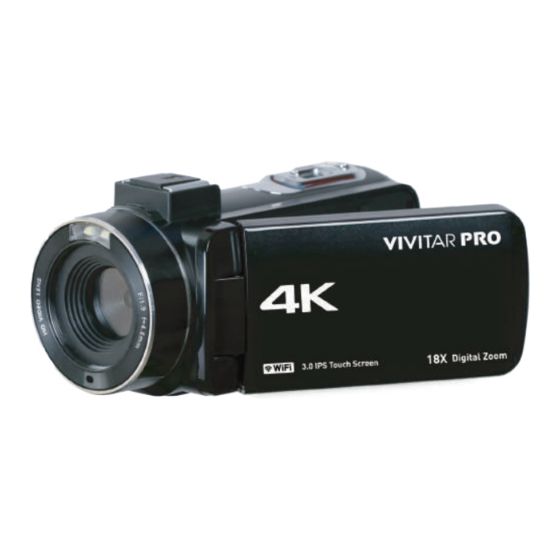
- Page 1 封面1+空白1+内页16+空1+封底1 110*150mm 105克铜版纸黑白印刷 骑马订 DVR 4K (v3) Read me before use! Keep manual and all relevant information for future reference.
- Page 2 Friendly Tips: 1. The camcorder supports a SD memory card up to 256GB. We recommend a branded class-10 SD/SDHC card which is required to be formatted in the camcorder before first-time use. 2. This camcorder is equipped with one lithium battery. Please install the battery correctly before using the camera for the first time, otherwise the camera will not charge and will not boot.
- Page 3 WARNING To reduce the risk of fire or electric shock, 1. ) Do not expose the unit to rain or moisture. 2.) Do not place objects filled with liquids, such as vases, on the apparatus. Do not expose the batteries to excessive heat such as sunshine, fire or the like. Do not ingest battery, chemical burn hazard.
-
Page 4: About The Camera
About the camera System requirement Users can ransfer videos and photos to computers with the following configurations: Intel Pentium 2.0GHz or higher/ Microsoft Windows XP or higher operating system 2GB RAM 40GB above available disk memory/ Standard USB interface / 1GB GPU or higher 1920x1080 pixel or higher resolution. - Page 5 Buttons/ Indicators Functions Power on / off POWER Confirm MODE Open/close mode menu MENU Set shooting menu and system menu Upward Turn on/off WIFI DOWN Downward Digital zoom out / in Take photo PHOTO Pause of recording Shoot video button Shoot start / end Indicator light BUSY Working indicator light...
- Page 6 Charging the battery as the shown of following picture, then close the battery cover. 2. You can use supplied USB cable to charge your camcorder via a adapter(5V/1A~5V/2A) or connect to PC directly. charging indicator * The charging indicator will be turnned on in red when the battery is in charging. Normally it takes around 4-6 hours to full charging of the battery.
- Page 7 Open the touch screen, the camcorder will be powered on automatically. Power button You can also power on the camcorder by pressing the Power/OK/IR Night button. Power/OK/IR Night button for 3 seconds. Notes: It takes 5 seconds to power on/o the camcorder by openning the touch screen. If you open/close the touch screen twice in this reaction time, it may cause the camcorder can not before operating the machine again.
-
Page 8: Available System Settings
Available system settings: Sub-menu Menu content Image Rotation Turn On/Turn Off (Press OK to switch) Wi-Fi Turn On/Turn Off (Press OK to switch) Tap to open the Wi-Fi name and password of Wi-Fi Information camcorder Reset Wi-Fi Confirm /Cancel Light Source Frequency Auto/50Hz/60Hz LED Indicator (Night vision) Turn On/Turn Off (Press OK to switch) - Page 9 Insert and format the memory card A class 10 or higher speed memory card is recommended to normal use. 1. Open the battery cover, and insert the memory card until hear the “click” sound. Insert the card with the noted corner in the direction as illusrated.
-
Page 10: Using The Camcorder
Using the camcorder After power on the camcorder, video capture mode is the default mode. Press the Mode button or tap the Mode icon of the screen to choose the desired mode. Slide down for more options MODE DESCRIPTION Video Normal recording mode Slowly Slow motion shooting... - Page 11 Playback Open the touch screen, tap the Mode icon of the screen or press the Mode button to open the mode options. Scroll down the icons of the screen, or press Down button to the end. Then tap “Playback” or press Power/OK/Light button to enter the playback mode. Press Up / Down button to scroll the images which saved in the memory card.
-
Page 12: Connect To Computer
Connect to computer Connect the camcorder to computer is able to transfer the images to computer, also can use the camcorder as a PC camera. 1. Connect the Type-C USB port of the camcorder and the USB port of the computer with supplied USB cable. - Page 13 Connect to the iDV-PRO app Use the built-in Wi-Fi of the camcorder to support you to monitor the camcorder (take photo/video) easily, also easy to download the photo/videos from the camcorder to your smartphone. Download the app and connect the camcorder’s Wi-Fi network Search for “iDV-PRO”...
- Page 14 Troubleshooting: If you encounter problems with the camcorder, please refer to this section. 1. The camcorder cannot be turned on after installing the battery battery. (2) The battery is installed in reverse, please confirm that the battery is installed in the correct way.
- Page 15 FCC Statement Changes or modifications not expressly approved by the party responsible for compliance could void the user’s authority to operate the equipment. This device complies with Part 15 of the FCC Rules. Operation is subject to the following two conditions: (1) this device may not cause harmful interference, and (2) this device must accept any interference received, including interference that may cause undesired operation.
- Page 16 To Obtain Warranty Service and Troubleshooting Information: Call 1-800-592-9541 or Visit our website at www.vivitar.com. To receive Warranty service along with the name and address of an authorized product service center, the original consumer purchaser must contact us for problem determination and service procedures.
- Page 17 For technical support issues please visit our website at www.vivitar.com. You can find manuals, software and FAQ’s on the website. Cant’t find what you are looking for? E-mail us at support@vivitar.com and one of our technical support team members will answer your questions.