Table of Contents
Advertisement
Quick Links
Basic Parameters
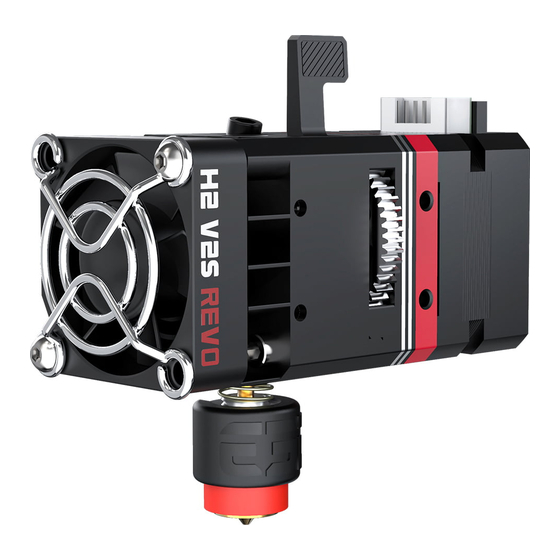
Extrusion Method: Dual Gear Extrusion
Maximum Printing Temperature: 270℃(upgradable to 500℃.)
Weight: 175g (including Heater Cartridge, Thermistor, and Fan.)
Maximum Extrusion Force: 7.5kg (depending on the filaments.)
Extrusion (based on the existing): 2700mm³/min
(depending on the filaments.)
E-step: 932/mm at 16 microstep (Further calibration
is recommended.)
Rotation distance: 3.433
Recommended Motor Current: 800mA
Gear Ratio: 7:1
Drive Gear Circumference: 24.5mm
Filament Diameter and Tolerance: 1.75 ± 0.05mm
Thermistor Type: NTC100K
Note
:
Not compatible with standard NEMA14 motor.
User Manual
H2 V2S Lite vs Other H2 Series
Product Dimensions
Products
XYZ Dimensions(including the fan): 72.1 x 37.9 x 80.6mm
Light weight as low as 175g;
Thread of Nozzle/Heat Break: M4
Flowrate boosted from 15mm³/s to 45mm³/s;
Nozzle Diameter: Φ0.6mm
The idler arm is made of 7075 T6 aluminum, with special
blend high-performance anti-wear MoS2 grease to improve
the quick release lever haptics and enhance wear resistance;
High performance thermal grease has been pre-applied to the
heat break to increase thermal conductivity between the heat
break and heatsink to improve cooling performance;
The filament drive gear is made of tool steel plated with
Leave clear for air flow
nano-coating to improve hardness, wear resistance, corrosion
resistance and provides longer life when printing abrasive
materials.
More Guidance
It is recommended to install the fan toward the left; if toward the
right, pay attention to the gear and air vent. There are 10pcs M3
screw holes on the extruder for fixing.
The M3X8 screws provided are suitable for mounting plates with
a thickness of 3~5mm.
Please assemble the hotend with the following steps:
49.8
49.8
1. Insert the heater cartridge into the heater block;
2. Install the heat break;
35.0
35.0
3. Place the thermistor head into the designated spot on the
26.1
25.0
side of the heater block(preferably pack the spot full of thermal
grease, standard thermal grease for PC cooling purposes
11.1
10.0
should suffice)and clamp down the thermistor wire with the
0.0
0.0
included M2 screw and washer;
5.8
5.8
4. Wrap the heater block with the included PTFE tape at least 3
times for optimal thermal insulation(To achieve the ultimate
lightweight and smallest dimension, the thermistor screw and
washer can be neglected, fix the thermistor in place with only
30.8
30.8
PTFE tape);
5. Install the nozzle(the nozzle should be hot tightened again
10-M3
after the heater block has been heated to printing temperature).
1
Preferred
side
for mounting
①Heat Break
②Heater Cartridge
③M2x3 Screw
2
④Washer
⑤Thermistor
5
4
3
Advertisement
Table of Contents

Related Manuals for BIQU H2 V2S Lite


Summary of Contents for BIQU H2 V2S Lite
- Page 1 Basic Parameters H2 V2S Lite vs Other H2 Series Product Dimensions More Guidance Products Extrusion Method: Dual Gear Extrusion XYZ Dimensions(including the fan): 72.1 x 37.9 x 80.6mm It is recommended to install the fan toward the left; if toward the right, pay attention to the gear and air vent.
- Page 2 About Filament Tension and Maximum Operating Temperature Motor Specifications Product Overview Filament Release 1.Motor 14. Roller Bearing ●Fan: 50℃ 15. Idler Gear ●Motor: 130℃ 2.Gearbox Item Specifications ●Heater Break: H2 bi-metal (copper alloy + grade5 titanium 16. Set Screw Drive gear tension is adjustable to accommodate different 3.682XZZ Bearing Rated Voltage DC 3.45V...
Need help?
Do you have a question about the H2 V2S Lite and is the answer not in the manual?
Questions and answers