Table of Contents
Advertisement
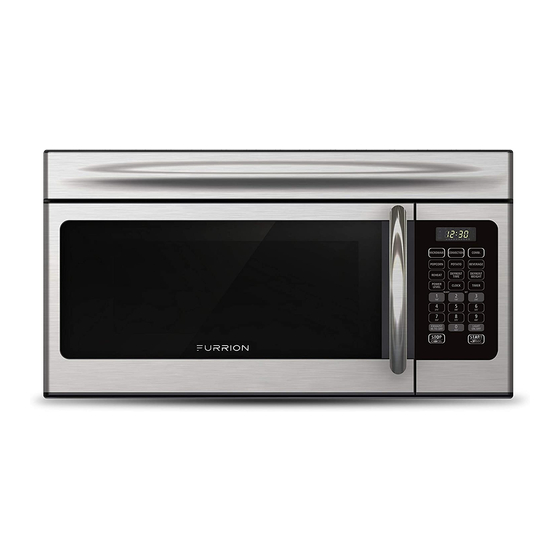
1.5 cu. ft. OTR Convection Microwave Oven
Installation Manual
https://furrion.com/
collections/cooking
* Picture shown here is for reference only.
* To view the multi-language user manual, please access the link or scan the QR code.
* Pour obtenir le manuel d'utilisateur multilingue, accédez au lien ou scannez le QR code.
* Para ver el manual de usuario en otros idiomas, acceda al siguiente enlace o escanee el código QR.
Model: FMCM15-BL / FMCM15-SS
FMSMA15-BL / FMSMA15-SS
FMCM15-BL-A / FMCM15-SS-A
Advertisement
Table of Contents

Related Manuals for Furrion FMCM15-BL


Summary of Contents for Furrion FMCM15-BL
- Page 1 1.5 cu. ft. OTR Convection Microwave Oven Model: FMCM15-BL / FMCM15-SS Installation Manual FMSMA15-BL / FMSMA15-SS FMCM15-BL-A / FMCM15-SS-A * Picture shown here is for reference only. * To view the multi-language user manual, please access the link or scan the QR code.
-
Page 2: Table Of Contents
Table of Contents Table of Contents ............................1 Explanation of Symbols ..........................2 Important Safety Instructions ........................2 Before You Begin ........................................... 2 Important Safety Instructions ......................................2 Electrical Requirements ........................................2 Shipment/Installation ........................................... 3 Before Using ............................... 3 Parts Included ............................................3 Tools You Will Need.......................................... -
Page 3: Explanation Of Symbols
Explanation of Symbols This manual has safety information and instructions to help CAUTION you eliminate or reduce the risk of accidents and injuries. Always respect all safety warnings identified with these Indicates a potentially hazardous situation which, if not symbols. A signal word will identify safety messages and avoided, may result in minor or moderate personal injury, or property damage messages, and will indicate the degree or property damage. -
Page 4: Shipment/Installation
Shipment/Installation DAMAGE ● If the unit is damaged in shipment, return the unit to the store in which it was bought for repair or replacement. ● If the unit is damaged by the customer, repair or replacement is the responsibility of the customer. ●... -
Page 5: Installation
Installation Mounting Space Finding the Wall Studs 1. Find the studs, using one of the following methods: In Exhaust Mode Bottom edge of cabinet needs to A. Wall stud finder – identifies the location of the vertical (See Installation Types B & C on page 7): be 30”... - Page 6 Microwave Leveling 2. Beneath framed recessed cabinet (Fig. 4) TOP LINE OF REAR WALL TEMPLATE must align with Use a level to make sure the cabinet bottom is level. If the the back frame of cabinet bottom. cabinets have a front overhang only, with no back or side frame, top line of rear wall template must align with below cabinet bottom, the same distance as the front overhang depth.
-
Page 7: Hood Exhaust
Hood Exhaust IMPORTANT: If a rectangular-to-round transition adapter is used, the bottom corners of the damper will have to be cut to fit using tin snips, in order to allow free movement of NOTE: If you need to install ducting, note that the total duct the damper. -
Page 8: Installation Types (Choose A, B Or C)
Installation Types Attach The Mounting Plate to the Wall (Choose A, B or C) Attach the mounting plate to the wall using the wing nuts and This microwave oven is designed for adaptation to the machine screws (3/16” x 3”). At least one wood screw must be following three types of ventilation: used to attach the mounting plate to a wall stud. - Page 9 Mount the Microwave Oven (Fig. 14) 3. The Filler Block is only used for recessed cabinet and front overhang cabinet (see the type of the cabinet on For easier installation and personal safety, we recommend page 4 and page 5), you should place the Filler Block to that two people install this microwave oven.
-
Page 10: Outside Top Exhaust (Vertical Duct) (Fig. 19)
B. Outside Top Exhaust 2. Place the mounting plate against the wall and insert the toggle wings into the holes in the wall to mount the plate. (Vertical Duct) (Fig. 19) CAUTION Be careful to avoid pinching fingers between the back of the Installation Overview mounting plate and the wall. - Page 11 Check for Proper Damper Operation 2. Carefully pull out the blower unit. The wires will extend far enough to allow you to adjust the blower unit. (Fig. 24) 1. Place the microwave in its upright position, with the top of the unit facing up.
- Page 12 1. Lift microwave, tilt it forward, and hook slots at back 5. Install the grease filters. (Fig. 33) bottom edge onto four lower tabs of mounting plate. Filters should be cleaned at least once a month. Never Rotate front of oven up against cabinet bottom. (Fig. 30) operate the vent fan or oven without the filters in place.
-
Page 13: Outside Back Exhaust (Horizontal Duct) (Fig. 36)
C. Outside Back Exhaust Attach The Mounting Plate To The Wall (Horizontal Duct) (Fig. 36) Attach the mounting plate to the wall using the wing nuts and machine screws (3/16” x 3”). At least one wood screw must be used to attach the mounting plate to a wall stud. Installation Overview 1. - Page 14 2. Carefully pull out the blower unit. The wires will extend far 5. Place the blower unit back into the opening. (Fig. 45) enough to allow you to adjust the blower unit. (Fig. 41) NOTE: The blower unit exhaust openings should match exhaust openings on rear of microwave oven.
- Page 15 Mount the Microwave Oven (Fig. 49) 3. The Filler Block is only used for recessed cabinet and front overhang cabinet (see the type of the cabinet on For easier installation and personal safety, we recommend page 4 & 5), you should place the Filler Block to the that two people install this microwave oven.
- Page 16 The contents of this manual are proprietary and copyright protected by Lippert. Lippert prohibits the copying or dissemination of portions of this manual unless prior written consent for an authorized Lippert representation has been provided. Any unauthorized use shall void any applicable warranty. The information contained in this manual is subject to change without notice and at the sole discretion of Lippert.
Need help?
Do you have a question about the FMCM15-BL and is the answer not in the manual?
Questions and answers