Advertisement
Quick Links
Advertisement

Related Manuals for LTS VSN8208-P8


Summary of Contents for LTS VSN8208-P8
- Page 1 Network Video Recorders Quick Guide...
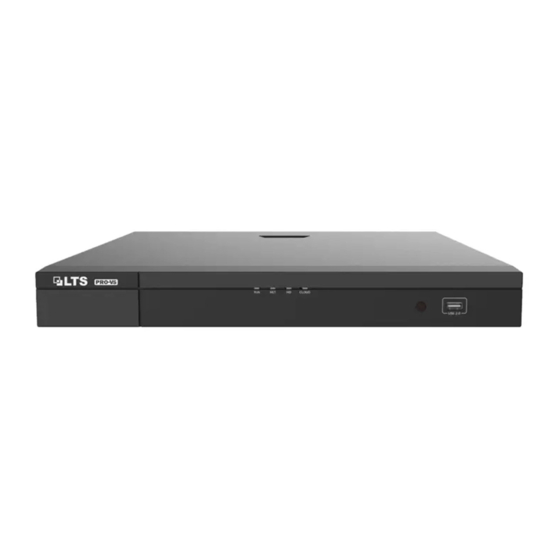
- Page 2 Indicators Status Description PWR(Power) Steady on Connected to power. Steady on Normal. RUN(Operation) Blinking Starting up. Steady on Activated for remote control. Blinking Authenticating device code. ALM(Alarm) Steady on Device alarm occurred. NET(Network) Steady on Connected to network. GUARD(Arming) Steady on Arming is enabled.
-
Page 3: Disk Installation
Interface Description Interface Description ③ Audio out ④ CVBS output ⑤ eSATA interface ⑥ Alarm input/output ⑦ AC power ⑧ Power on/off ⑨ Audio in ⑩ HDMI 1 output ⑪ VGA output ⑫ HDMI 2 output ⑬ ⑭ RS232 ⑮ RS485 ⑯... - Page 4 Figure 3-1 Rear Panel Figure 3-2 Side Panel 2. Insert the screws into the disk and tighten the screws halfway. Screws 3. Slide the disk into place from A to B, and fix the screws to secure the hard disk. 4.
- Page 5 1. Loosen the screws of the mounting plate on the side panels. 2. Turn the upper mounting plate in the shown direction, then remove the plate. Repeat the steps to remove the lower mounting plate (for 8-HDD devices only). 3. Secure the disks on the mounting plate. Fix the screws according to the figure below. Avoid damaging the disk in the process.
- Page 6 3. Connect the power cables and data cables. Power cable Data cable 8 or 16 HDD Installation 1. Fix the mounting brackets to the disk with screws. With the disk interface side down, install the R (for right) and L (for left) bracket according to the figure below. Down 2.
-
Page 7: Startup And Shutdown
Startup and Shutdown Make sure the cables are connected correctly and the device is grounded properly. Use a power supply that meets requirements. Startup Connect the device to power and turn on the power switch (if applicable). Shutdown Click > Shutdown on the screen toolbar in live view page. CAUTION! Do not disconnect power when the NVR is operating or shutting down. -
Page 8: Web Login
NOTE! • A 7*24 recording schedule is enabled by default. To set a recording schedule manually, right click and select Menu > Storage > Recording and then set recording type and time based on your needs. • If you choose Event type recording, you need to enable the corresponding alarm function and configure alarm-triggered recording/snapshot first. - Page 9 Copyright Statement No part of this manual may be copied, reproduced, translated or distributed in any form or by any means without prior consent in writing from our company (referred to as us hereafter). The product described in this manual may contain proprietary software owned by our company and its possible licensors.
- Page 10 To the extent not prohibited by applicable law, in no event will our company and its employees, licensors, subsidiary, affiliates be liable for results arising out of using or inability to use the product or service, including, not limited to, loss of profits and any other commercial damages or losses, loss of data, procurement of substitute goods or services;...
- Page 11 The device must be installed, serviced and maintained by a trained professional with necessary safety knowledge and skills. Before you start using the device, please read through this guide carefully and make sure all applicable requirements are met to avoid danger and loss of property. Storage, Transportation, and Use ...
- Page 12 If the battery compartment does not close securely, stop using the product and keep it away from children. If you think batteries might have been swallowed or placed inside any part of the body, seek immediate medical attention. ...
Need help?
Do you have a question about the VSN8208-P8 and is the answer not in the manual?
Questions and answers