Table of Contents
Advertisement
Quick Links
Advertisement
Table of Contents

Subscribe to Our Youtube Channel
Related Manuals for Oxford BenchMate E


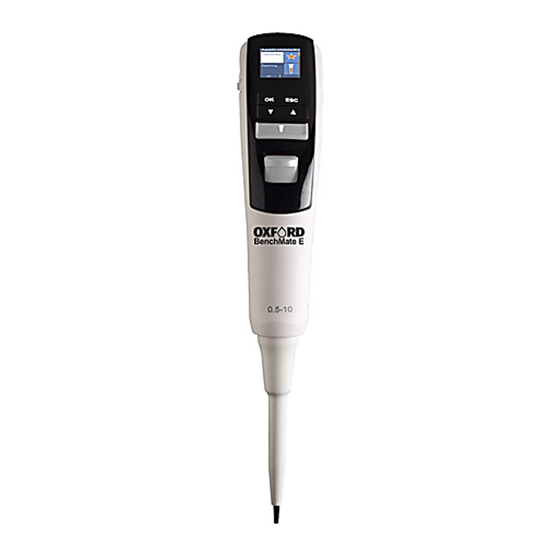
Summary of Contents for Oxford BenchMate E
-
Page 2: Table Of Contents
Electronic Pipette User Guide Table of Contents: 1. Introduction 2. Volume Range 3. Before You Start 4. Getting Started 5. Overview 6. Modes 6.1 Favorites 6.1.1 Edit 6.2 Pipetting 6.3 Reverse Pipetting 6.4 Multi Dispensing 6.4.1 Repeat Dispense 6.4.2 Auto Dispense 6.4.3 Sequence Dispense 6.5 Diluting 6.5.1 Diluting... -
Page 3: Electronic Pipette
1. Introduction The BenchMate E Electronic Pipette from Oxford Lab Products offers one of the most ergonomic designs in the field of liquid handling devices. The ergonomic design of this electronic pipettes reduces the risk of repetitive strain injuries (RSI). The intuitive and easy- to-use functions and features of this electronic pipette allow easy access to, and setting of, each operational mode. -
Page 4: Overview
5. Overview 6. Modes There are various pipetting modes available on the main menu. These modes are designed to meet various popular pipetting requirements, allowing you to complete your pipetting tasks more quickly and accurately, with minimal set-up required, saving you time. Special Note: Press the “OK”... -
Page 5: Edit
6.1.1 Edit This option allows you to edit your saved Favorite programs. You can also change the sequence of saved programs. Edit Program This option allows you to edit the pipetting mode, aspiration speed, dispensing speed and volume. You can also delete the program entirely using this option. Steps: 1. -
Page 6: Reverse Pipetting
6.3 Reverse Pipetting This mode is generally used for pipetting highly viscous liquids accurately. It aspirates a little excess liquid than the selected volume, and then dispenses the exact volume of liquid selected. The rest of the liquid in the tip needs to be discarded. Steps: 1. -
Page 7: Sequence Dispense
Steps: 1. Select Multi Dispense from the main menu. 2. Select Auto Dispense from the Multi Dispense menu. 3. Select the desired dispense volume using the Up/Down arrow keys. 4. Select the number of Dispensing Steps. The pipette will calculate the maximum number of steps possible once you select the dispensing volume. -
Page 8: Diluting + Mixing
6.5.2 Diluting + Mixing Steps: 1. Select Diluting from the main menu. 2. Select Diluting + Mixing from the Diluting menu. 3. Select the No. of Dilutants (Max. 2 dilutants can be selected). 4. Select the 1 volume using the Up/Down arrow keys. 5. -
Page 9: Diluting + Mixing
6.6.2 Pipetting + Mixing Steps: 1. Select Mixing from the main menu. 2. Select Pipette + Mixing from the Mixing menu. 3. Select the volume using the Up/Down arrow keys. 4. Select the number of Mixing Cycles using the Up/Down arrow keys. Max. no. of 10 cycles can be selected. -
Page 10: Sound
6.7.2 Sound Steps: 1. Select Settings from the main menu. 2. Select Sound from the Settings menu. 3. Change the sound volume using the Up/Down arrow keys, then press OK. 4. The new sound volume will be displayed on the screen. 5. -
Page 11: Point Calibration
6.8.1 3 Point Calibration Steps: 1. Select Calibration from the main menu. 2. Select Enter Password from the Calibration menu. Enter “0000” if you have not set your own password yet. 3. Select 3 Point Cal. from the sub-menu. 4. Select Expected Volume 1. By default, 10% of the maximum volume will be displayed. You can change this volume depending on your preferences, using the Up/Down arrow keys. -
Page 12: Point Calibration
6.8.3 1 Point Calibration Steps: 1. Select Calibration from the main menu. 2. Select Enter Password from the Calibration menu. Enter “0000” if you have not set your own password yet. 3. Select 1 Point Cal. from the sub-menu. 4. Select Expected Volume 1. By default, 10% of the maximum volume will be displayed. You can change this volume depending on your preferences using the Up/Down arrow keys. -
Page 13: Due Calibration Date
6.8.6 Due Calibration Date Here, you can save the due-date for your next pipette calibration. Steps: 1. Select Calibration from the main menu. 2. Select Enter Password from the Calibration menu. Enter “0000” if you have not set your own password. 3. -
Page 14: Battery And Charging
8. Battery and Charging 8.1 Inserting a Battery 1. Open the battery cover (see the images below). 2. Insert the battery supplied with the unit, such that the metal pins inside the pipette establish a proper connection with metal pins on the battery. 3. -
Page 15: Maintenance
9. Maintenance 9.1 Single Channel Pipette Maintenance You should check the pipette at the beginning of each day for accumulation of dust or dirt on the outside surface. Special attention should be paid to the tip cone. No other solvent except Isopropanol should be used to clean the pipette. If the pipette is used daily, it should be inspected every three months. - Page 16 Volume 5-100µl & Volume 10-200µl Volume 50-1000µl...
- Page 17 Volume 250-5000µl -17-...
- Page 18 9.1.2 List of Spare Parts: Volume 0.5-10µl Volume 5-100µl -18-...
- Page 19 Volume 10-200µl Volume 50-1000µl...
- Page 20 Volume 250-5000µl...
-
Page 21: Multi Channel Pipette Maintenance
9.2 Multi Channel Pipette Maintenance The servicing procedure starts with the disassembly of the pipette. Please refer to the spare parts list for a better understanding of the various components of the pipette. Shown below is an example of the disassembly and assembly procedure for a 2-20µl 8 channel pipette. The basic procedure is the same for all other 8 channel and 12 channel pipette volumes. -
Page 22: List Of Spare Parts (Group - 2)
9.2.1 List of Spare Parts -22-... - Page 23 9.2.1 List of Spare Parts...
-
Page 24: Autoclavability
10. Autoclavability The lower part of the pipette, tip cone, ejector collar, piston and O-ring are autoclavable parts. Please autoclave under the conditions below. Temperature 121°C / 250° Fahrenheit Pressure 1 bar / 15 psi (Pounds) Time 25 minutes or less After autoclaving, allow parts to cool down for 8 hours in normal condition before reassembling the unit.
Need help?
Do you have a question about the BenchMate E and is the answer not in the manual?
Questions and answers