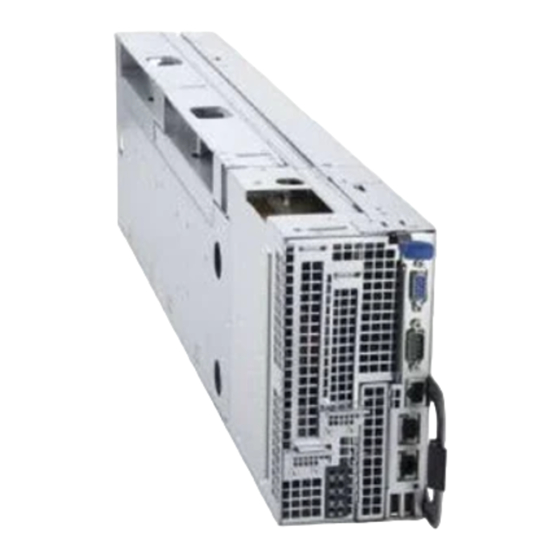
Dell PowerEdge C8220X Installation Manual
Hide thumbs
Also See for PowerEdge C8220X:
- Hardware owner's manual (378 pages) ,
- Installation manual (20 pages) ,
- Getting started (430 pages)
Summary of Contents for Dell PowerEdge C8220X
- Page 1 Dell PowerEdge C8220X Tesla K20 GPGPU Card Installation Guide Regulatory Model: B06B Regulatory Type: B06B001...
- Page 2 Reproduction of these materials in any manner whatsoever without the written permission of Dell Inc. is strictly forbidden. Trademarks used in this text: Dell™, the DELL logo, and PowerEdge™ are trademarks of Dell Inc. Intel is a registered trademark of Intel Corporation in the U.S. and other countries. NVIDIA and Tesla are trademarks and/or registered trademarks of NVIDIA Corporation.
-
Page 3: Table Of Contents
Contents Important Safety Information ..... Recommended Tools ......Information You May Need . - Page 4 Contents...
-
Page 5: Important Safety Information
Important Safety Information Observe the following safety precautions when installing NVIDIA Tesla K20 GPGPU cards in the PowerEdge C8220X sled. WARNING: Working on systems that are still connected to a power supply can be extremely dangerous. CAUTION: The sled must be operated with the cover installed to ensure proper cooling. -
Page 6: Information You May Need
PowerEdge C8220X Hardware Owner’s Manual. Place the sled on a flat, stable surface. Open the sled. For detailed information on opening the sled, see the PowerEdge C8220X Hardware Owner’s Manual. Remove the five M3 screws securing the top cover. -
Page 7: Installing The Front Tesla K20 Gpgpu Card
Installing the Front Tesla K20 GPGPU card Remove the four M3 screws securing the air baffles. Lift the air baffles out of the sled cover. Figure 1-2. Removing the Air Baffles M3 screws (4) right air baffle left air baffle GPGPU blank Remove the four M3 screws securing the mounting brackets. - Page 8 Align the right air baffle with the screw holes on the front of the sled cover. Secure the right air baffle to the sled cover using the two M3 screws. Tighten the screws to 5.21 in-lbs. Figure 1-4. Installing the Right Air Baffle M3 screws (2) right air baffle Align the front mounting bracket with the screw holes on the left of the GPGPU card and...
- Page 9 Connect the power cables to the GPGPU card. Ensure the cables are properly attached. Connect the emergency throttling cable to the GPGPU card. See Figure 1-17 for the cable routing diagram. Figure 1-6. Connecting the Power and Emergency Throttling Cables 1, 2 power cables emergency throttling cable...
-
Page 10: Installing The Back Tesla K20 Gpgpu Card
Align the left air baffle with the screw holes on the front of the sled cover. Secure the left air baffle to the sled cover using the two M3 screws. Tighten the screws to 5.21 in-lbs. Figure 1-8. Installing the Left Air Baffle left air baffle M3 screws (2) Tesla K20 GPGPU card assembly... - Page 11 Remove the four M3 screws securing the air baffles. Lift the air baffles out of the sled cover. Figure 1-10. Removing the Air Baffles M3 screws (4) right air baffle left air baffle GPGPU blank Remove the four M3 screws securing the mounting brackets. Lift the mounting brackets away from the GPGPU blank.
- Page 12 Align the right air baffle with the screw holes on the back of the sled cover. Secure the right air baffle to the sled cover using the two M3 screws. Tighten the screws to 5.21 in-lb. Figure 1-12. Installing the Right Air Baffle M3 screws (2) right air baffle Align the front mounting bracket with the screw holes on the left of the GPGPU card and...
- Page 13 Connect the power cables to the GPGPU card. Ensure the cables are properly attached. Connect the emergency throttling cable to the GPGPU card. Figure 1-14. Connecting the Power and Emergency Throttling Cables 1, 2 power cables emergency throttling cable Align and insert the GPGPU card assembly into the back GPGPU card riser connector until the card is fully seated.
- Page 14 Align the left air baffle with the screw holes on the back of the sled cover. Secure the left air baffle to the sled cover using the two M3 screws. Tighten the screws to 5.21 in-lb. Route the cables along the inside wall of the sled cover. Secure the cables to the retaining clips.
-
Page 15: Cable Routing Diagram
Cable Routing Diagram NOTE: Route the cables properly inside the sled to prevent the cables from being pinched or crimped. Figure 1-17. Cable Routing for Front and Back Tesla K20 GPGPU Card Assembly... - Page 16 power connector on front GPGPU card power connector on back GPGPU card riser riser twin axial cable on back GPGPU twin axial cable connector on system card riser board power/emergency throttling connector power/emergency throttling connector on node power distribution board (NPDB) on NPDB power connector on NPDB power connector on NPDB...


Need help?
Do you have a question about the PowerEdge C8220X and is the answer not in the manual?
Questions and answers