
Related Manuals for Clarke CBB150


Summary of Contents for Clarke CBB150
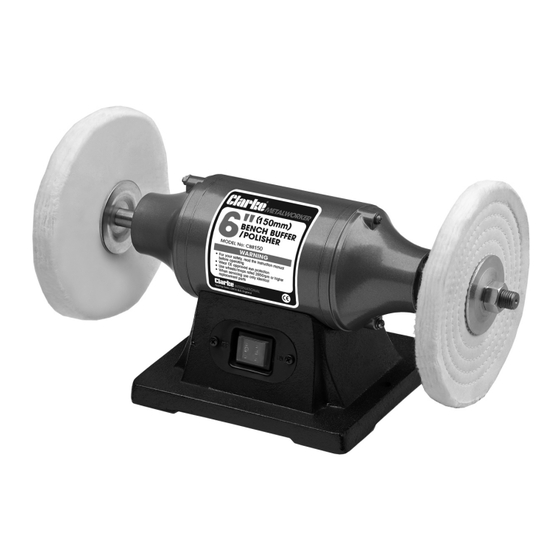
- Page 1 BUFFER/POLISHER MODEL NO: CBB150 PART NO: 6500485 OPERATION & MAINTENANCE INSTRUCTIONS ORIGINAL INSTRUCTIONS DL10/22 -REV 3...
-
Page 2: Specifications
INTRODUCTION Thank you for purchasing this CLARKE buffer/polisher. Before attempting to use this product, please read this manual thoroughly and follow the instructions carefully. In doing so you will ensure the safety of yourself and that of others around you, and you can look forward to your purchase giving you long and satisfactory service. -
Page 3: Power Tool Safety Warnings
POWER TOOL SAFETY WARNINGS WORK AREA 1. Keep the work area clean and well lit. Cluttered and dark areas invite accidents. 2. DO NOT operate power tools in explosive atmospheres, such as in the presence of flammable liquids, gases or dust. Power tools create sparks which may ignite the dust or fumes. - Page 4 4. Remove any wrench before turning the power tool on. A wrench left attached to a rotating part may result in personal injury. 5. DO NOT overreach. Keep proper footing and balance at all times. This enables better control of the power tool in unexpected situations. 6.
-
Page 5: Safety Symbols
2. DO NOT switch the buffer/polisher on whilst the wheel is in contact with the workpiece. 3. Avoid polishing dissimilar metals with the same buffing wheel; galvanic corrosion may occur. 4. DO NOT touch the workpiece immediately after polishing as it may be very hot. -
Page 6: Electrical Connections
ELECTRICAL CONNECTIONS WARNING: READ THESE ELECTRICAL SAFETY INSTRUCTIONS FULLY BEFORE CONNECTING THE PRODUCT TO THE MAINS SUPPLY. This product is provided with a standard 13 amp, 230 volt (50Hz), BS 1363 plug, for connection to a standard, domestic electrical supply. Should the plug need changing, make sure that a plug of identical specification is used. -
Page 7: Mounting The Machine
ASSEMBLY MOUNTING THE MACHINE 1. Bolt the buffer/polisher to a workbench using the securing holes shown. • Check that all assembly nuts and bolts are secure before turning the machine on. • DO NOT block the ventilation paths through the base. FITTING BUFFING/POLISHING PADS 1. -
Page 8: Maintenance
USING YOUR BUFFER/POLISHER WARNING: BEFORE COMMENCING WORK, ENSURE YOU HAVE READ AND UNDERSTOOD ALL OF THE SAFETY INSTRUCTIONS 1. Plug the buffer/polisher into the mains power supply. 2. Switch the buffer/polisher on 3. Slowly bring the workpiece into contact with the polishing mop. •... -
Page 9: Component Parts
REPLACEMENT POLISHING MOPS TYPE PART No 150 mm REPLACEMENT POLISHING MOPS OPEN 6500486 STITCHED 6500487 COMPONENT PARTS Nut M12 (Left-hand tread) Power cable gland Retaining disc Switch Less thread buffing wheel Philips screw M5x8 Spacer bush Switch board Nut M5 Base End cap Nut M8... - Page 10 COMPONENT PARTS Parts & Service: 020 8988 7400 / E-mail: Parts@clarkeinternational.com or Service@clarkeinternational.com...
-
Page 11: Declaration Of Conformity
DECLARATION OF CONFORMITY Parts & Service: 020 8988 7400 / E-mail: Parts@clarkeinternational.com or Service@clarkeinternational.com...
Need help?
Do you have a question about the CBB150 and is the answer not in the manual?
Questions and answers