Advertisement
Quick Start Guide
1
Charge the Battery
Charge the battery before using for the first time.
Select the appropriate power plug and connect to the power
adapter as shown. Plug into power adapter socket at back
of unit and plug into wall outlet. Charge battery until
recharge indicator on main unit turns green.
2
Select and Connect the Cuff
Connect one end of the extension BP hose to the E3 as shown.
Connect the appropriate cuff to the hose metal connector,
by pushing the male bayonet on the cuff hose into the
receiver on the extension hose.
When properly seated the male bayonet will snap into place.
To release, slide the outer sleeve of the receiver back.
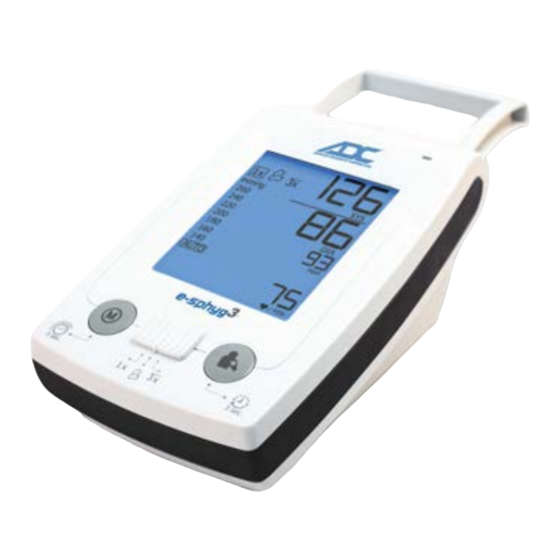
3
Turn the Unit On
Press On/Off switch at back of unit to power on.
The unit will beep twice, the display will illuminate, and the unit
will perform a self check. If an error message appears, do not
use and contact ADC.
The unit will display a "0" when ready for measurement.
4
Apply the Cuff
Apply the cuff to the patient's upper arm. Align the artery mark
with the patient's brachial artery.
Ensure the cuff is correctly sized for the patient –
the index line should fall between the range lines.
If it does not, select a larger or smaller cuff as indicated.
Left Arm
Tube
Correct Cuff Size
Select Smaller Cuff
This side against limb
Select Larger Cuff
Advertisement
Table of Contents

Subscribe to Our Youtube Channel
Related Manuals for ADC e-sphyg 3


Summary of Contents for ADC e-sphyg 3
- Page 1 The unit will beep twice, the display will illuminate, and the unit will perform a self check. If an error message appears, do not use and contact ADC. The unit will display a “0” when ready for measurement. Apply the Cuff Left Arm Apply the cuff to the patient’s upper arm.
- Page 2 • Keep the arm still during the measurement cycle. • Do not talk to the patient while taking a blood pressure reading. Download full manual at www.adctoday.com/esphyg3 American Diagnostic Corporation 55 Commerce Drive Hauppauge, NY 11788 USA 1-800-ADC-2670 www.adctoday.com IFU p/n: 93-9003QS-00 rev 0 (11/6/2019)
Need help?
Do you have a question about the e-sphyg 3 and is the answer not in the manual?
Questions and answers