Advertisement
QUICK INSTALLATION GUIDE
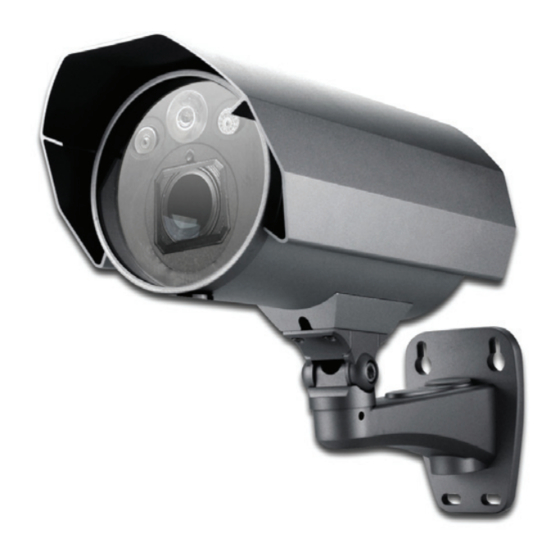
DN-16083 • DN-16084
for more product details, please go to
www.digitus.info
INSTALLATION (DN-16084)
Step1: Put the installation sticker on where you want to install the camera. Then, drill the two screws at top to the wall as
shown in the picture.
Note:
Leave some space between the screws and wall to hook the bracket later.
Step2: Hang the camera at the screws you just fixed, and make sure the camera
stays in place. Decide the cable direction (up / down) before you fasten the
screws tight to the wall.
Step3: Drill the rest of the screws and make sure all screws securely fastened.
Step4: Adjust the vertical and horizontal angles of the camera with the supplied
wrenches for a better viewing.
Note:
To adjust the angle, for
example the vertical angle,
DO NOT
loosen / fix one
side of the screw to the end
at once.
Please do adjustment by
taking turns on both sides till
the angle is fixed.
Otherwise, the angle of the
camera might not be fixed.
PACKAGE CONTENT
Before starting to set up your camera, please make sure
items below in your box:
or
Quick
Camera
guide
For selected models only:
Wall
Screws
Wrenches
Plugs
*
INSTALLATION (DN-16083)
Step1: Fix the bracket to where you want to install the camera
with the supplied three screws.
Step2: Remove the Joint Lock from the bracket. Then, connect
the Joint Lock to the backside of the camera.
Step3: Connect the camera with the Joint Lock connected to
the bracket. After that, secure the Joint Lock to fix.
Next, fix the shield on the camera by turning the
supplied small screw into either hole on the camera.
Step4: Connect the camera to power.
Bracket
Desiccant
CABLE OVERVIEW
Below is an overview of various cables that can be used with
the camera. Besides, it is followed by a table, which
offers simple
descriptions of
cable connection.
Color
Cable
--
Power cable DC12V power supply.
--
RJ45
network
cable*
Black &
GND
Brown
Yellow
Alarm-in
Pink
Alarm-out
Red
RESET
* For PoE (IEEE802.3af) installation, make sure your network cable has the
maximum cable resistance of 20Ω, such as CAT.5e or CAT.6 cables, to conform
to the standard of IEEE802.3af.
Description
Connect it to a RJ45 cable.
Ground wire
Reserved for external alarm device
connection
Reserved for external alarm device
connection
Remove the insulating coating of wire, and
twist it with a ground wire together to reset
default camera
Advertisement
Table of Contents

Related Manuals for Digitus DN-16084


Summary of Contents for Digitus DN-16084
- Page 1 After that, secure the Joint Lock to fix. QUICK INSTALLATION GUIDE Next, fix the shield on the camera by turning the supplied small screw into either hole on the camera. DN-16083 • DN-16084 Step4: Connect the camera to power. for more product details, please go to www.digitus.info...
- Page 2 For advanced configuration of your DIGITUS camera with Step3: After searching, set your PC in the same network segment as the specific camera you want to access, such as DIGITUS NVR, please refer to below for the connection: “192.168.30.xxx” (xxx could be 0~255) in our example Step4: Note down the IP address and port number of the camera you want to access, such as “192.168.30.1”...
Need help?
Do you have a question about the DN-16084 and is the answer not in the manual?
Questions and answers