Advertisement
Quick Links
Advertisement

Related Manuals for Digitus DN-16026


Summary of Contents for Digitus DN-16026
- Page 1 WIRELESS 11N HD IP CAMERA Quick Installation Guide DN-16026...
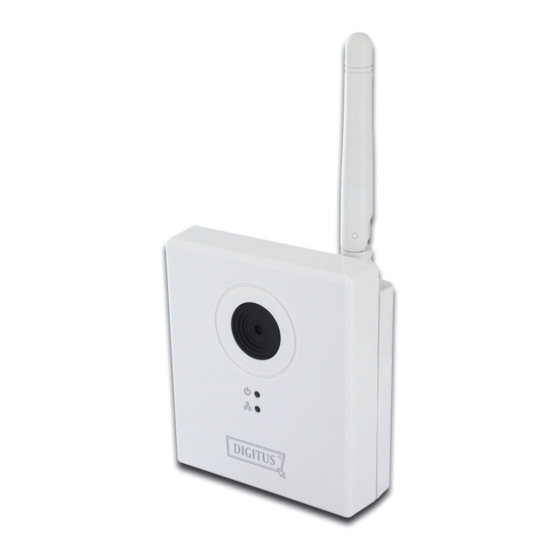
- Page 2 Thank you for purchasing this IP Camera! Before you can use this camera, please check the packaging contents. If any of them is missing, please contact your dealer of purchase for help. Item Name Q’ty Description IP Camera IP Camera Camera Windows Utility and Manual Network Cable Connects IP camera and your local area...
-
Page 3: Ip Camera Installation
IP Camera Installation Step-by-Step Plug the AC power adapter into the electrical outlet on the wall. - Page 4 Connect the network cable to the network socket located at the back of IP camera. Insert the other end of AC power adapter in the DC power socket located at the back of IP camera, and then connect the other end of network cable to one of network port of the switch / hub of your local area network.
- Page 5 For first-time configuration, you must set your computer’s IP address to 192.168.2.1 so you can connect to IP camera. Please click ‘Start’ button and then click ‘Control Panel’. Click ‘View network status and tasks’ under ‘Network and Internet’...
- Page 6 If you didn’t see ‘Network and Internet’ in control panel, please look for ‘Network and Sharing Center’ icon and double-click it. Click ‘Local Area Connection’...
- Page 7 Click ‘Properties’...
- Page 8 Click ‘Internet Protocol Version 4 (TCP/IPv4), and then click ‘Properties’...
- Page 9 Click ‘Use the following IP address’, and then input ‘192.168.2.1’ in ‘IP address’ and ‘255.255.255.0’ in Subnet mask’, just like shown on the left. Click ‘OK’ when finish, and close all open windows you opened. Launch Internet Explorer web browser and input ‘192.168.2.3’...
- Page 10 You’ll be prompted to input username and password. Input ‘admin’ as username, and ‘1234’ as password, then click ‘OK’. If you didn’t see this window, please recheck all previous steps to make sure your IP camera is connected to your network.
- Page 11 For first-time use please click ‘Download ActiveX’ link to download ActiveX plugin for your computer. Click ‘Run’ when you’re prompted.
- Page 12 Click ‘Run’ when your see Internet Explorer’s security warning. Click ‘Yes’ when you’re prompted by Windows’ user account control.
- Page 13 Click ‘Next’ to continue. Answer ‘Next’ and ‘Install’ in all setup procedures to complete software installation.
- Page 14 Click ‘Finish’ button when you see it. Now back to Internet Explorer web browser and press ‘F5’ key on your keyboard, you’ll be prompted when the message like shown on the left.
- Page 15 Right-click on the message, and click ‘Run Add-on’ Click ‘Run’ when you’re prompted. You should be able to see the IP camera’s video on your computer now. If not, please go back to previous steps and check for any possible problem, or contact your dealer of purchase for help.
Need help?
Do you have a question about the DN-16026 and is the answer not in the manual?
Questions and answers