HyperX Cloud Stinger Wireless HX-HSCSW-BK Manual
- Installation manual (183 pages)
Advertisement
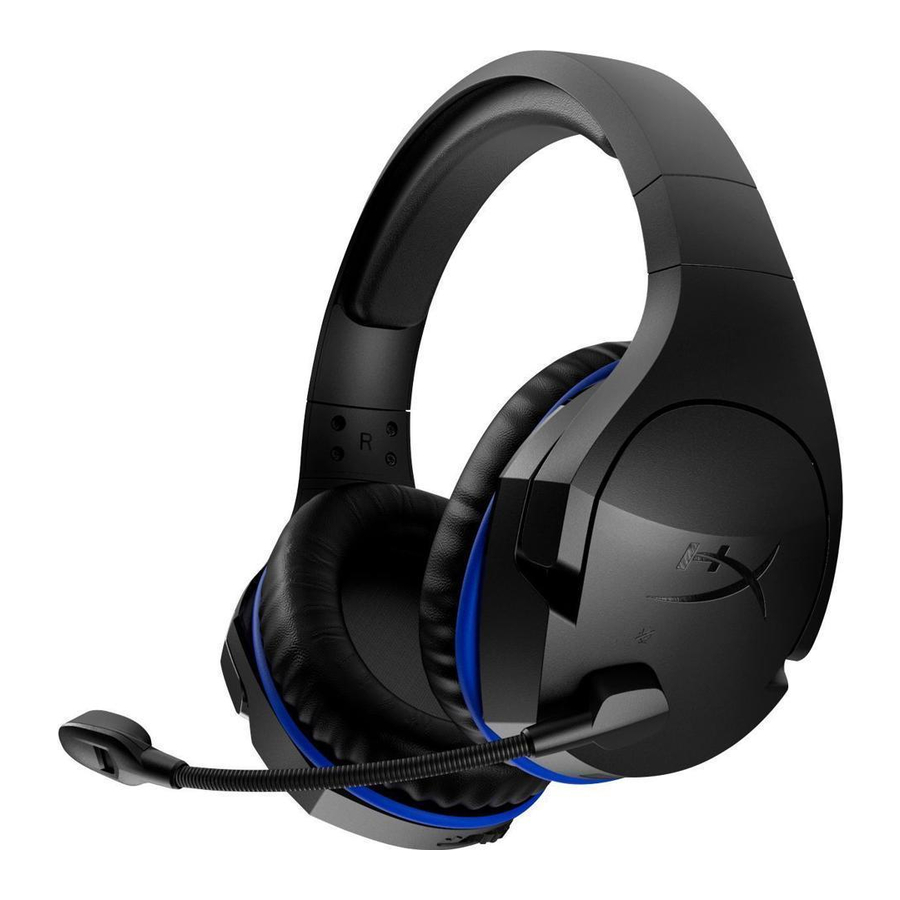
Overview


- Volume wheel
- Swivel to mute microphone
- USB charge port
- Power button
- Wireless adapter
- USB charge cable
- Wireless status light
- Battery indicator LED
Specifications
Headphone
Driver: Dynamic, 50mm with neodymium magnets
Type: Circumaural, Closed back
Frequency response: 20Hz-20,000Hz
Impedance: 32 Ohm
Sound pressure level: 109dBSPL/mW at 1kHz
T.H.D.: < 2%
Weight: 270g
Cable length and type: USB charging cable (1m)
Microphone
Element: Electret condenser microphone
Polar pattern: Noise-cancelling
Frequency response: 100Hz-7,000 Hz
Sensitivity: -47dBV (0dB=1V/Pa, 1kHz)
Battery life*
17 hours
Battery charge time
About 2.5 hours
Wireless Range**
2.4 GHz
Up to 12 meters
*Tested at 50% headphone volume
**Wireless range may vary due to environmental conditions
Headset Controls
Power button
Hold the power button for 3 seconds to power on/off the headset.
Volume wheel
Move the volume wheel towards the + sign to increase the volume.
Move the volume wheel towards the – sign to decrease the volume.

Microphone mute
Swivel the microphone upwards to mute the microphone.
Swivel the microphone downwards to unmute the microphone.

Headset Battery Indicator LED States
The headset battery indicator LED indicates the current state of the headset.

| Battery Indicator LED | Headset Status |
| Slow breathing orange | Searching for wireless adapter |
| Fast blinking red and green | Pairing mode |
| Solid green | 90% – 100% battery remaining |
| Blinking green | 50% – 90% battery remaining |
| Blinking orange | 25% – 50% battery remaining |
| Blinking red | <25% battery remaining |
Headset Charging
When the headset is connected to a charger with the USB charge cable, the battery indicator LED will indicate the charge status. The headset will take approximately 2.5 hours to fully charge.

| Battery Indicator LED | Charging Status |
| Solid green | 100% charged |
| Breathing green | 50% – 99% charged |
| Breathing orange | 25% – 50% charged |
| Breathing red | <25% charged |
Using with PS4™
- Connect the wireless adapter to a front USB port on the PS4™ system.

- Power on the headset.

- When the wireless adapter status light is solid, the headset is now connected to the adapter.


To ensure the headset is configured with the most optimal settings on the PS4, follow the steps below:
- From the PS4 main menu, go to Settings > Devices > Audio Devices
- Set Input Device to USB Headset (HyperX Cloud Stinger Wireless)
- Set Output Device to USB Headset (HyperX Cloud Stinger Wireless)
- Set Output to Headphones to All Audio
- Set Volume Control (Headphones) to 100% volume
Using with Nintendo Switch™
- Connect the wireless adapter to a side USB port on the Nintendo Switch dock.

- Power on the headset.

- When the wireless adapter status light is solid, the headset is now connected to the adapter.


You may set the USB audio volume on Switch to maximum by using the volume buttons on the Switch console, then adjust the volume with the headset volume wheel.
Using with PC
- Connect the wireless adapter to a USB port on the PC.

- Power on the headset.

- When the wireless adapter status light is solid, the headset is now connected to the adapter.


To ensure the headset is configured correctly on the PC, follow the steps below:
- Right-click on the sound icon on the system tray and select Sounds.

- On the Playback tab, right-click on Speakers HyperX Cloud Stinger Wireless and select Set as Default Device.

- On the Recording tab, right-click on Headset Microphone HyperX Cloud Stinger Wireless and select Set as Default Device.


Manually Pairing Headset and Wireless Adapter
The headset and wireless adapter are already paired together for first time use. If manual pairing is necessary, follow the steps below to pair the headset and wireless adapter together.
- Make sure the headset is powered off.
- Plug the USB wireless adapter into the PC or PS4™ system.
- Use a small pin to press the small button on the back side of the USB wireless adapter for 3 seconds. The USB wireless adapter LED will be fast blinking.

- Long press the headset power button for 10 seconds to enter the pairing mode. The headset battery indicator LED will be fast blinking.

- When both the USB wireless adapter LED and the headset battery indicator LED are both solid, pairing is completed.


Questions or Setup Issues?
Contact the HyperX support team at: hyperxgaming.com/support/headsets

VideosHyperX Cloud Stinger Wireless - Review Video
Documents / Resources
References
Download manual
Here you can download full pdf version of manual, it may contain additional safety instructions, warranty information, FCC rules, etc.
Advertisement


Need help?
Do you have a question about the Cloud Stinger Wireless HX-HSCSW-BK and is the answer not in the manual?
Questions and answers