Advertisement
Advertisement
Table of Contents

Summary of Contents for Procolored DTF-A3-PRO XP600
- Page 1 DTF-A3-PRO XP600*2 Printer manual - 1 -...
-
Page 2: Table Of Contents
Table of Contents Safety Instructions ......................- 3 - Machine Views ........................ - 4 - 1. Product Specification ....................- 5 - 2.Install the ink bottle holder and roll film ..............- 6 - 3.Install printing software ....................- 7 - 4.Install the ink ........................ -
Page 3: Safety Instructions
Safety Instructions 1. Read all instructions. 2. Use the DTF A3 PRO Printer only for its intended use. 3. To reduce the risk of electric shock, do not immerse the DTF printer in water or other liquids. 4. Do not disassemble or attempt to repair the DTF printer. Take it to a qualified service person for examination and repair. -
Page 4: Machine Views
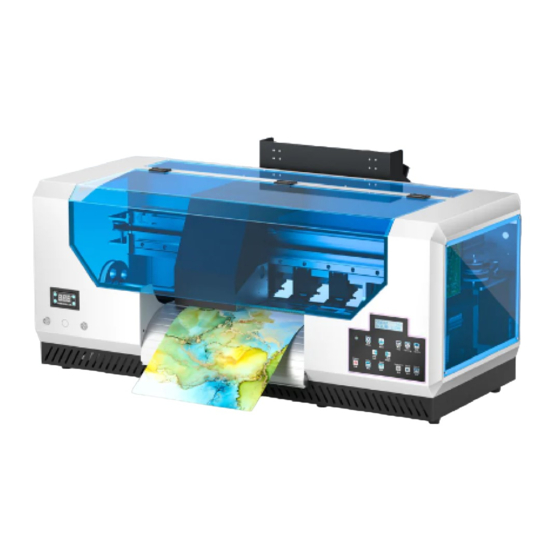
Machine Views Film feed position Waste collector Temperature and humidity display Nozzle position Ink position film exit printer panel position buttons - 4 -... -
Page 5: Product Specification
1. Product Specification Model Print Head DTF PRO XP600*2 Print Size A3(300*420mm) Platform Size A3(350*200mm) Print Speed Print width 8PASS; 2 m2/H 300mm Ink Supply Mode Software Continuous Ink Supply RIPrint Ink Consumption System Window XP、7、10 /20ml Color AC100~230V/ Optional Voltage / Plug CMYKW+WWWWWW Configuration... -
Page 6: Install The Ink Bottle Holder And Roll Film
2.Install the ink bottle holder and roll film Instructional video link:https://youtu.be/nm68F8RyBpY 1. Take out the 2 screws that fix the ink tray 2. Align the screw holes of the fixing ink bracket with the screw holes of the machine, and fix them with 2 screws 3. -
Page 7: Install Printing Software
3.Install printing software Instructional video link:https://youtu.be/69aG5BN1zys 1. Insert the white dongle 2. Create a folder 3 .Add the software installation folder to the firewall 4. Copy the data to the folder you just created trust list 5.Create a desktop shortcut 6. -
Page 8: Install The Ink
4.Install the ink Instructional video link:https://youtu.be/2C2JF0GlrLU 1.Remove the cable ties from the waste ink tube 2.Add ink in the order indicated by the color 3.Draw 5ml of ink from each ink sac 4.Pump ink with software 5.Ink for 15 seconds 6.Print a test strip and check that the test strip is complete - 8 -... -
Page 9: Install Rintrip
5.Install RintRIP Instructional video link:https://www.youtube.com/watch?v=0RjMzWTTHME 1.Find the RintRIP software and double-click to install 2.Installation curve 3.Set Spot Colors 4.Set Spot Colors in Photoshop 5.Import pictures with RintRIP 6.Convert image format with RintRIP - 9 -... -
Page 10: Printing Process
6.Printing process (powder shaker is purchase separately) Instructional video link:https://youtu.be/MpAovwtM7R8 1. Take out all the accessories from the oven 2. Install the receiving module 3. Fix the PET film to the receiving module 4. Use RIPRint to print pictures 5.Make sure the PET film is flat during the printing 6.After printing, the print head returns to the right process - 10 -... -
Page 11: Daily Maintenance
7.Daily maintenance Instructional video link:https://youtu.be/61IvAcTH9o4 1.Cleaning the print head 2.Print the printhead status diagram 3.Clean the grating strips 4.Clean the ink station 5.Clean the rails and lubricate them 6.Open the side panel and clean the bottom of the printhead 7. print head and ink pad must be in contact during standby 8.Clean the print platform - 11 -...


Need help?
Do you have a question about the DTF-A3-PRO XP600 and is the answer not in the manual?
Questions and answers