Advertisement
Quick Links
GUIDE D'INSTALLATION/
INSTALLATION GUIDE
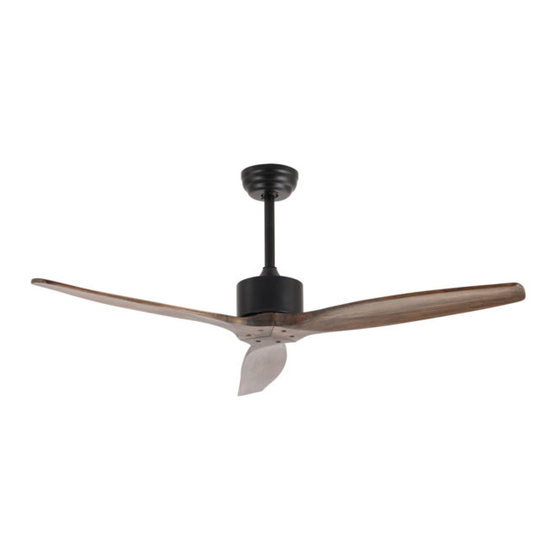
Gemini
(9083-00-BLK)
Ventilateur d'intérieur /
Indoor Fan
ATTENTION / CAUTION
VEUILLEZ LIRE ATTENTIVEMENT LES INSTRUCTIONS POUR UNE INSTALLATION SÉCURITAIRE
ET LE BON FONCTIONNEMENT DU VENTILATEUR. EN CAS DE DOUTE, VEUILLEZ
CONSULTER UN ÉLECTRICIEN QUALIFIÉ
READ INSTRUCTIONS CAREFULLY FOR SAFE INSTALLATION AND FAN OPERATION. IF
UNSURE CONSULT A QUALIFIED ELECTRICIAN
Advertisement

Subscribe to Our Youtube Channel
Related Manuals for Lumirama Gemini 9083-00-BLK


Summary of Contents for Lumirama Gemini 9083-00-BLK
- Page 1 GUIDE D'INSTALLATION/ INSTALLATION GUIDE Gemini (9083-00-BLK) Ventilateur d’intérieur / Indoor Fan ATTENTION / CAUTION VEUILLEZ LIRE ATTENTIVEMENT LES INSTRUCTIONS POUR UNE INSTALLATION SÉCURITAIRE ET LE BON FONCTIONNEMENT DU VENTILATEUR. EN CAS DE DOUTE, VEUILLEZ CONSULTER UN ÉLECTRICIEN QUALIFIÉ READ INSTRUCTIONS CAREFULLY FOR SAFE INSTALLATION AND FAN OPERATION. IF UNSURE CONSULT A QUALIFIED ELECTRICIAN...
- Page 2 MERCI POUR VOTRE ACHAT Merci d'avoir acheté ce produit de qualité. À des fins THANK YOU FOR YOUR PURCHASE de sécurité et de bon fonctionnement de l’appareil, Thank you for purchasing this quality product. To veuillez lire attentivement les instructions avant d'utiliser ensure correct function and safety, please read and le produit.
- Page 3 Déballez votre ventilateur et vérifiez le contenu. Vous devriez avoir les éléments suivants: Unpack your fan and check the contents. You should have the following: 1. Moteur 1. Moteur / Fan motor 2. Couvercle 2. Canopy 3. Support de montage 3.
- Page 4 INSTALLATION SUPPORT DE MONTAGE / INSTALLING THE MOUNTING BRACKET Le ventilateur de plafond doit être The ceiling fan must be installed in a installé dans un endroit de sorte que location so that the blades are les lames soient espacées de 3 12“(300mm) spacing from the tip of mètres (12 pieds) de l'extrémité...
- Page 5 INSTALLATION DES PALES / INSTALL THE BLADES Placez le moteur sur le fond de styromousse Place motor on bottom Styrofoam for blades pour l'installation des pales. Alignez les trous installation. Aligning the holes on blade and des pales et les trous des vis du moteur the screw holes on motor as shown in comme indiqué...
- Page 6 INSTALLATION DE LA TIGE DE SUSPENISON / INSTALL THE DOWNROD Lorsque vous suspendrez le ventilateur, n'oubliez pas d'éteindre l'électricité. Suivez les étapes ci-dessous pour accrocher votre ventilateur correctement. 1. Retournez le moteur avec les lames. 2. Enlevez le boulon, la goupille de serrure et les vis de fixation de la tige. 3.
- Page 7 THE ELECTRIC CONNECTIONS AVERTISSEMENT: Pour éviter tout choc électrique, assurez-vous que l'électricité est fermée avant installation. WARNING: To avoid possible electrical shock, be sure electricity is turned off before wiring. Insérez le récepteur dans le support de montage avec le 1.
-
Page 8: Ceiling Fan
AVERTISSEMENT: Pour éviter tout WARNING: To avoid possible choc électrique, assurez-vous electrical shock, be sure que l'électricité est fermée. electricity is turned off at the main fuse box before wiring. 1. Installez l'extrémité sphérique de la tige dans l'ouverture du 1.Install ball end of downrod into support de montage. -
Page 9: Care And Cleaning
BALANCEMENT DU VENTILATEUR / BALANCING CEILING FAN: Pour votre commodité, un kit d'équilibrage est For your convenience, a Balancing Kit is included; inclus. Veuillez suivre cette procédure lors de please follow this procedure when balancing the l'équilibrage du ventilateur: fan: 1. - Page 10 Instruction d’assemblage / Assembly Instruction: 1. Support de montage 1. Mounting bracket 2. Vis de montage 2. Mounting screws 3. Couvercle 3. Canopy 4. Tige de suspension 4. Downrod & hanger ball 5. Boulon 5. Bolt 6. Couvercle de bride 6.
Need help?
Do you have a question about the Gemini 9083-00-BLK and is the answer not in the manual?
Questions and answers