Table of Contents
Advertisement
Quick Links
Advertisement
Table of Contents

Related Manuals for Audio Technica AT-LP60XBT-USB-BK


Summary of Contents for Audio Technica AT-LP60XBT-USB-BK
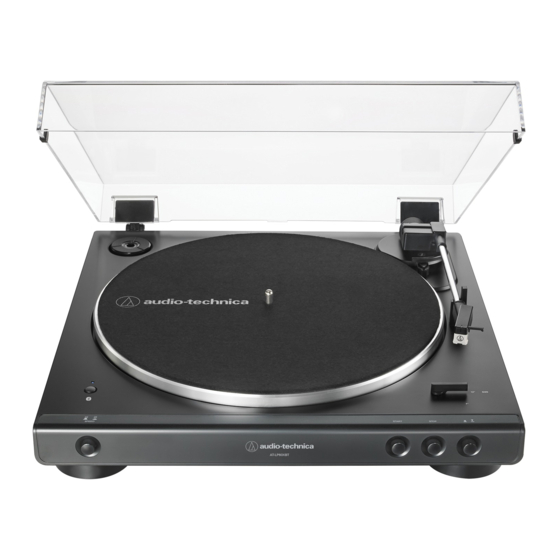
- Page 1 AT-LP60XBT-USB User Manual Automatic Wireless Turntable AT-LP60XBT-USB...
-
Page 2: Package Contents
Introduction Thank you for purchasing this Audio-Technica product. Read through this user manual before using the product to ensure its correct use. Also, keep this manual for future reference. This product can be used only in the countries where the product is sold. Make sure that the operating voltage and the plug of AC adapter of the product are correct for the country you live in. -
Page 3: Safety Precautions
Safety precautions RF Exposure Statement: Although this product was designed to be used safely, failing to use it correctly may result in an accident. To ensure safety, This transmitter must not be co-located or operated in observe all warnings and cautions while using the product. conjunction with any other antenna or transmitter used in other systems. -
Page 4: Notes On Use
Notes on use Turntable body Do not set and use the product in locations that are • considerably hot or humid, dirty, or subject to extreme vibrations. The product should be positioned on a flat, level surface. • When closing the dust cover, close it completely. Do not open •... -
Page 5: Part Names And Functions
Part names and functions AT-LP60XBT-USB AT-LP60XBT-USB 45 RPM adapter (shown in receptacle) Dust cover Adapts 7" records with large center holes to fit center Platter speed button spindle. Select the platter speed (33-1/3 or 45 RPM). Platter START button Spindle Spins the platter and moves the tonearm. -
Page 6: Preparation For Use
Preparation for use 2. Place the belt on the motor pulley (brass-colored). Installing the turntable Align one of the platter openings with the brass motor • pulley, and, while pulling both ends of the red ribbon that Mount the product on a level surface. •... -
Page 7: Rotating The Platter
Preparation for use Rotating the platter Wireless/wired connection 1. Using your hands, rotate the platter ten times. You can connect to a speaker, etc. via Bluetooth technology or RCA audio cable. Remove the tie that locks the tonearm and press the •... -
Page 8: About Pairing
Preparation for use 3. When pairing is complete, the indicator LED lights in blue. Connecting via Bluetooth wireless technology The product supports Bluetooth wireless connection. It can be connected with Bluetooth-compatible headphones, active speakers and wireless stereo speakers (hereinafter referred to Blue as Bluetooth receiver devices). -
Page 9: Connecting The Device
Preparation for use Setting pre-amplifier selector switch Connecting the device This product has a built-in phono equalizer function. You can Connecting to audio source use the product even if you do not have a phono amplifier or connectable equipment with a built-in phono amplifier. Align the settings for the pre-amplifier selector switch and Use the pre-amplifier selector switch to set the output, as connect the RCA audio cable to an input jack that is compatible... -
Page 10: Playing A Record
Preparation for use Playing a record Connecting to computers with USB input Automatic operation The included USB cable connects the product to your • Lower the volume of the amplifier, speakers, etc. sufficiently. computer without need for special drivers. Audacity (refer to http://www.audacityteam.org for details) •... -
Page 11: Manual Operation
Playing a record Manual operation Pausing the record Lower the volume of the amplifier, speakers, etc. sufficiently. 1. After lowering the volume of the amplifier, speakers, etc. sufficiently, press the tonearm lift button to lift the 1. Press the tonearm lift button. tonearm. -
Page 12: How To Use With Bluetooth Connection
Playing a record Care How to use with Bluetooth connection Turntable body To connect for the first time, pair the product and your device When the turntable body is dirty or dusty, first disconnect the • • via Bluetooth wireless technology. AC adapter, and then wipe off the dirt and dust with a soft, dry cloth. -
Page 13: Replacing The Stylus
Replacing the stylus Replacing the belt The belt is a consumable part. Replace the belt if the speed of • Removing the stylus playback slows down or irregular rotation occurs. As a rule of thumb, we suggest replacing the belt once a year. In addition to the deterioration of sound quality, records may •... -
Page 14: When The Turntable Is Moved
Replacing the belt When the turntable is moved 5. Place the belt on the motor pulley (brass-colored). Using the product's original packing materials, wrap the turntable in the reverse order from when you unwrapped it. If Grasp the belt that was attached in step 3 and, while •... -
Page 15: Troubleshooting
Troubleshooting Problem Solution The platter does not spin. Is the AC adapter connected to the outlet? Connect the AC adapter to the outlet. • Has the belt slipped from the platter? Correctly place the belt on the platter. • Is the belt placed on the motor pulley? Check that the belt is placed on the motor pulley •... - Page 16 Dimensions 359.5 AT-LP60XBT-USB (Unit: mm) AT-LP60XBT-USB...
-
Page 17: Specifications
Specifications Communication specifications Turntable Communication system Bluetooth version 5.0 Type Belt-drive, fully automatic operation Maximum RF output 10 mW EIRP Motor DC servo-controlled Maximum communication Line of sight - approx. 10 m range (33') Speeds 33-1/3 RPM, 45 RPM Frequency band 2.402 GHz to 2.480 GHz Turntable platter Aluminum...
Need help?
Do you have a question about the AT-LP60XBT-USB-BK and is the answer not in the manual?
Questions and answers