Table of Contents
Advertisement
Available languages
Available languages
Quick Links
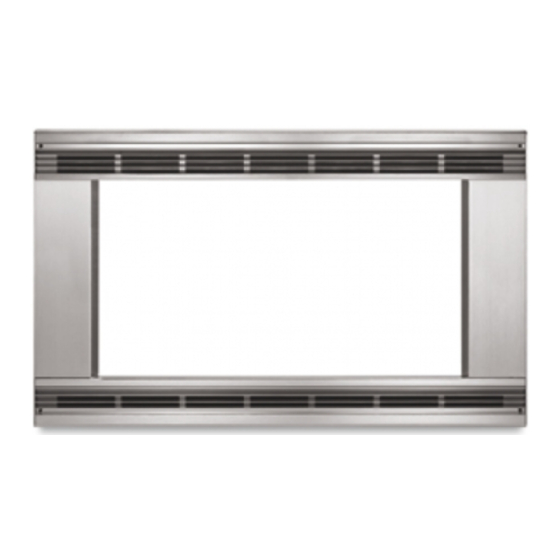
MICROWAVE OVEN BUILT-IN TRIM KIT
27" (68.6 cm): (Y)RBS275PD, (Y)GBS277PD, KEBI171D, (Y)KEBS177D
30" (76.2 cm): (Y)RBS305PD, GBS307PD, (Y)KEBI101D, (Y)KEBS107D
GARNITURE ENCASTRÉE POUR FOUR À MICRO-ONDES
27" (68,6 cm) : (Y)RBS275PD, (Y)GBS277PD, KEBI171D, (Y)KEBS177D
30" (76,2 cm) : (Y)RBS305PD, GBS307PD, (Y)KEBI101D, (Y)KEBS107D
MICROWAVE OVEN SAFETY .................................................. 1
INSTALLATION INSTRUCTIONS............................................. 2
Tools and Parts ...................................................................... 2
Minimum Cutout Dimensions ................................................ 2
Trim Kit Frame Dimensions.................................................... 2
Electrical Requirements ......................................................... 2
Microwave Oven Preparation ................................................ 3
Bottom Duct Assembly .......................................................... 3
Side Duct and Upper Duct Assembly.................................... 3
Anti-Tip Bracket Installation................................................... 4
Microwave Oven Placement .................................................. 4
Trim Kit Frame Installation ..................................................... 4
We have provided many important safety messages in this manual and on your appliance. Always read and obey all safety
messages.
This is the safety alert symbol.
This symbol alerts you to potential hazards that can kill or hurt you and others.
All safety messages will follow the safety alert symbol and either the word "DANGER" or "WARNING."
These words mean:
WARNING
All safety messages will tell you what the potential hazard is, tell you how to reduce the chance of injury, and tell you what can
happen if the instructions are not followed.
W10197615A
INSTALLATION INSTRUCTIONS
Built-In Trim Kit Models MK1207XS, MK1200XS
UL listed for use over built-in electric ovens:
INSTRUCTIONS D'INSTALLATION
Garniture pour modèles MK1207XS, MK1200XS
Homologations UL pour utilisation
au-dessus des fours encastrés électriques :
Table of Contents / Table des matières
MICROWAVE OVEN SAFETY
Your safety and the safety of others are very important.
DANGER
SÉCURITÉ DU FOUR À MICRO-ONDES .......................................... 5
INSTRUCTIONS D'INSTALLATION ................................................... 5
Outillage et pièces............................................................................ 5
Dimensions minimales pour le découpage...................................... 5
Dimensions pour cadre de garniture................................................ 6
Spécifications électriques ................................................................ 6
Préparation du four à micro-ondes.................................................. 6
Assemblage du conduit inférieur ..................................................... 6
Assemblage du conduit latéral et du conduit supérieur.................. 7
Installation de la bride antibasculement .......................................... 7
Mise en place du four à micro-ondes .............................................. 8
Installation du cadre de garniture ................................................... 8
You can be killed or seriously injured if you don't immediately
follow instructions.
You can be killed or seriously injured if you don't follow
instructions.
Advertisement
Table of Contents

Related Manuals for KitchenAid MK1200XS


Summary of Contents for KitchenAid MK1200XS
-
Page 1: Table Of Contents
MICROWAVE OVEN BUILT-IN TRIM KIT INSTALLATION INSTRUCTIONS Built-In Trim Kit Models MK1207XS, MK1200XS 27" (68.6 cm): (Y)RBS275PD, (Y)GBS277PD, KEBI171D, (Y)KEBS177D 30" (76.2 cm): (Y)RBS305PD, GBS307PD, (Y)KEBI101D, (Y)KEBS107D INSTRUCTIONS D’INSTALLATION GARNITURE ENCASTRÉE POUR FOUR À MICRO-ONDES Garniture pour modèles MK1207XS, MK1200XS 27"... -
Page 2: Installation Instructions
INSTALLATION INSTRUCTIONS Tools and Parts Tools Needed Gather the required tools and parts before starting installation. Read and follow the instructions provided with any tools listed here. ■ Measuring tape ■ Phillips screwdriver ■ ■ Pencil 5/64" drill ■ Scissors Parts Supplied A. -
Page 3: Microwave Oven Preparation
Recommended: ■ A time-delay fuse or time-delay circuit breaker. ■ A separate circuit serving only this microwave oven. GROUNDING INSTRUCTIONS ■ For all cord connected appliances: The microwave oven must be grounded. In the event of an electrical short circuit, grounding reduces the risk of electric shock by providing an escape wire for the electric current. -
Page 4: Anti-Tip Bracket Installation
Anti-Tip Bracket Installation 1. On cutout floor, use template to mark hole centers for anti-tip bracket. Be sure to align the center line of template to center line of cutout floor. 4 " (10.8 cm) 3" (7.6 cm) " (46.2 cm) A. -
Page 5: Sécurité Du Four À Micro-Ondes
SÉCURITÉ DU FOUR À MICRO-ONDES Votre sécurité et celle des autres est très importante. Nous donnons de nombreux messages de sécurité importants dans ce manuel et sur votre appareil ménager. Assurez-vous de toujours lire tous les messages de sécurité et de vous y conformer. Voici le symbole d’alerte de sécurité. -
Page 6: Dimensions Pour Cadre De Garniture
Dimensions pour cadre de garniture " 13" (48,7 cm) (33,0 cm) *Pour installation au-dessus du four encastré 27" (68,6 cm) **Pour installation au-dessus du four encastré 30" (76,2 cm) Spécifications électriques AVERTISSEMENT Risque de choc électrique Brancher sur une prise à 3 alvéoles reliée à la terre. Ne pas enlever la broche de liaison à... -
Page 7: Assemblage Du Conduit Latéral Et Du Conduit Supérieur
3. Installer le conduit inférieur avec deux vis de 1/2" à l’arrière du four à micro-ondes, et deux vis de 1/2" au fond du four à micro-ondes. (Vue avant du four à micro-ondes) A. Vis de 1/2" (4) Assemblage du conduit latéral et du conduit supérieur Connecter le conduit latéral au conduit supérieur : 1. -
Page 8: Mise En Place Du Four À Micro-Ondes
Mise en place du four à micro-ondes 1. Engager partiellement le four à micro-ondes dans la cavité à travers l'ouverture découpée. REMARQUE : La bride du fond doit être à plat contre le plancher de la cavité, pour l'engagement correct sous la bride antibasculement.
Need help?
Do you have a question about the MK1200XS and is the answer not in the manual?
Questions and answers